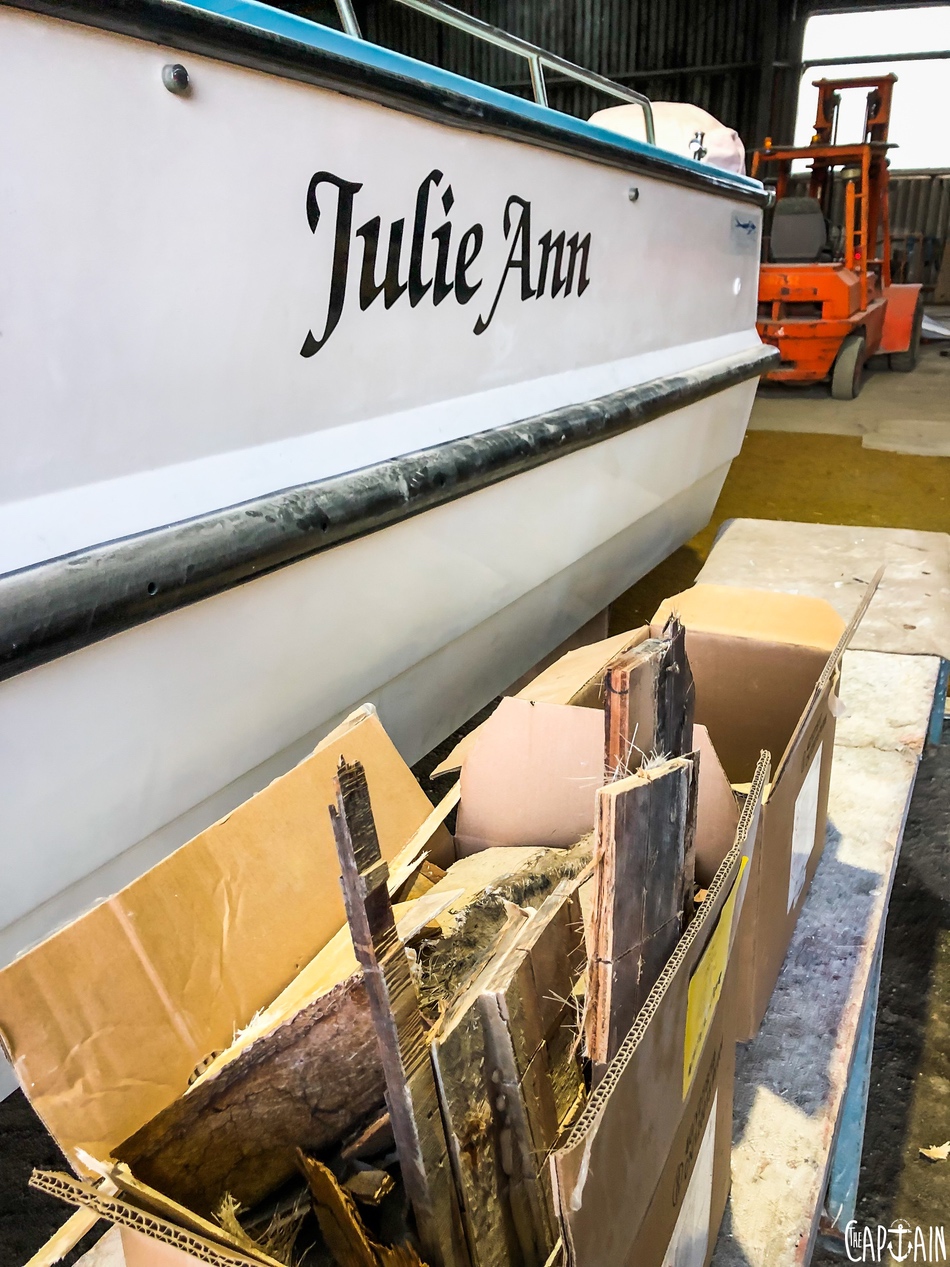
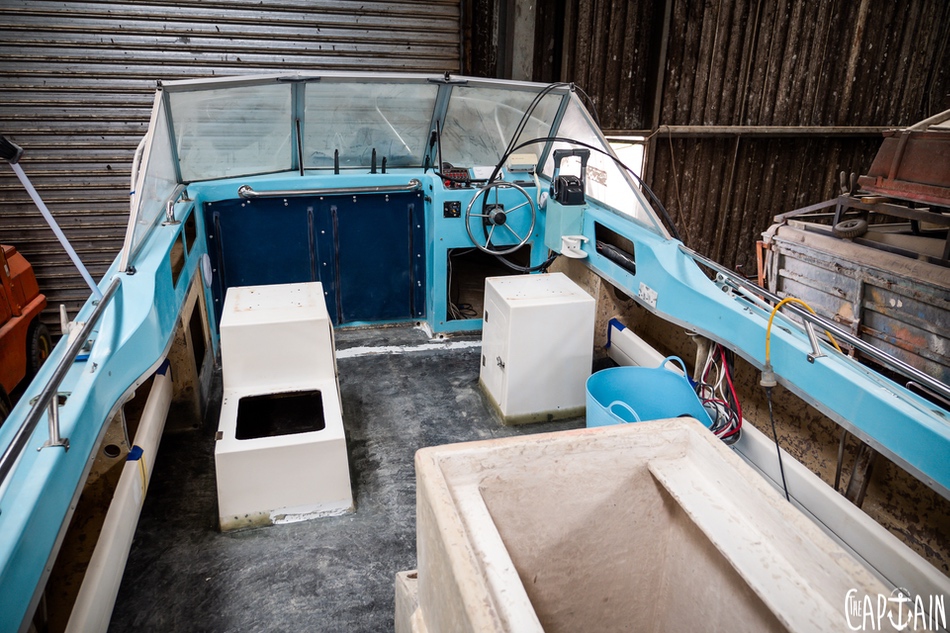
Now that the Shark Cat was firmly in the clutches of The Captain’s crew, it was time for Trav to do a thorough inspection. No worries. He’d learned his lesson with the Nub Tub — or had he?
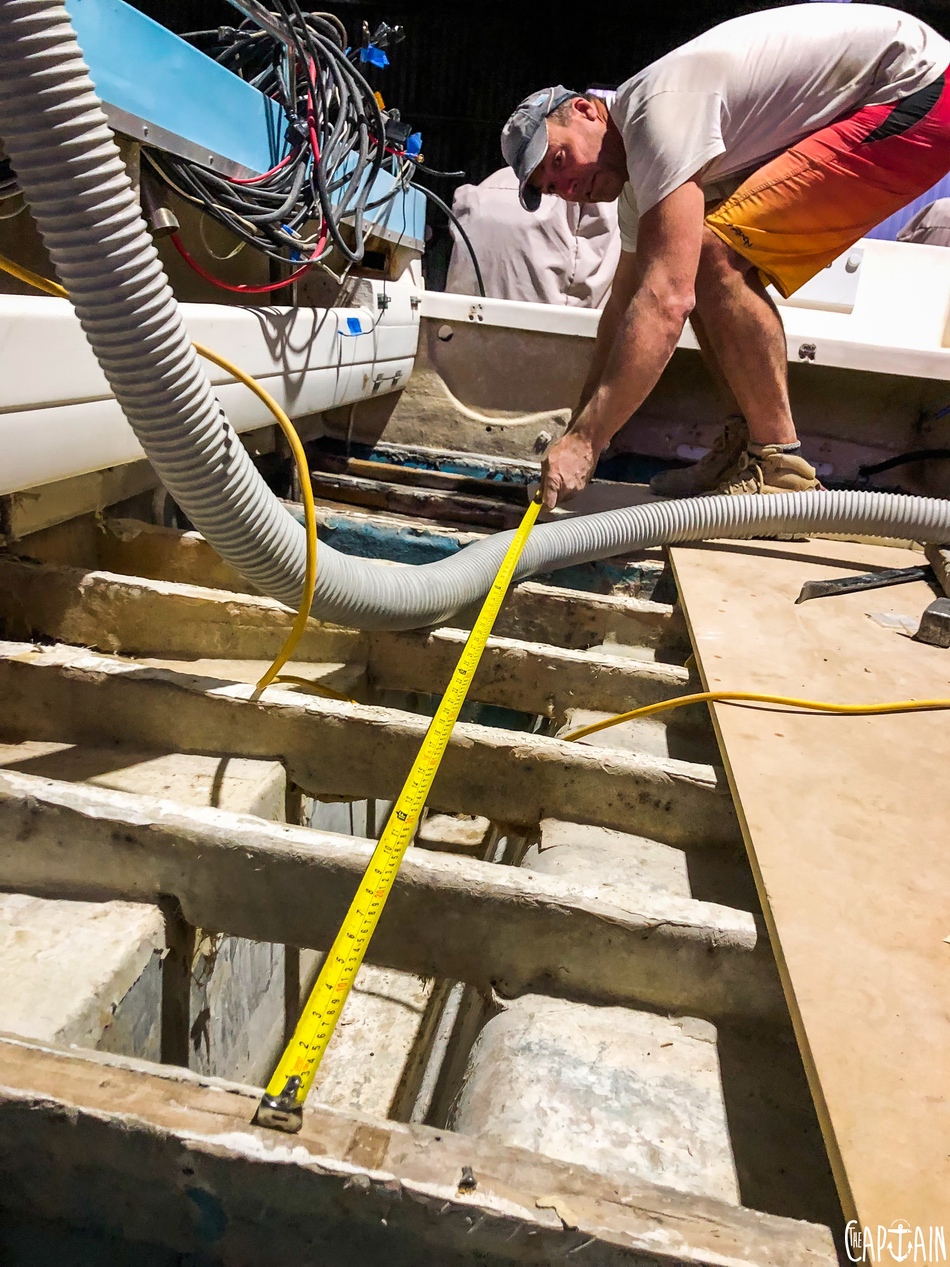
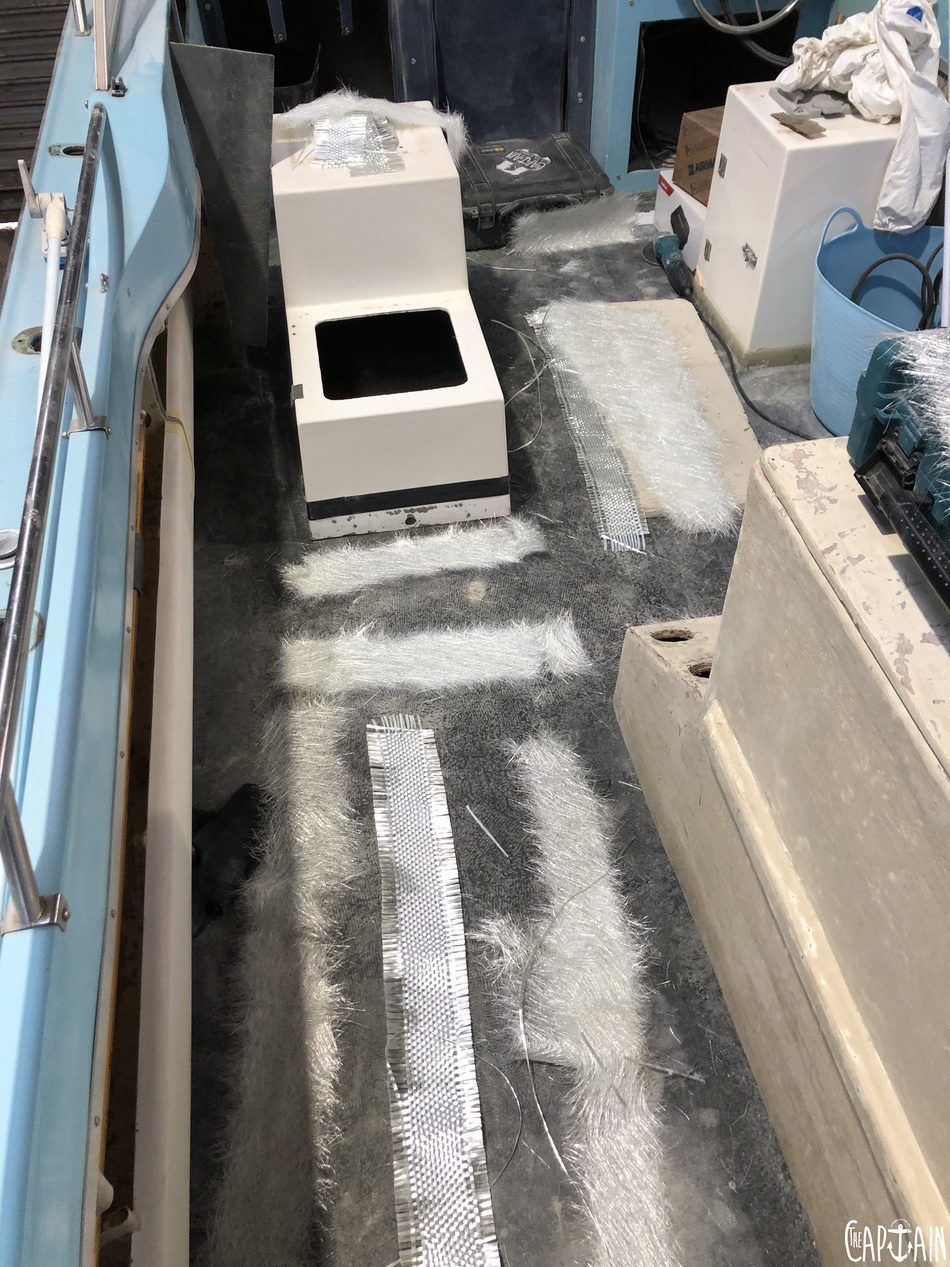
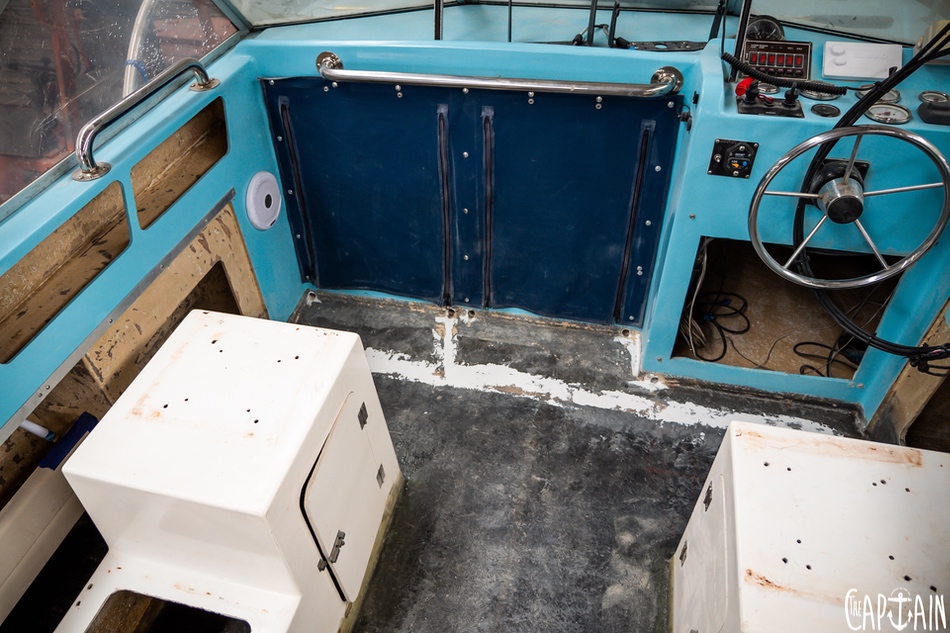
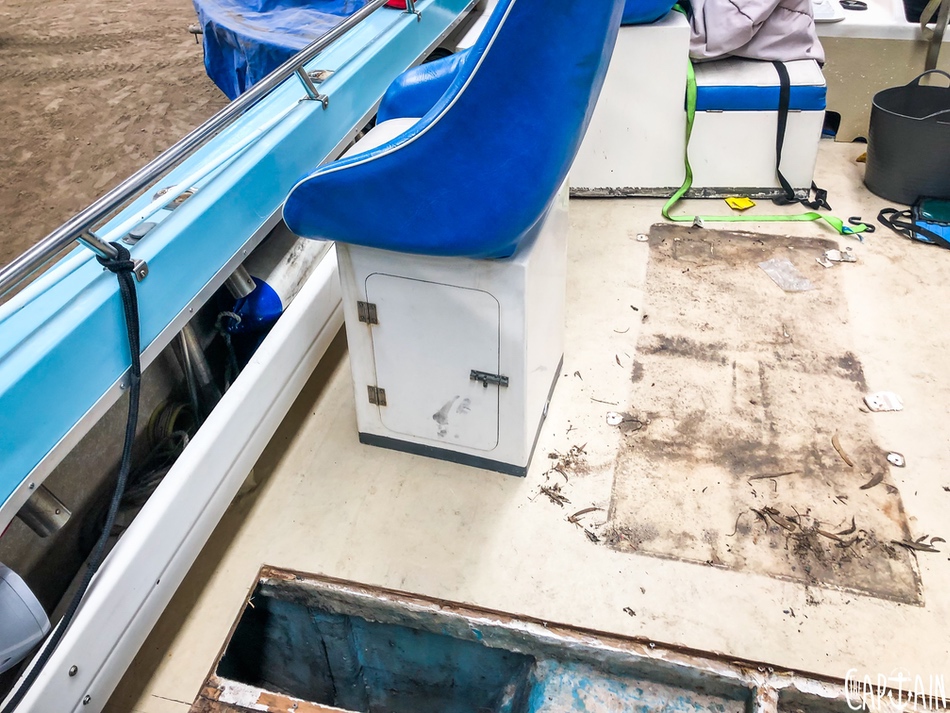
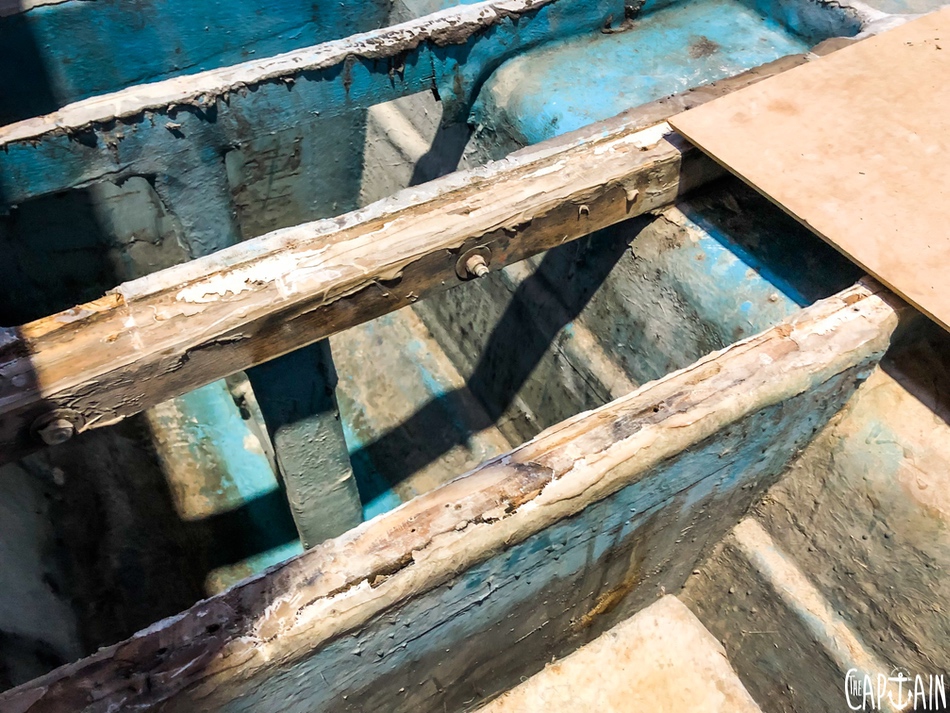
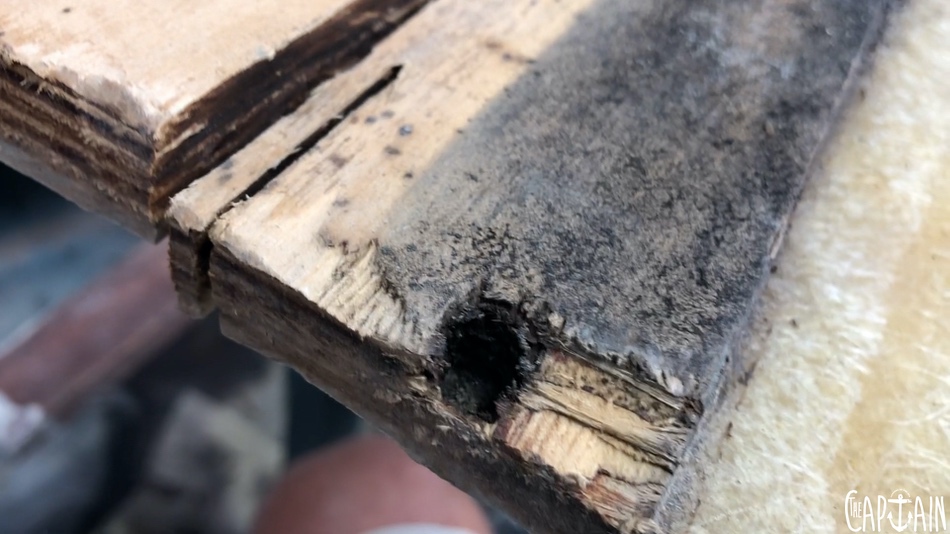
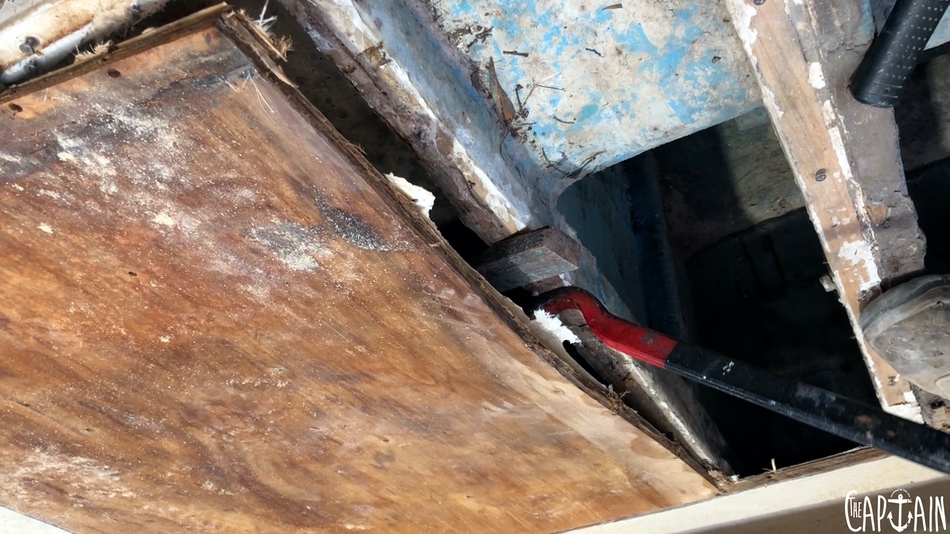
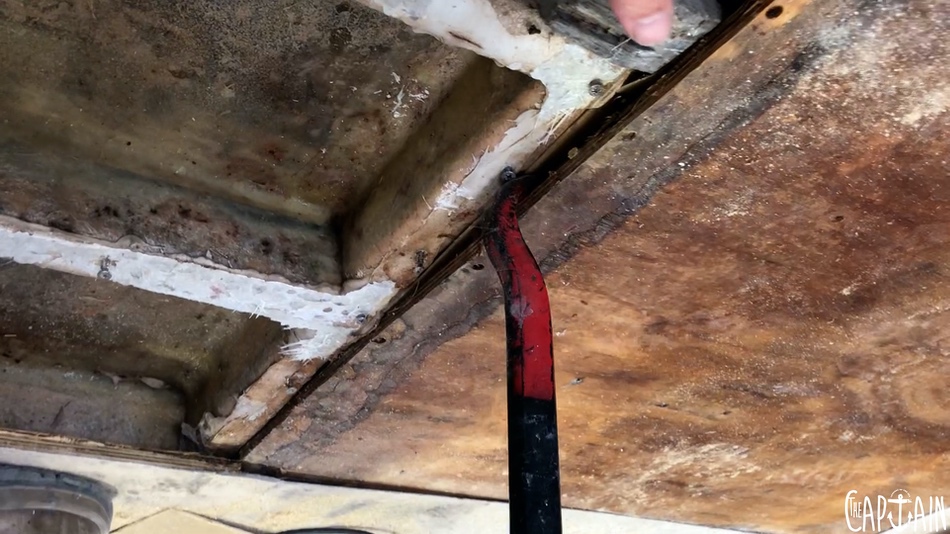
There was no doubt there’d been a fresh floor laid down on Julie-Anne, but the soft spot just behind the driver’s seat, where new floor met old floor, was keeping Trav awake at night. So out came the hole saw to make a surgical incision directly along the dotted line where new met old. On the old side, the timber was dry and the laminate was holding together well. However, on the “new” side, Trav didn’t much like what he saw. The top layer of glass was lifting away from the new ply and in between was a thin film of mould — the start of rot.
Two boats, two new floors? What were the chances, he wondered, gently beating his head against the garage wall. For those not up to speed, the last floor The Captain’s crew removed concealed a stupidly obvious (in hindsight) rotten substructure.
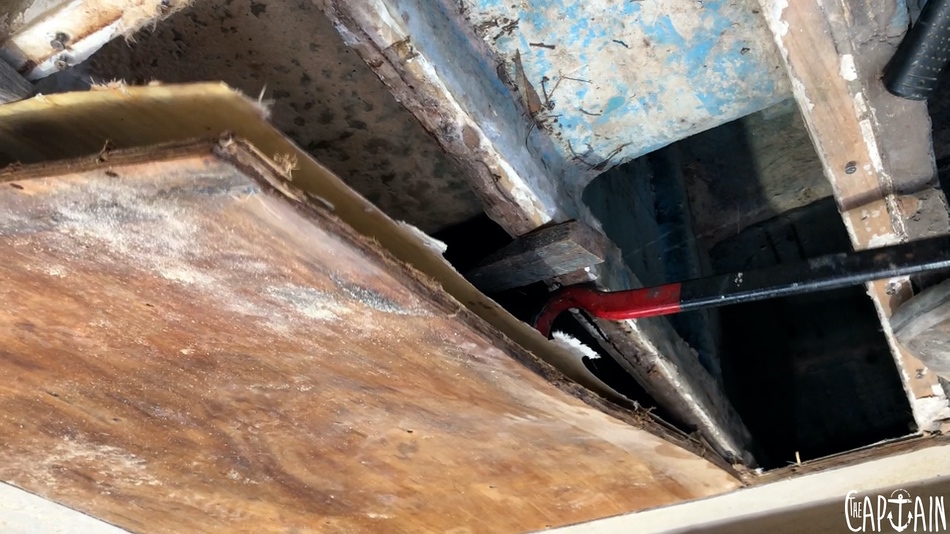
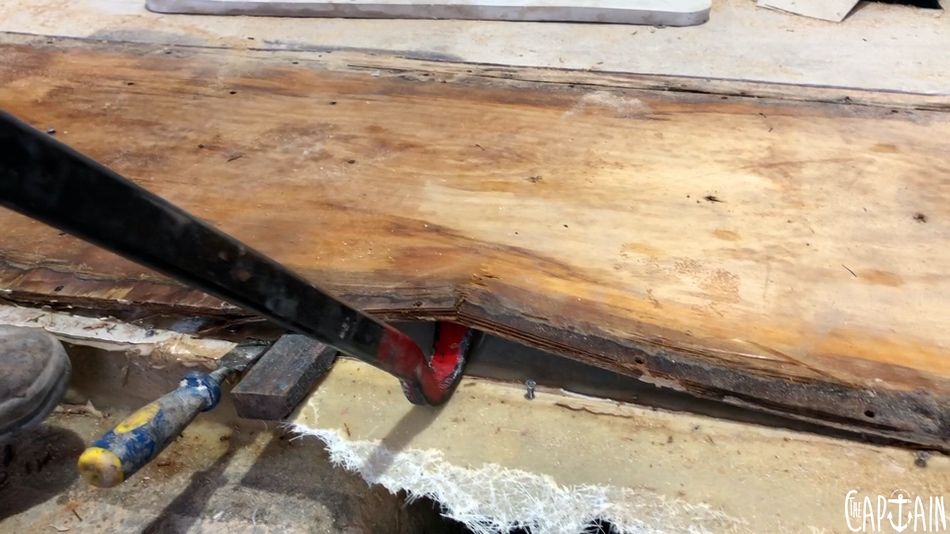
So Trav puts out an urgent call to Wally from White Pointer Boats to do an inspection. This bloke is the cat’s pyjamas when it comes to building stiff rigs. After some choice cuts with a circular saw and leverage with pry bar, Wal makes a grim assessment. “Whoever put this floor in has done a fantastic job — they’ve glassed the top and the bottom to the best of their abilities,” he says. “For a back-yarder, they’ve spent a lot of money on timber and materials, but they missed a few key steps.”
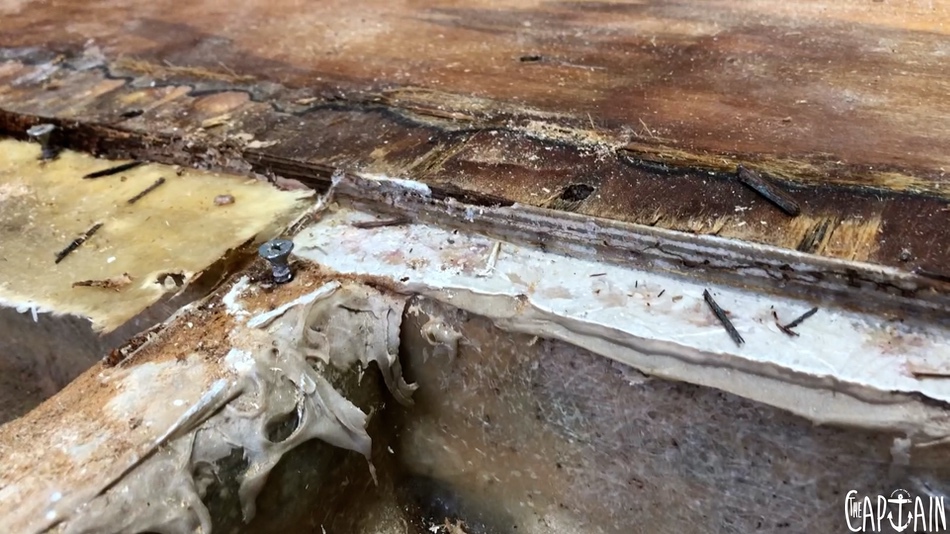
A now wide-eyed Trav is turning a whiter shade of pale. (Captain’s note: gratuitous song reference designed to appeal to baby boomer boaties.) “The timber hasn’t been scuffed up to soak up the resin, the edges haven’t been sealed, nor have the screw holes,”
Wal continues. “The water has got in and it’s travelled. The next bloke who’s got the boat has to deal with it. I give it five years before it’s fully fucked.” The “next bloke” is now hunched in the corner in a semi-catatonic state gnawing on a piece of rotten timber and wondering what to tell The Captain. Noticing Trav’s state of freak-out, Wal offers some consolation. “They’ve wasted a whole lot of money and time, but I give them an A for effort, though,” he says. “And I give them an A for amateur!” Erick Hyland chimes in, drawn to the scent of wet timber smouldering in the jaws of a hole saw — and perhaps also by the stench of Trav’s fear, like a shark to blood in the water.

WALLY’S TOP 10 FLOORING FUG-UPS
1 Wrong sort of timber — “I’ve seen chipboard floors, unfortunately.”
2 Fastenings not sealed — “Every timber hole needs to be sealed.”
3 Timber edges not sealed — “A common transfer point of moisture.”
4 Underneath floor not sealed with glass — “Out of sight, out of mind. Don’t skimp here, it’s the top of the hot box where moisture will hold.”
5 Surfaces not keyed in for glass — “All surfaces need to be scuffed up prior to laminating.”
6 Floor material too thin or thick. “12mm–19mm generally does the job.”
7 Wrong fasteners — “Use stainless where you can.”
8 Poorly fitted floors or inefficient use of sheets. — “Measure twice, cut once, and templates for fiddly areas can work well.”
9 New floors laid over old floors — “One of the oldest tricks in the book, a dog act that delays the inevitable and adds weight.”
10 No proof — “If someone has laid a new floor, ask for photographic evidence. Likewise, when building, document your build. It will add value to your rig.”
FLOOR REMOVAL
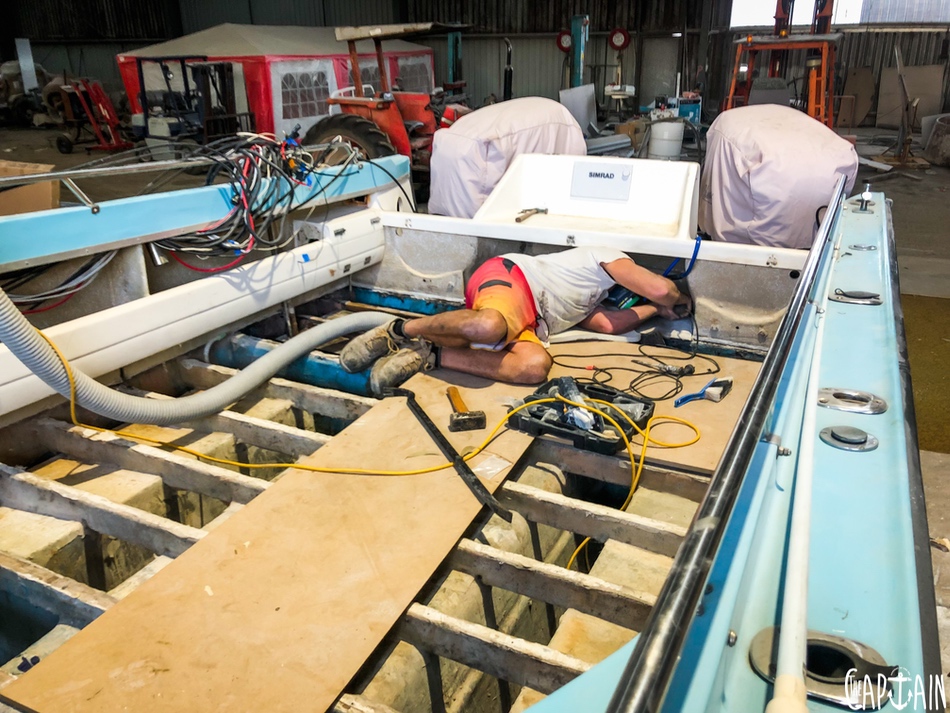
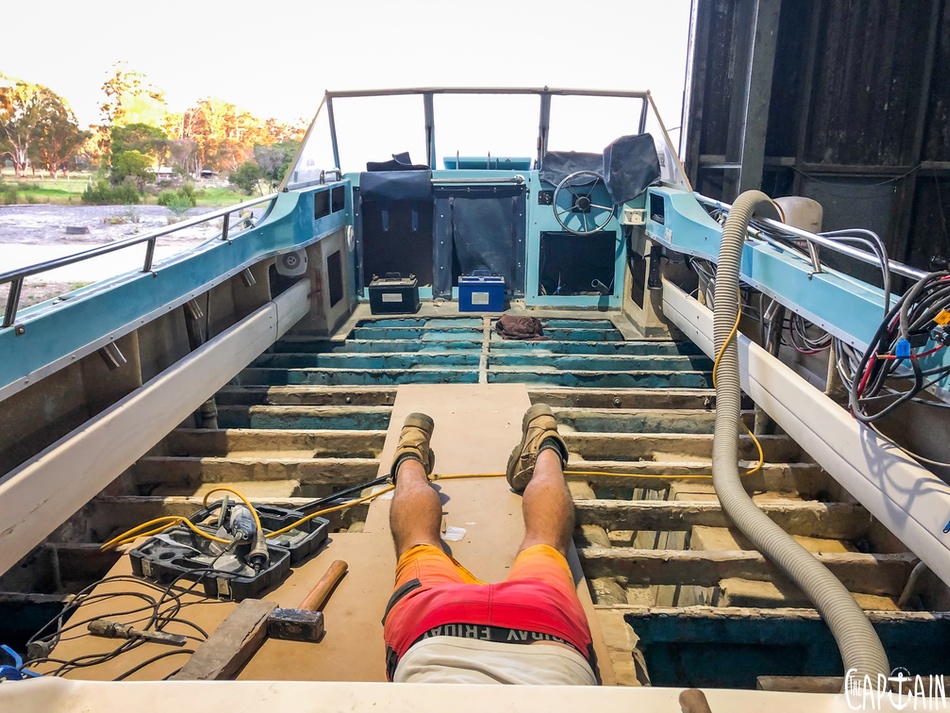
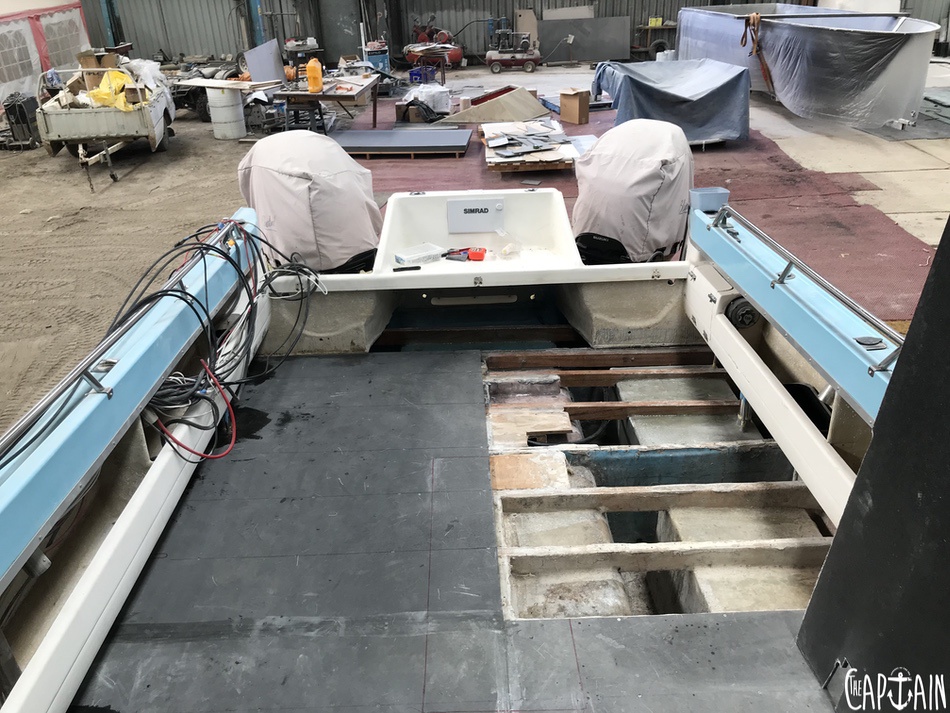
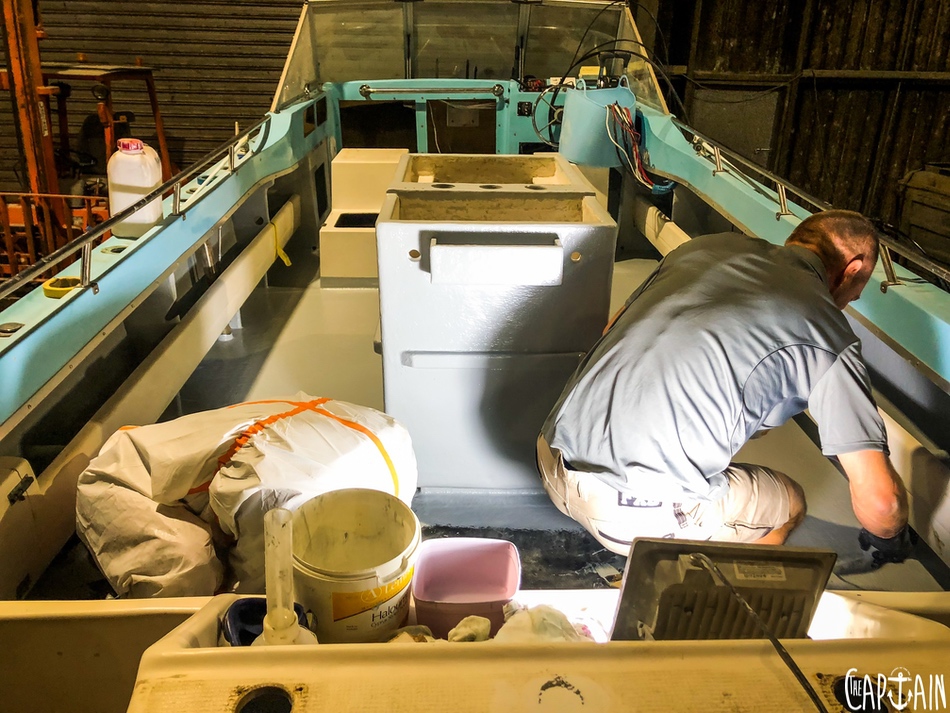
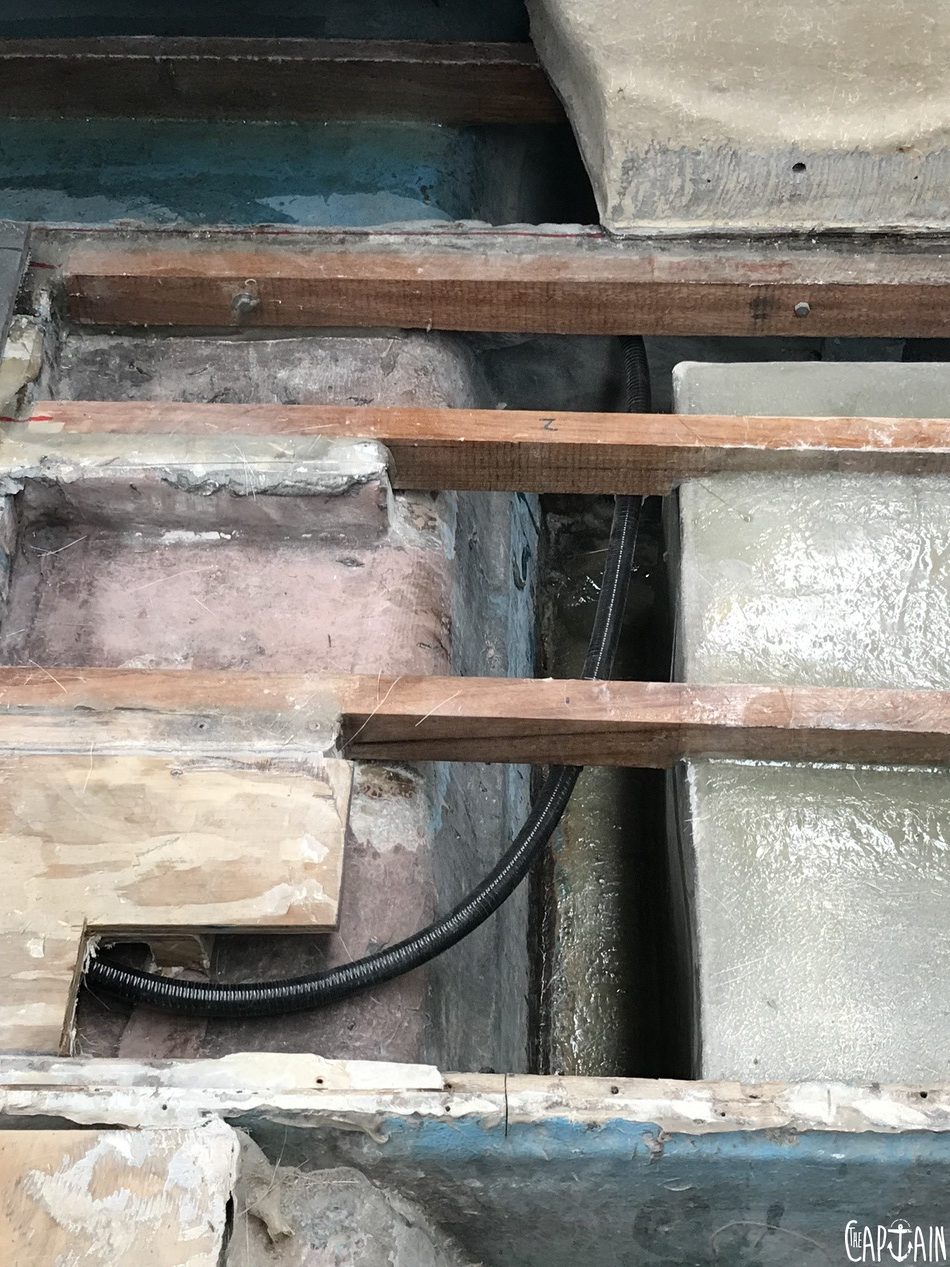
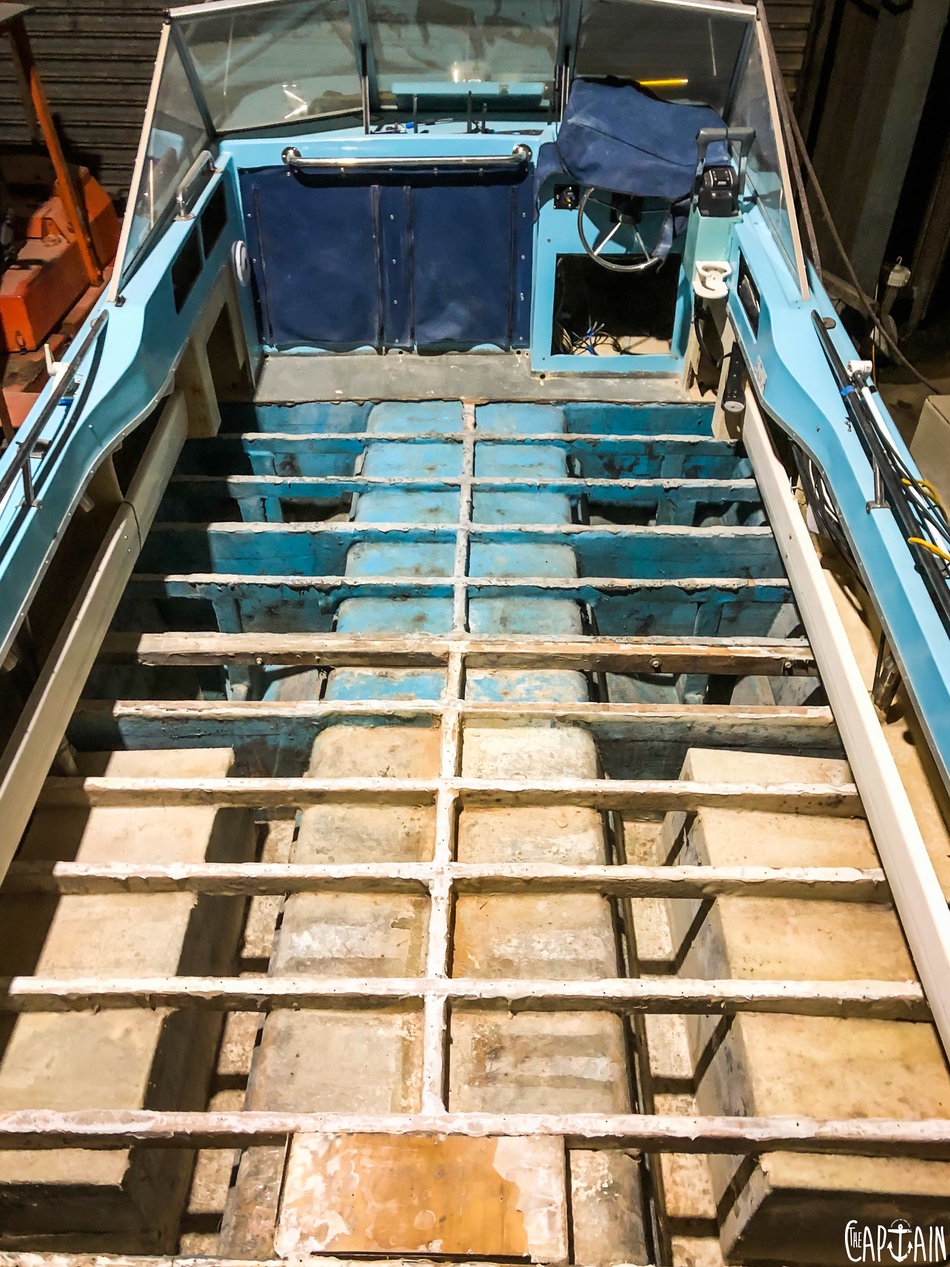
Wally has a few key tools for removing the floor, mainly a circular saw, hammer, chisel, pry bar, and elbow grease. A former junior gymnast with a few ribbons to his name, Wally sports arms like Popeye. He’s already in the cat, ripping old sheets of glass and ply apart as easily as that crusty sailor man pops the top on a can of spinach. Once the floor is up, there’s good news for The Captain’s crew. “Below decks the old Shark Cat has stood the test of time,” Wally says. “The deck beams are as good as the day they were put in and they used good solid hardwood. It’s incredible for a 35-year-old boat.” At this point, Trav starts to uncurl from the foetal position and remembers to breathe a little.
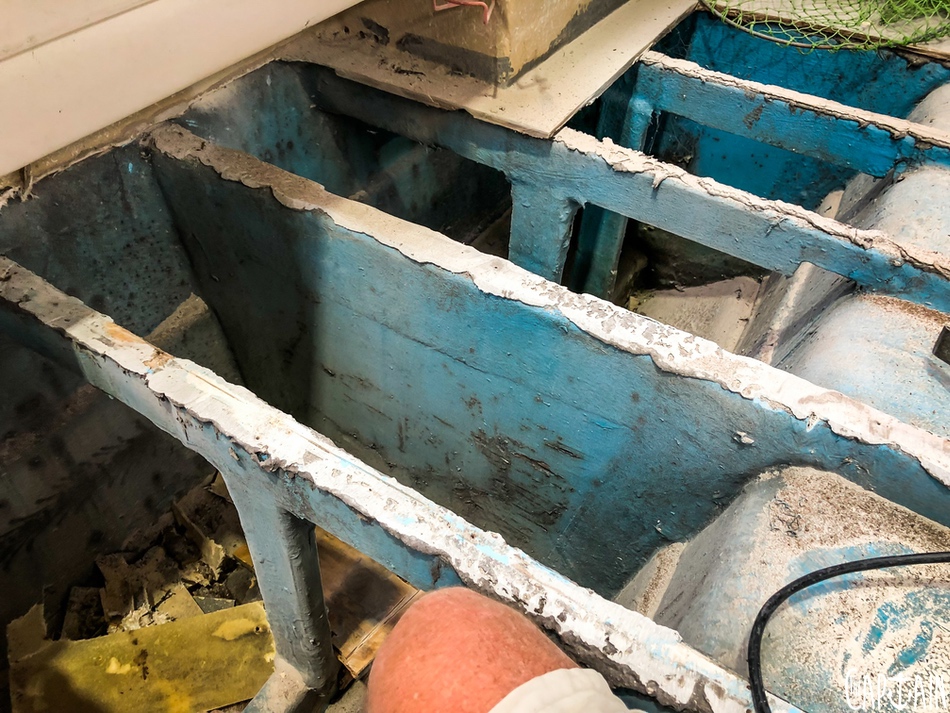
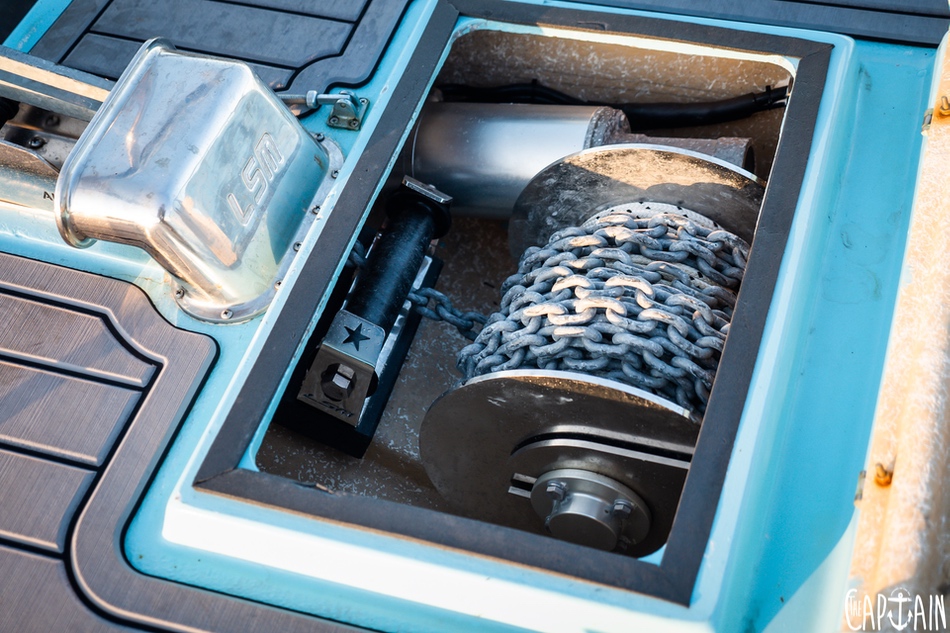
While the floor is up, we all get a closer inspection of the fuel tanks — four in total. True to the previous owner’s word, the front tanks had been replaced the last time the floor came up. The owner had also said he’d never used the 125L rear tanks, which probably meant they were totally rooted. They are — as we discover by filling them with fuel. The giveaway is the immediate fuel smell plus the damp spotting slowly leaking from the pinholes.

After pumping enough gas back out of the stuffed tanks to power Wally’s Victa mower for the next two years, we fill them with water and cut them free from their 35-year-old wooden prison. The fuel tanks would later have a new career as dirt buckets at Erick’s opal mine in Lightning Ridge. We’re always glad to help where we can, Erick. You’ve carted enough of our crap away!
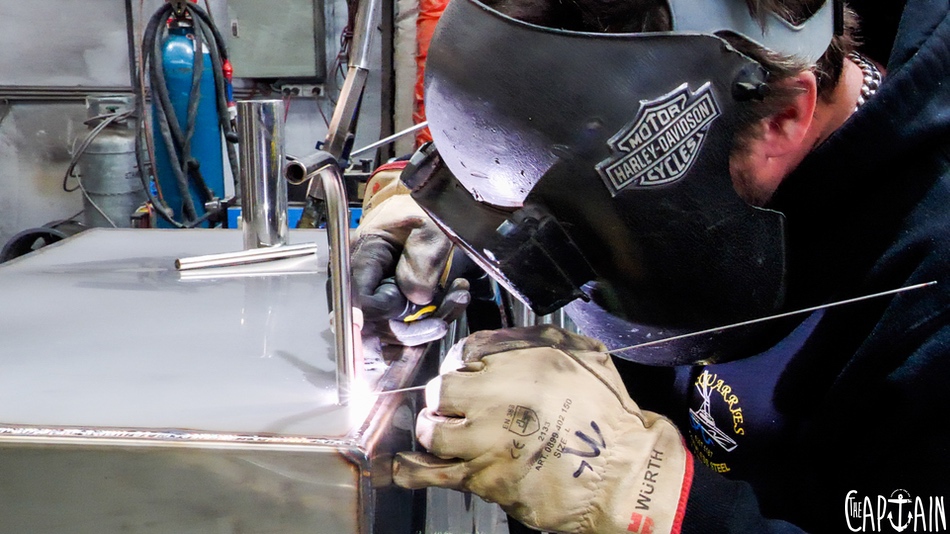
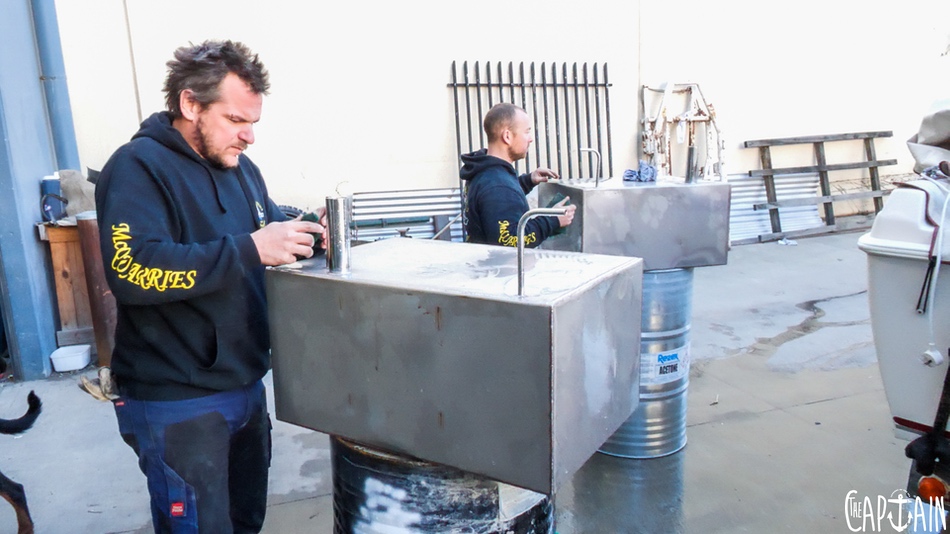
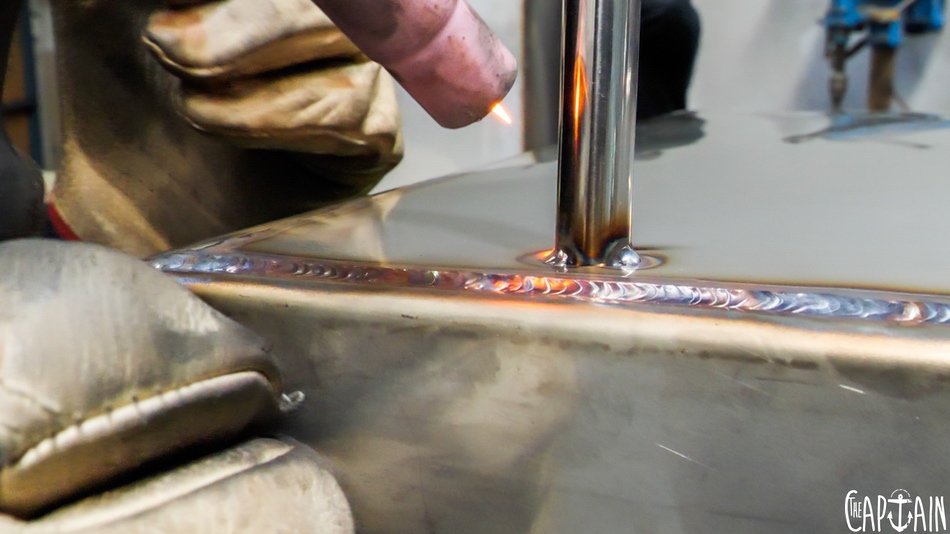
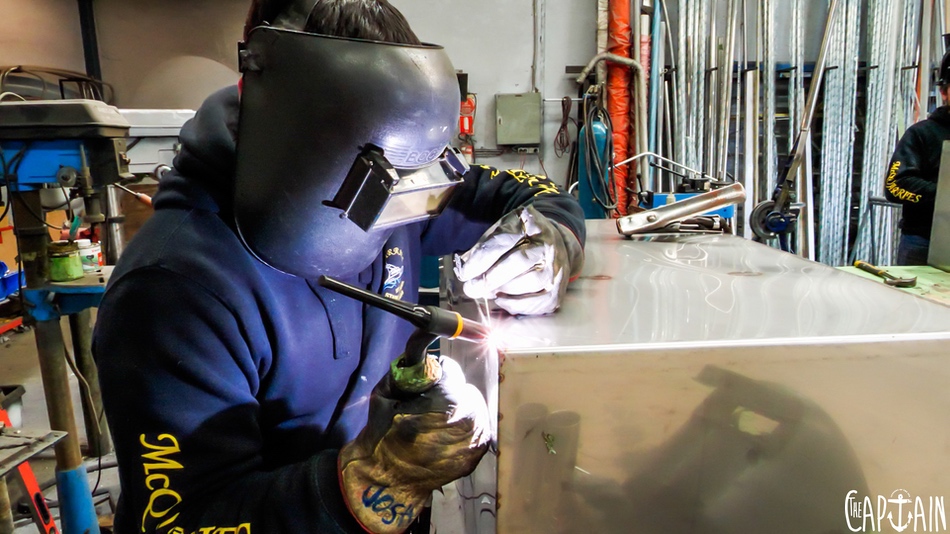
ENTER THE TIG WIZARD
So we put the call out to our good mate from the deep south, TIG wizard Kane McQuarrie, for replacement tanks. Wally had measured the tanks, making maximum use of the cavity available, and Kane constructs them using 1.6mm, 316-grade stainless steel, folding where possible to avoid welds and potential problem areas. Total volume is 145L. “Because of the box shape, they have baffles sideways, backwards and forwards,” Kane explains. The new tanks get pickle-pasted, washed and pressure tested. Meanwhile, The Captain’s crew tries to ignore Ted and Zed, Kane’s rottweilers, who look ready to eat our cameraman.
TANK BUILD
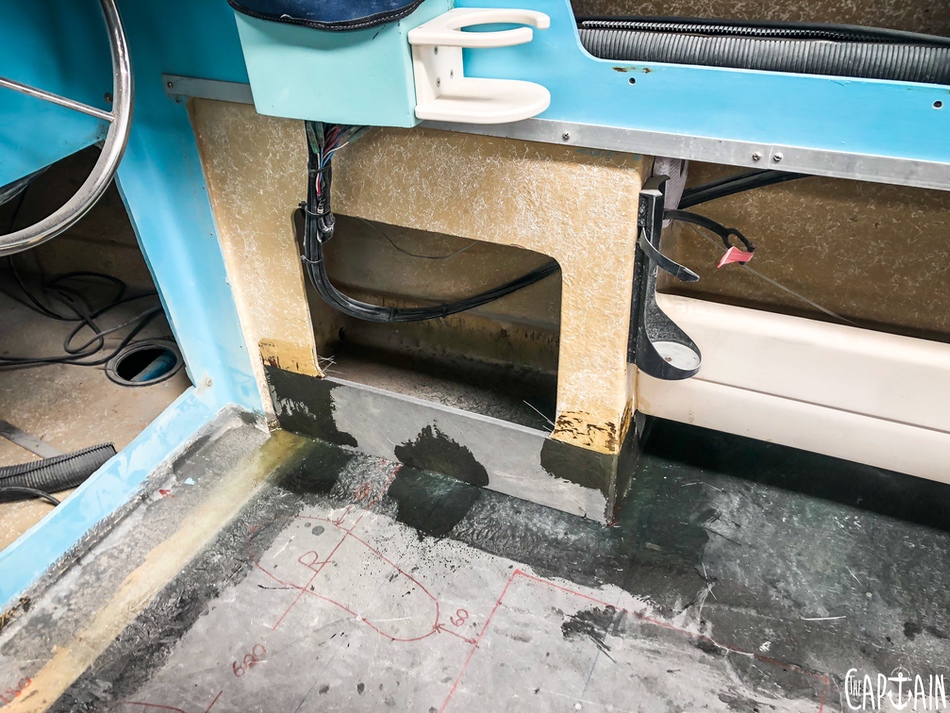
Before fitting the tanks in the cat, Wally does a pass of chop strand from the gun for protection (you can also flow-coat tanks, but we didn’t). Then he glasses the tanks back into their cavity, which has already been tidied and sealed. New hardwood deck beams are fitted over the top, with a check-out in the beam to lock the tank into place. Then they’re glassed over again. Hopefully, these new deck beams will last another 30 years.
For flooring we use five sheets of 1200mm x 2400mm 13mm Thermo-Lite. The sheets are a tad short for our needs, but Wally sorts this by extending the sheets 50mm on the side, scarfing a join and gluing with epoxy resin. We later find out Thermo-Lite sheets come in 3.5m x 1.5m. Doh!

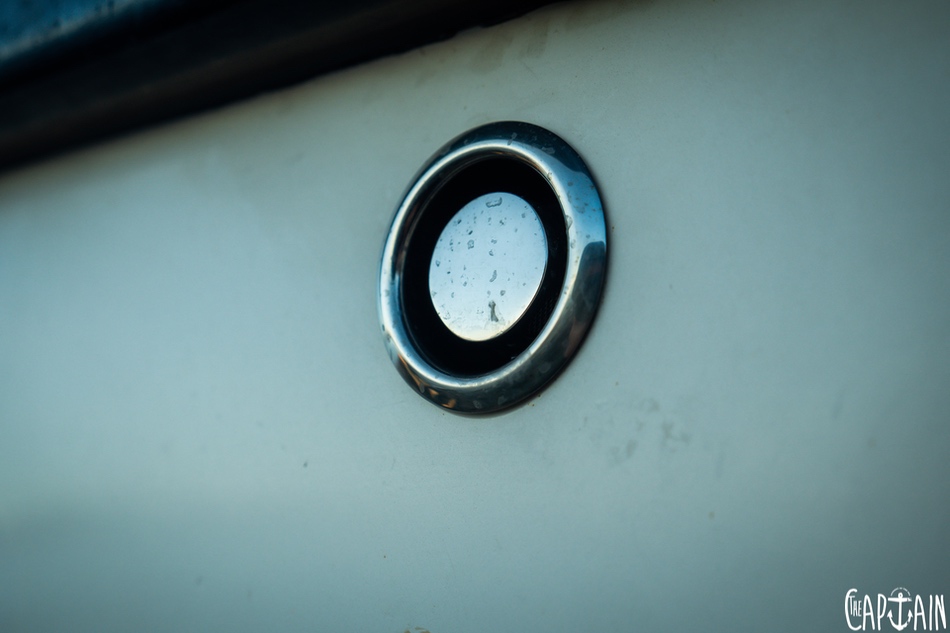
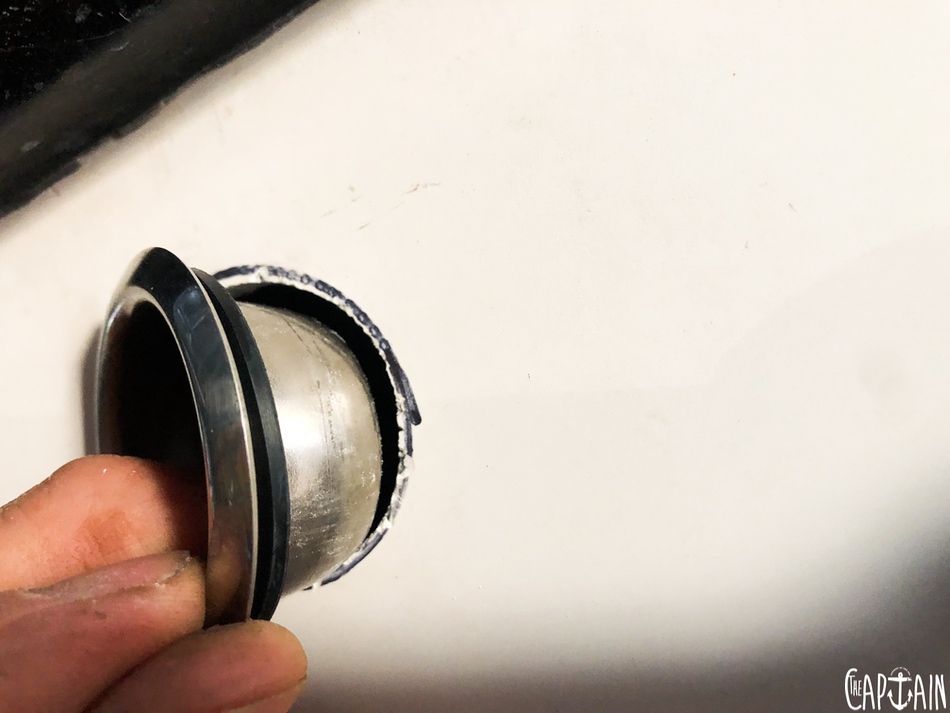
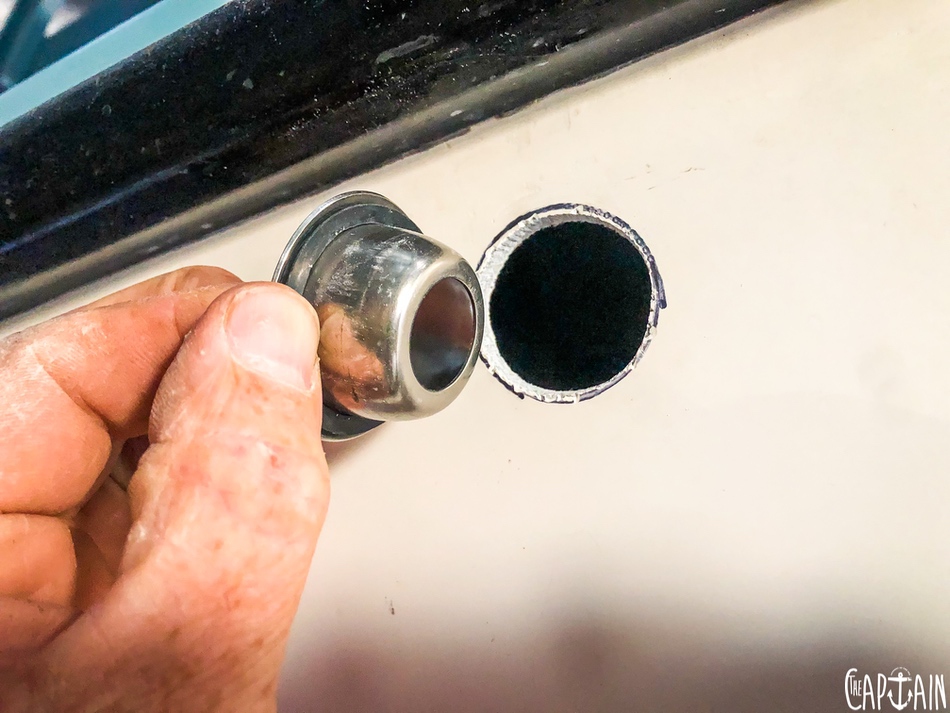
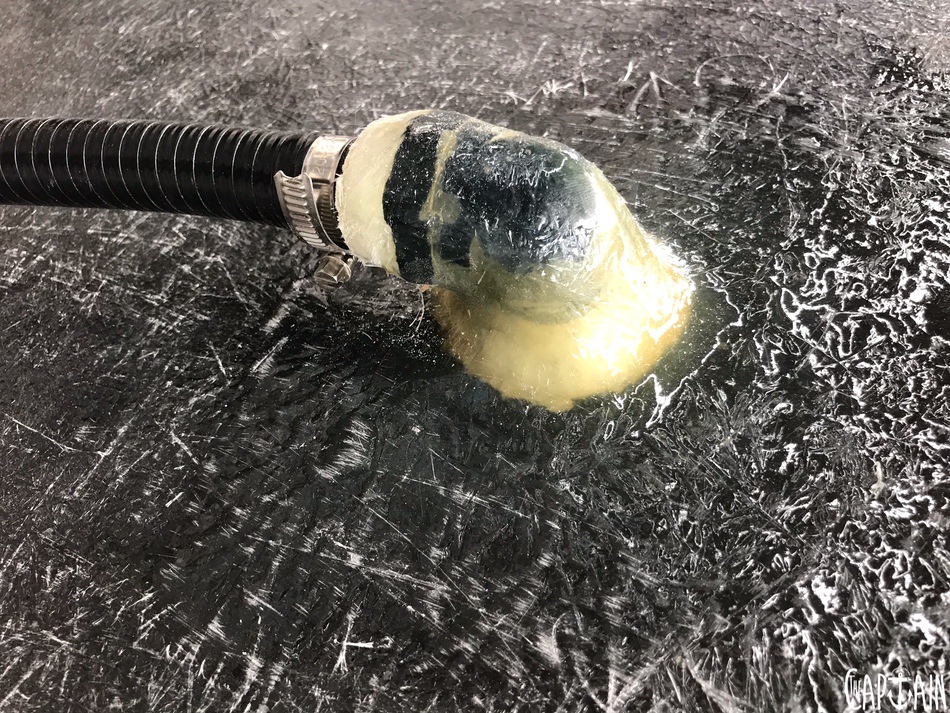
When finished, Wally glasses the bottom sheets all over, for strength and to keep out any nasties that might want to join us above decks. To work around the fuel filler, he makes an offset mark on the sheet, then drills with a hole saw. He angles the straight-line cut to the end of the sheet — that way, when the cut-out piece is dropped in, it won’t fall through. For the underfloor bait-tank water feed, Wal runs a hose from the external bilge mounted at the transom, through the engine well then under the floor to the bait tank, located in the central kill box. It’s fitted with a plastic elbow below the floor, then glassed so we’ll never have to worry about it again.
FLOOR IT
The floor is fastened to the deck beams with catalysed resin and talc, plus 50mm stainless screws 300mm apart. Batteries are placed on the sheets to keep everything in the right shape. Any screw heads that have pulled deeper are filled to prevent air voids when glassing. Air bubbles are the boat builder’s enemy, expanding and contracting in different temperatures then drawing moisture and starting a slippery slope to sloppy timber floors. In this case, we’re using a composite material.
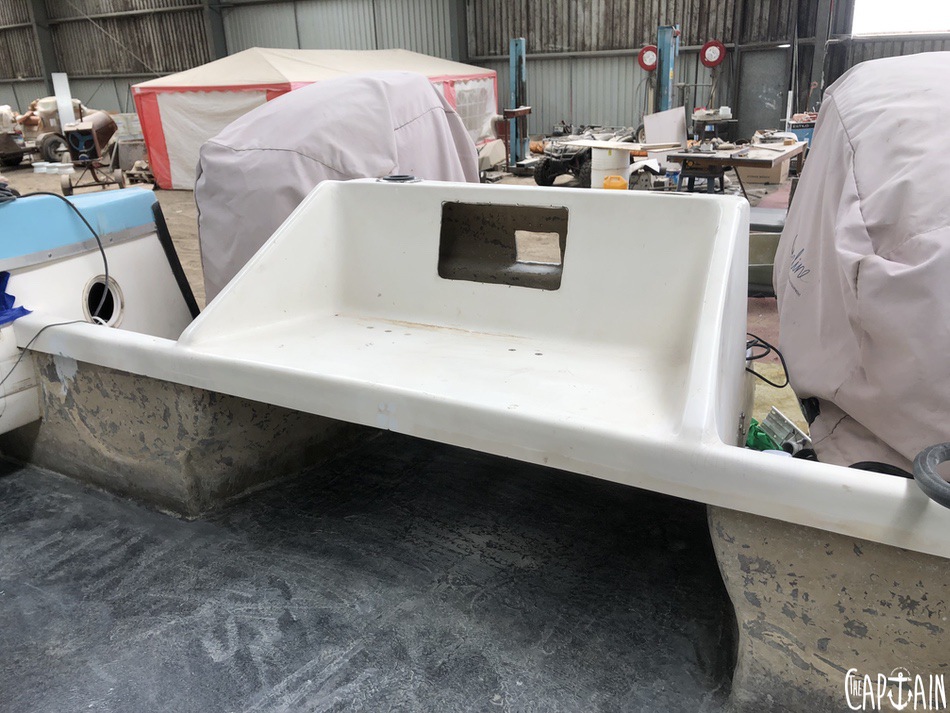
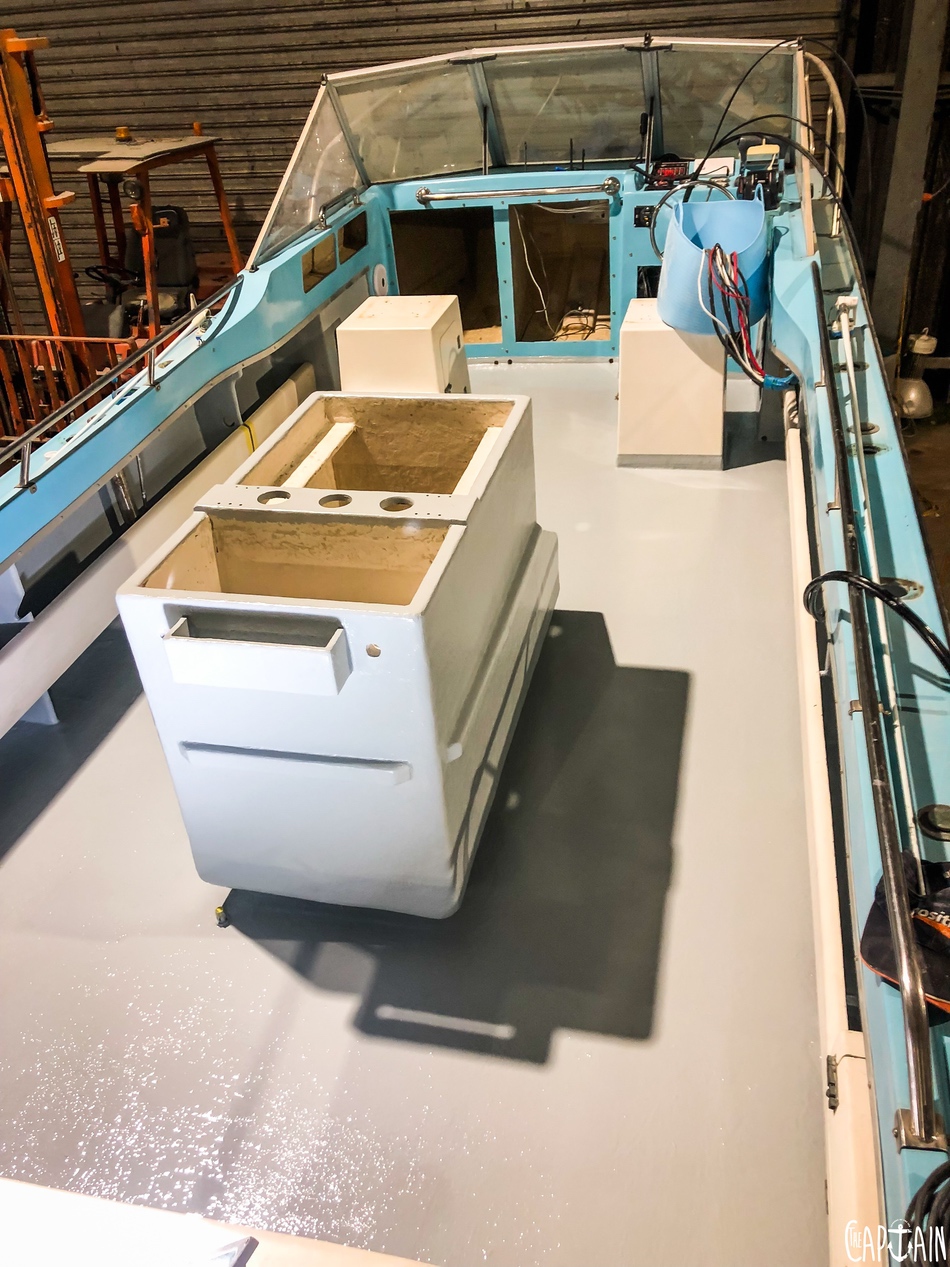
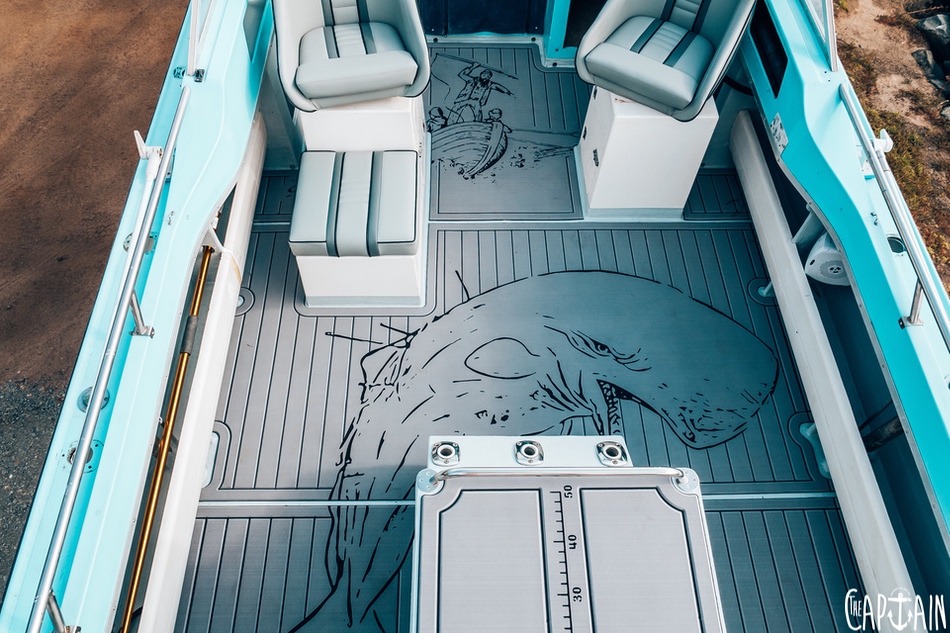
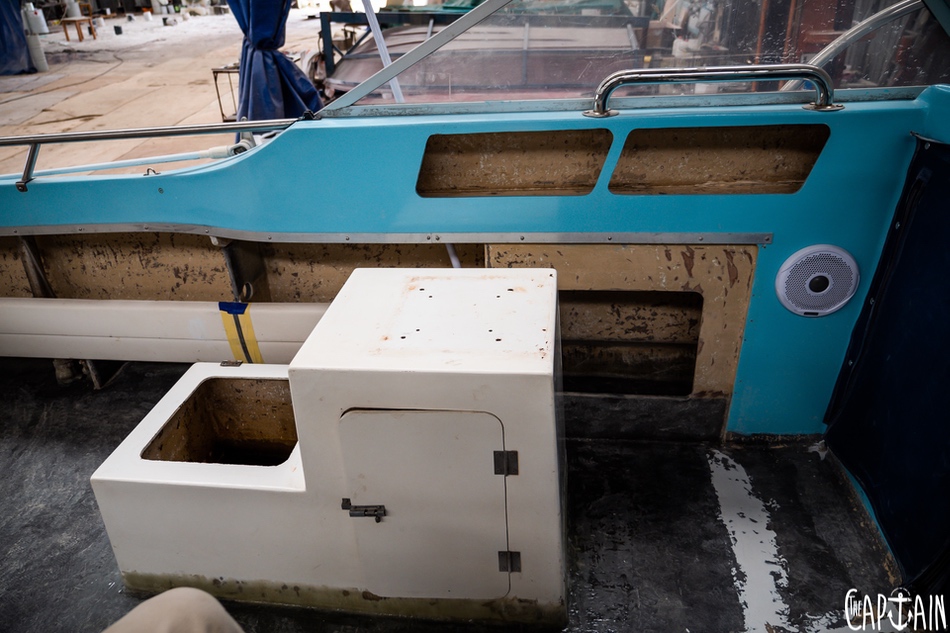
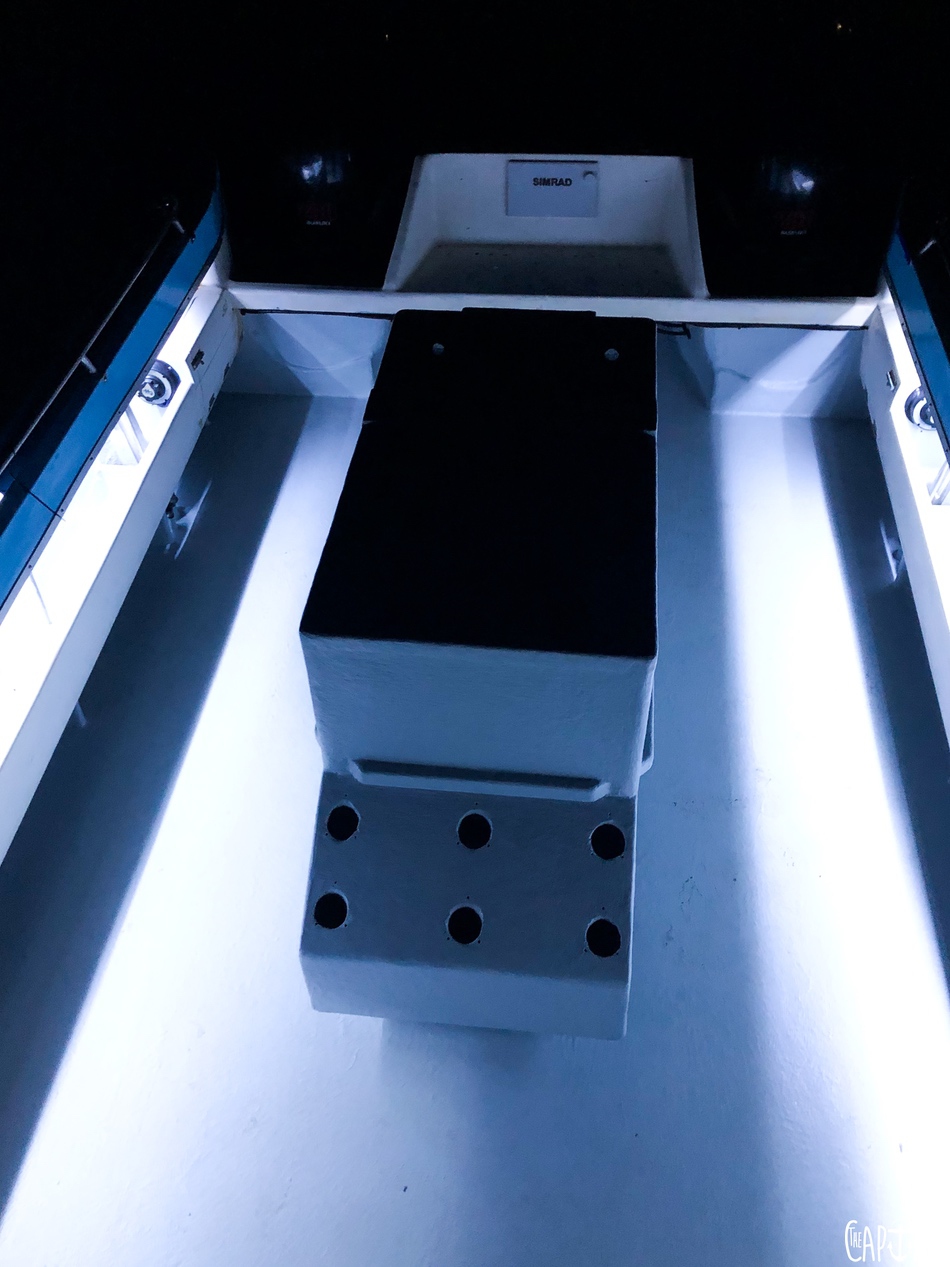
The sheets are hand-laid to the hull sides with two layers of chop strand and woven roving, prior to glassing the main floor. The floor is finished with two layers of chop strand from the gun. We raise the fish box (that also holds the bait tank) to get a more manageable bench height. This allows us to create 75mm-deep footholds underneath, which make a huge difference, being tucked in close to the tank, as well as holding on when the pussy starts pulsating. The seat boxes get a similar treatment, glassed to the new floor inside and outside the seat box cavity. The whole floor and kill tank is given a light sand, ready for flow-coating.
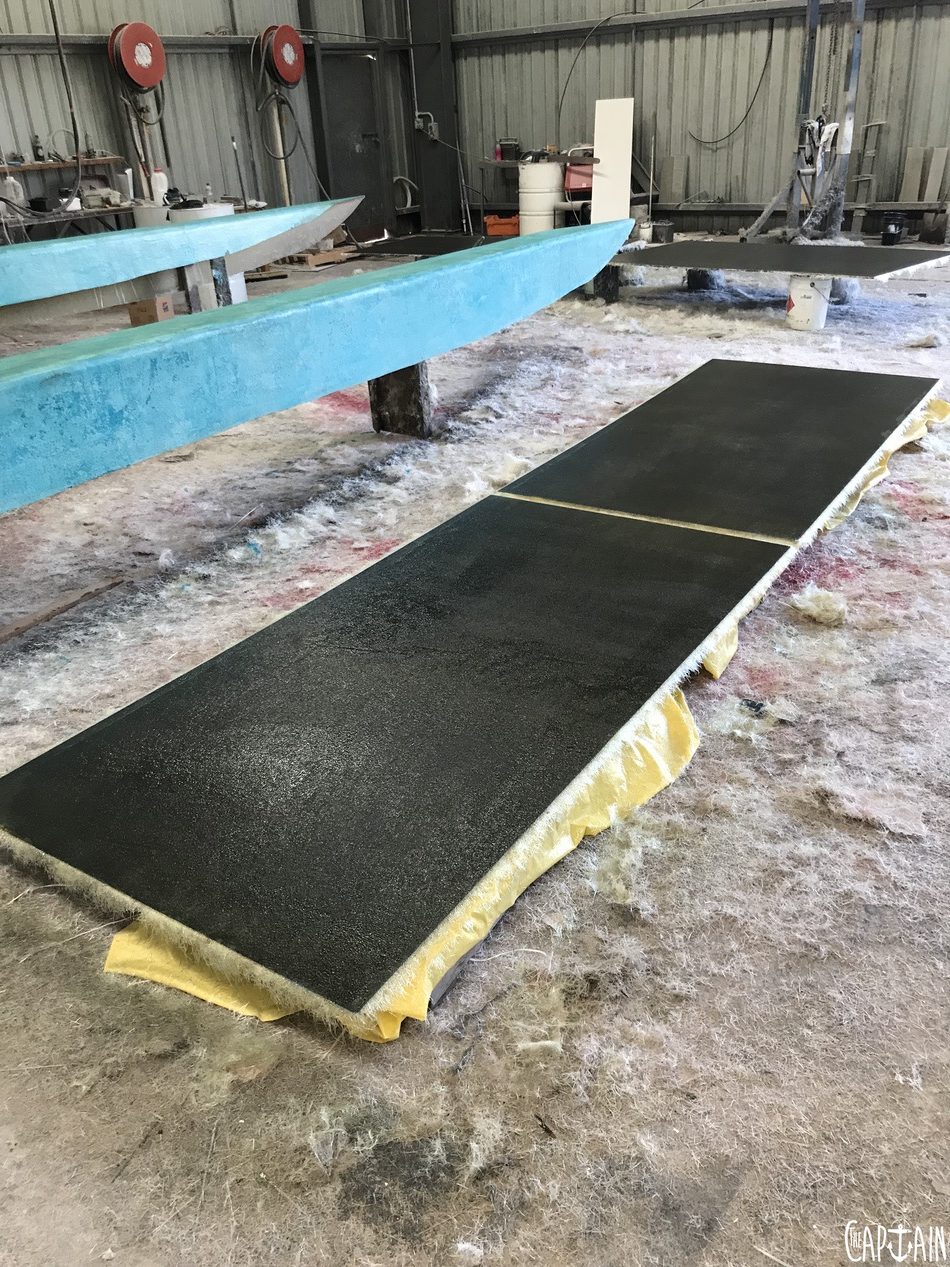
GO WITH THE FLOW
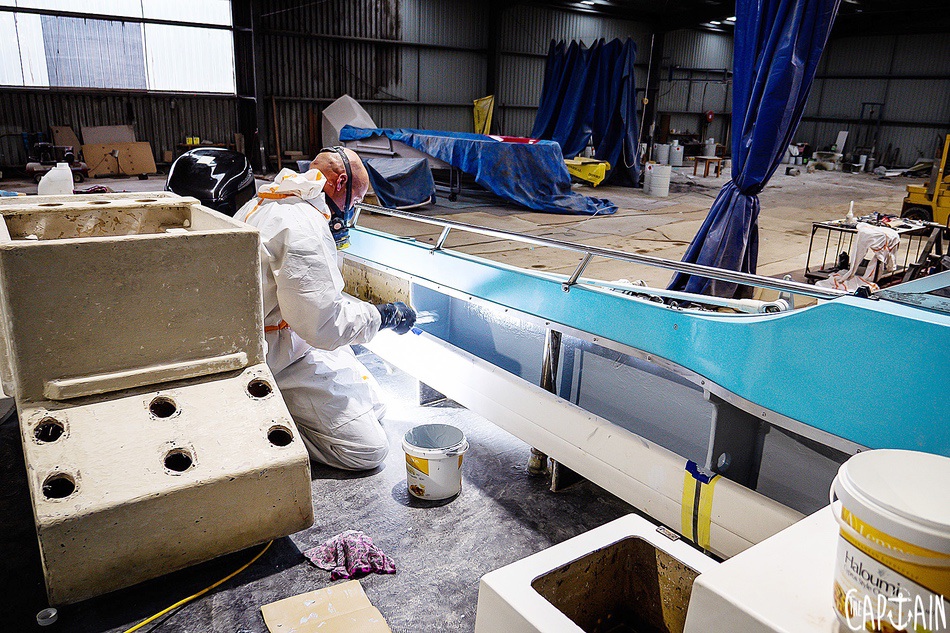
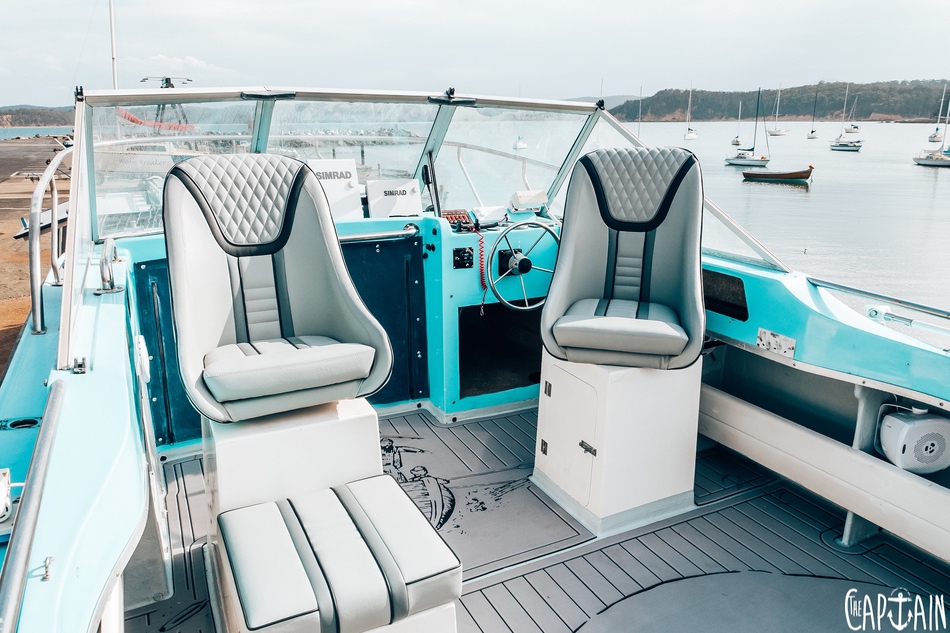
Flowcoat is similar to the gelcoat on the outside of most glass hulls. Both offer a finished surface, but flowcoat has a softer texture because it has wax. Channeling his inner Picasso, The Captain has chosen a neutral dove-grey colour to tie together the white and light-blue tones of the cat. Before fresh flowcoat can be applied, all the surfaces are sanded back to a rough texture. Working in an ideal temperature of 18 degrees, Wally and his mate Craig tiptoe their way from the front of the cat to the rear.
The key to good application is keeping a wet edge, so the boys only stop to refill their ice-cream containers or remove foreign bodies that land on the wet surface. It’s a big job, requiring 12-15L of flowcoat, but by midnight it’s all over. As the boys happily tuck into slices of cold pizza, it appears Julie Anne’s sinful past just might have been forgiven. But Trav is less sure about The Captain’s mercy in regard to his own boat-buying indiscretions.
WAL’S FLOW-COATING TIPS
1 Always sand back the old flowcoat to remove wax before applying new flowcoat.
2 Wipe with acetone. 3 Mask off areas with tape, but don’t leave the tape to dry with the flowcoat. Same goes for your body — sperm suits and gloves will keep the nasty chemicals away.
4 Always keep a wet edge. For big jobs, a mate might come in handy, so stock the fridge with beer.
5 Measure a quantity you can get through without it going off — 25 minutes for 2L of catalysed flowcoat at two per cent at 18 degrees is about right.
6 Don’t put flowcoat straight onto raw timber. Certain timbers have oils that leach out. Resin the timber first, then flow-coat.
7 Use chisels to remove particles such as hair and glass strands from the wet flowcoat as you go.
8 Have multiple brushes and rollers available — they’ll go lumpy.
9 The ideal temperature is about 18 degrees, give or take.
10 Don’t touch it until dry. This means you, Trav!


Recent Comments