Mick’s rod advice is based on a decade of repairing mistreated gear. He also stocks more than 400 of them at any one time on the shelves at Pickle’s Fishing in Eden. Oh, and he’s got about 100 of his own at home. So it’s fair to say he knows what he’s on about.
ROD STORAGE
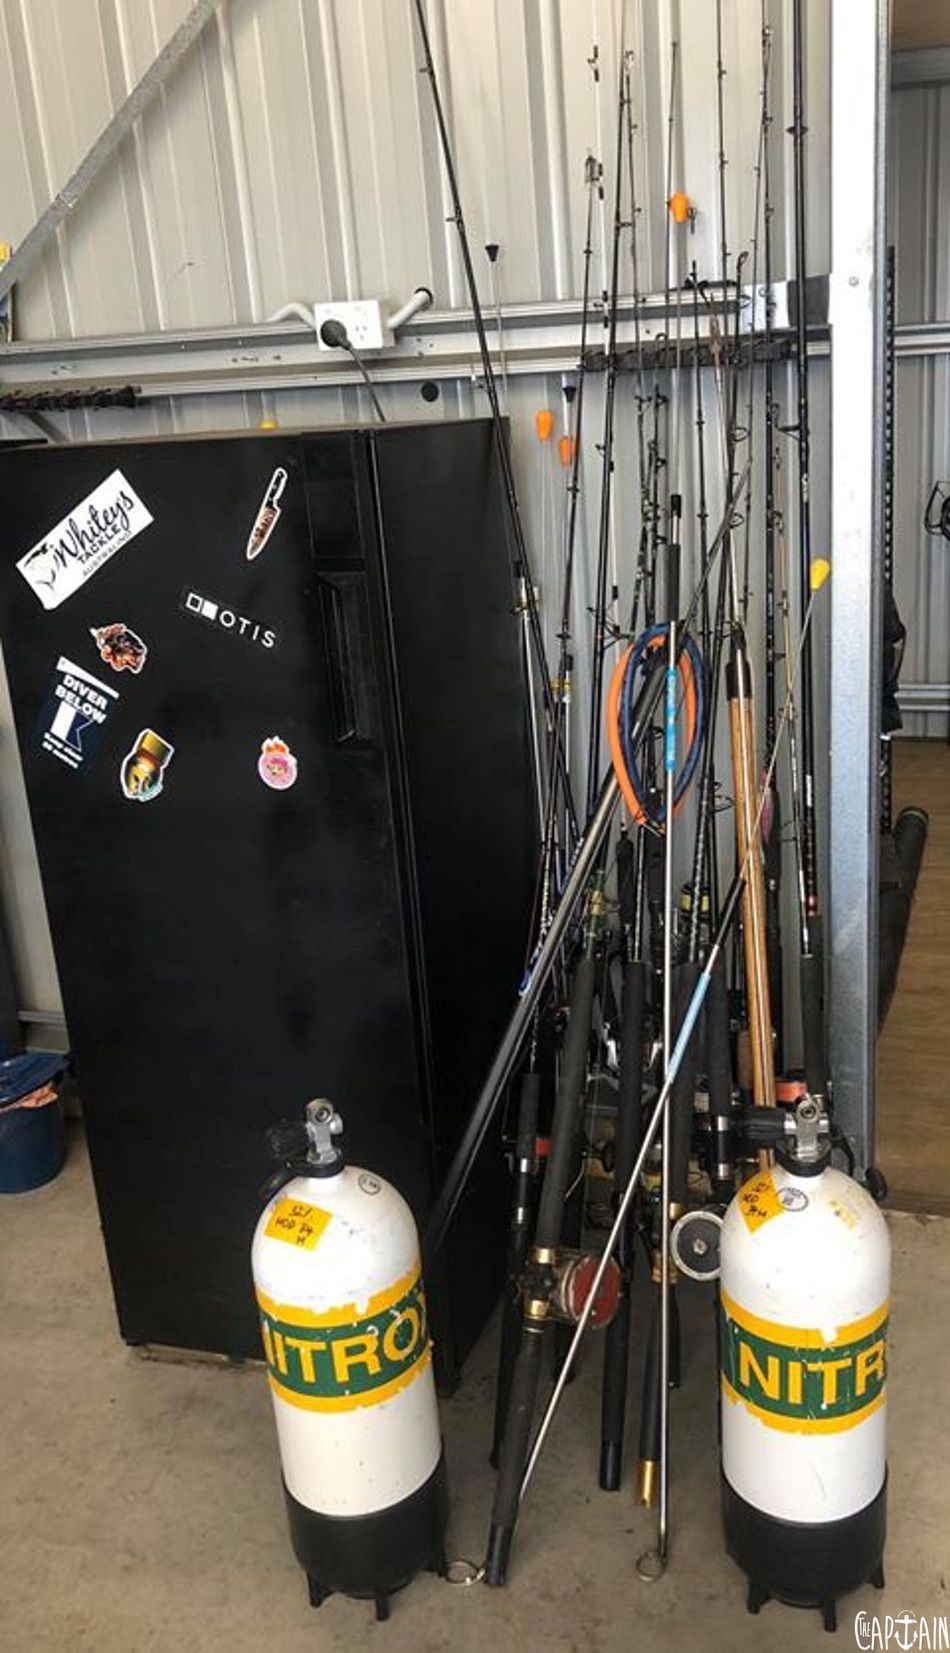
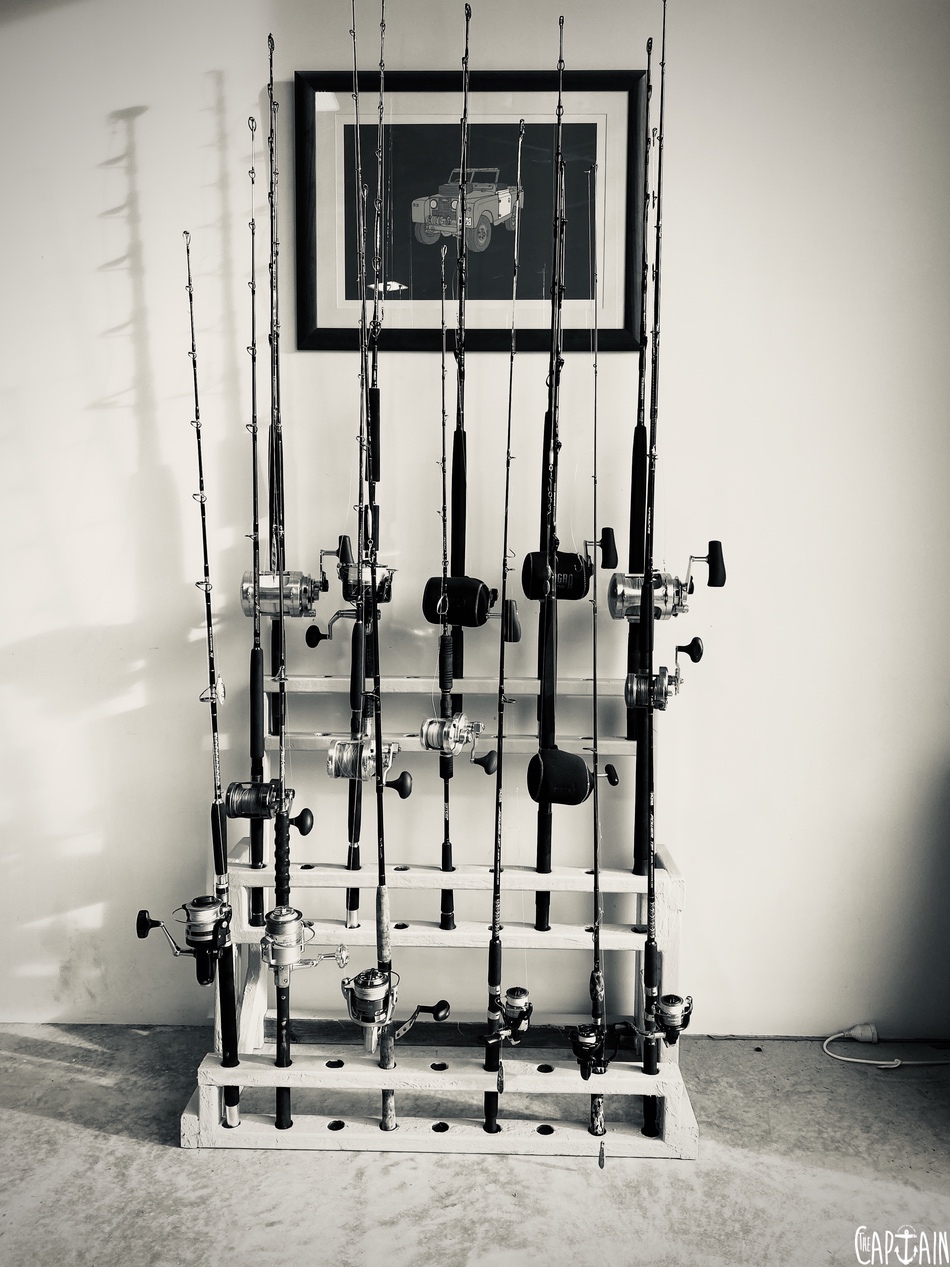
I don’t like leaning rods against walls. After a while, they’ll take on that bent shape. It’s particularly common in hot sheds or cars. Radiant heat can also break down your monofilament line, so play it cool and keep your rods and reels out of the heat. There are plenty of rod-holder kits available off the shelf. Most are plastic and pretty flimsy — and they don’t work well for bigger gear. When you’ve got a lot of rods to store, a tiered racking system works best. It won’t take up too much space, it’ll hold large and small reels, and if you fit wheels on the bugger it can even be transported around. Here’s how to make a tiered rod storage system capable of holding 27 rods.
COMPONENTS
• 12m length of 70mm x 35mm pine ($4 a metre from Bunnings)
• 60 x 65mm wood screws ($20)
• Trolley wheels, for those who want their storage mobile ($5 a wheel from discount shop)
• Resin and flowcoat CONFIGURATION
• 1m wide
• 95cm high
• 50cm deep
• Nine holes per row, roughly 11cm apart
• Front of low rack is 14cm high
• Top of middle rack is 50cm high
• Top of high rack is 95cm high
• Note, with a game-fishing rod fitted in the top tier, total height is about 2.5m
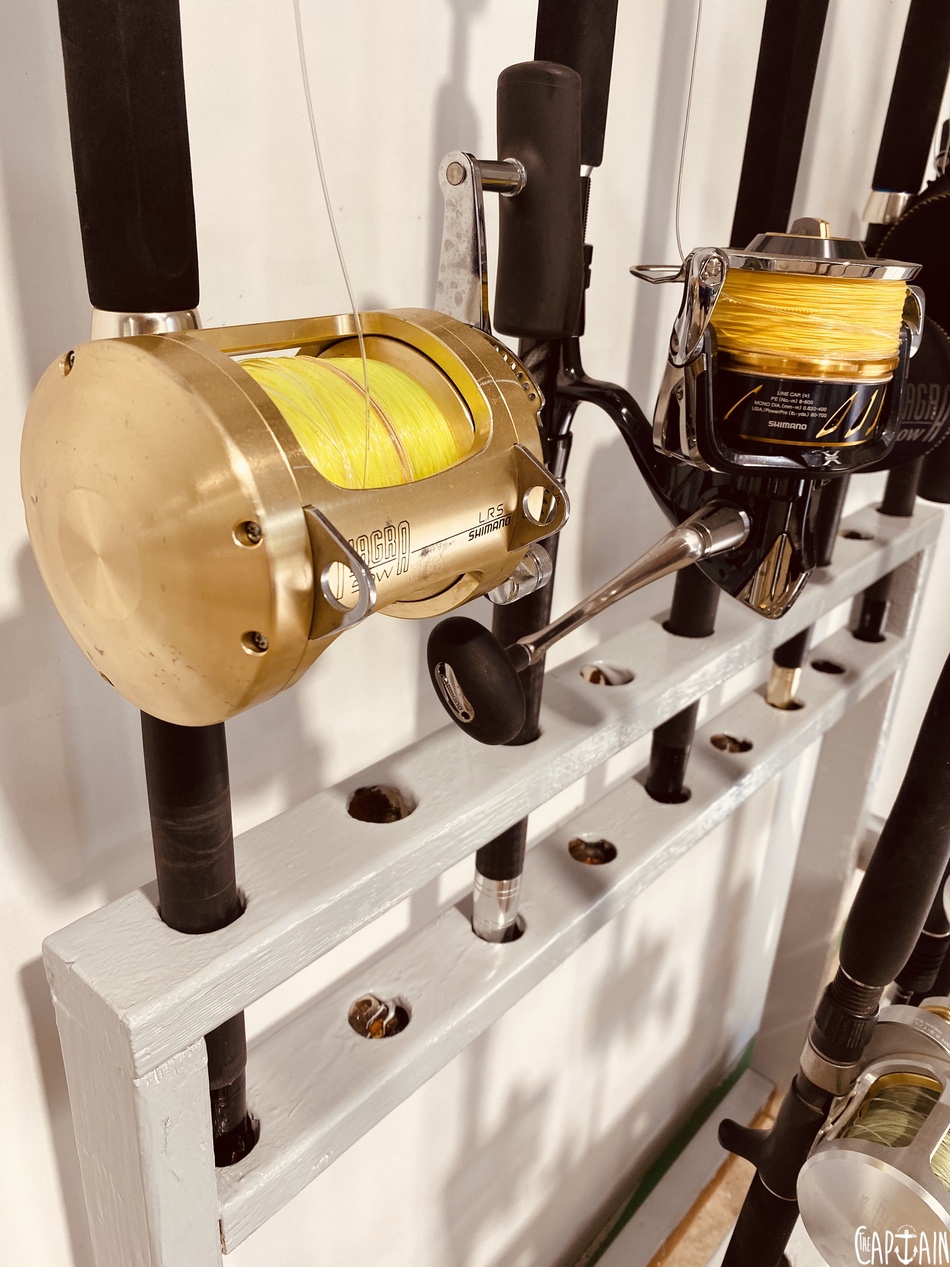
METHOD – ROD RACK
Cut pine to lengths and screw together with two or three screws per join. Drill pilot holes for screws, slightly narrower than screw diameter. Cut the top sections of rod holders with a 40mm spade bit. On the bottom sections, cut only halfway down. Drill bottom holes for drainage. If you plan on using the rack for washing down your rods, paint it in resin and then flow-coat it. The whole thing should cost you less than $200.
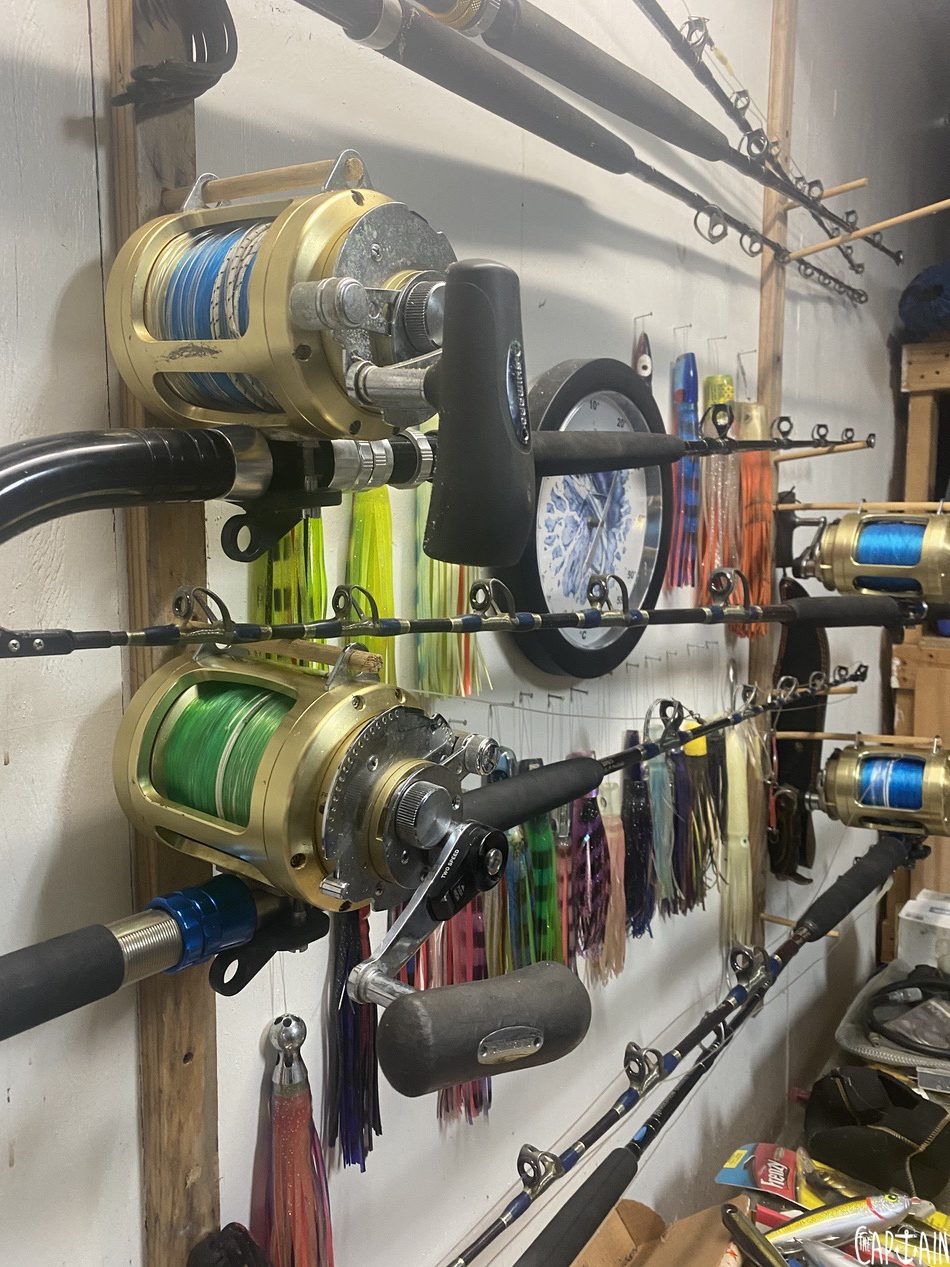
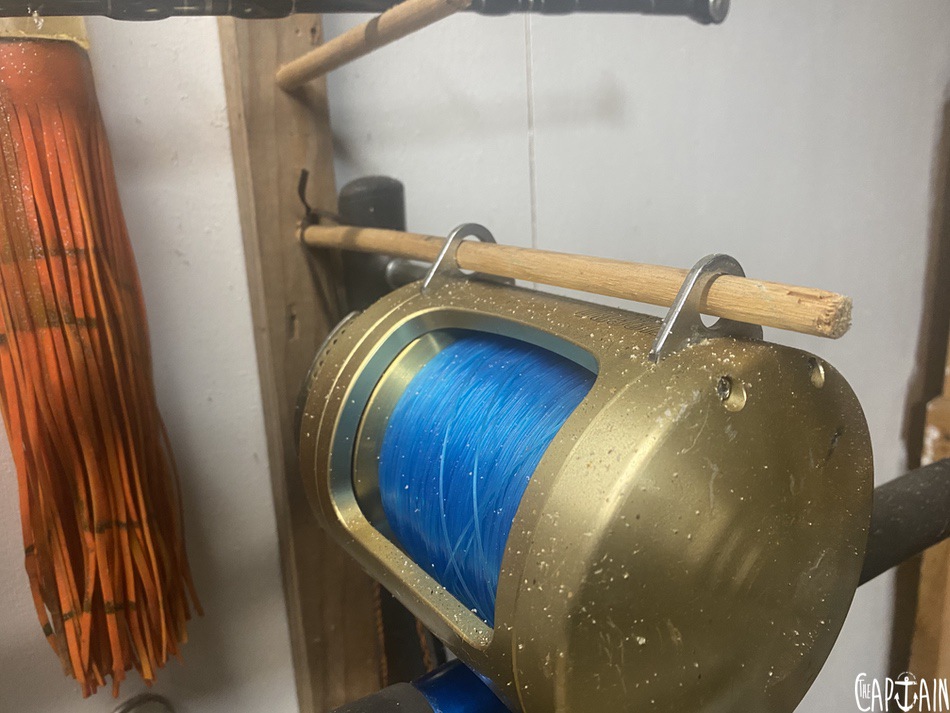
TIPS FOR WASHING REELS
Corrosion is the biggest killer of tackle. If you want to get the most out of your gear, wash it down with warm soapy water at the end of every fishing day — you could even take ’em in the shower if your partner lets you. Close the drags when washing and be sure to open them when they’re dry or you’ll compress the drag washers. Give the reel a few cranks to disperse any loose water. When it comes to washing down Tiagras, you’ve probably been doing it all wrong. See those little holes near the seat of the reels? They’re drainage holes. The best way to wash and store them is flat, with the reels facing upwards. I store mine this way, with a piece of dowel through the harness clips to keep the reels upright. Of course, if you let your reels dry off thoroughly before storing them, then you can store them any damn way you want — but preferably not in the sauna!
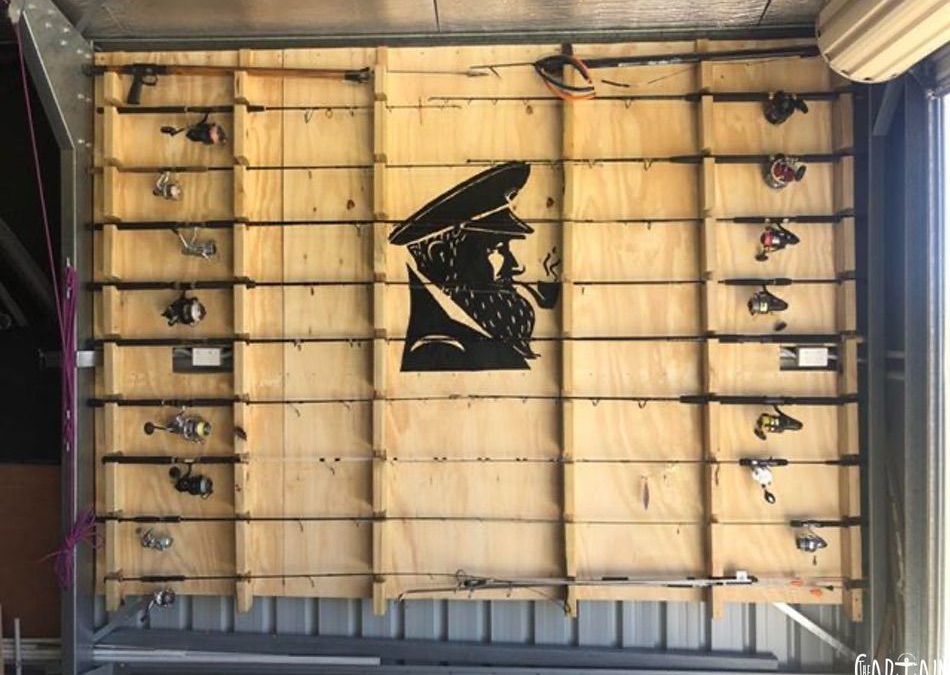
THE SIMPSON’S DIY ROD RACK
Here’s a beaut rod rack system sent in by Georgia Simpson. Her partner, Tom Carroll, built it after he got sick of the growing tangle of rods and spearguns in the corner of the shed. The job took five hours and $250, including a trip to Bunnings. They even had time for a snag. To build it, you’ll need a few tools — including a drill, level, 63mm hole saw, jigsaw, circular saw, pencil and paintbrush. You’ll also need three sheets of 240cm x 120cm x 1.2cm plywood, six 90cm x 45cm pine structurals, black paint and a clear coat varnish.
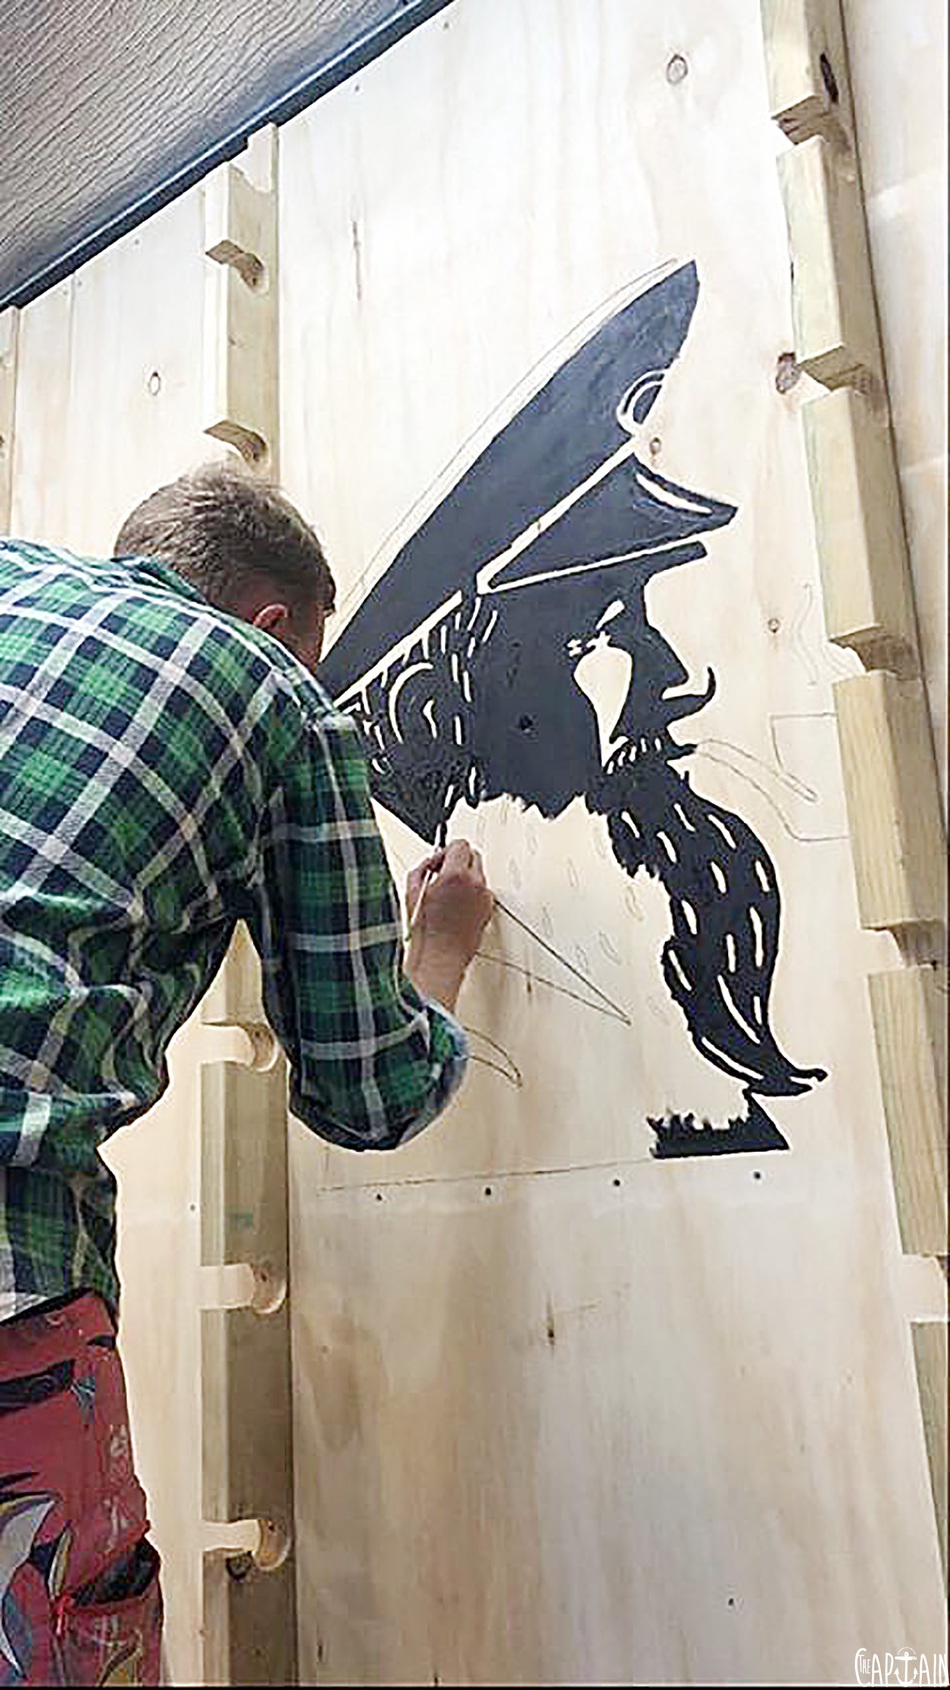
Hopefully, you’ll figure out how to rack it up based on these photos. Tom suggests laying out the ply and rods to get your spacing right before drilling. For the perfect finishing touch, Tom and Georgia projected the image of The Captain’s logo image onto the board, traced it in pencil then painted it in. Job done.

Recent Comments