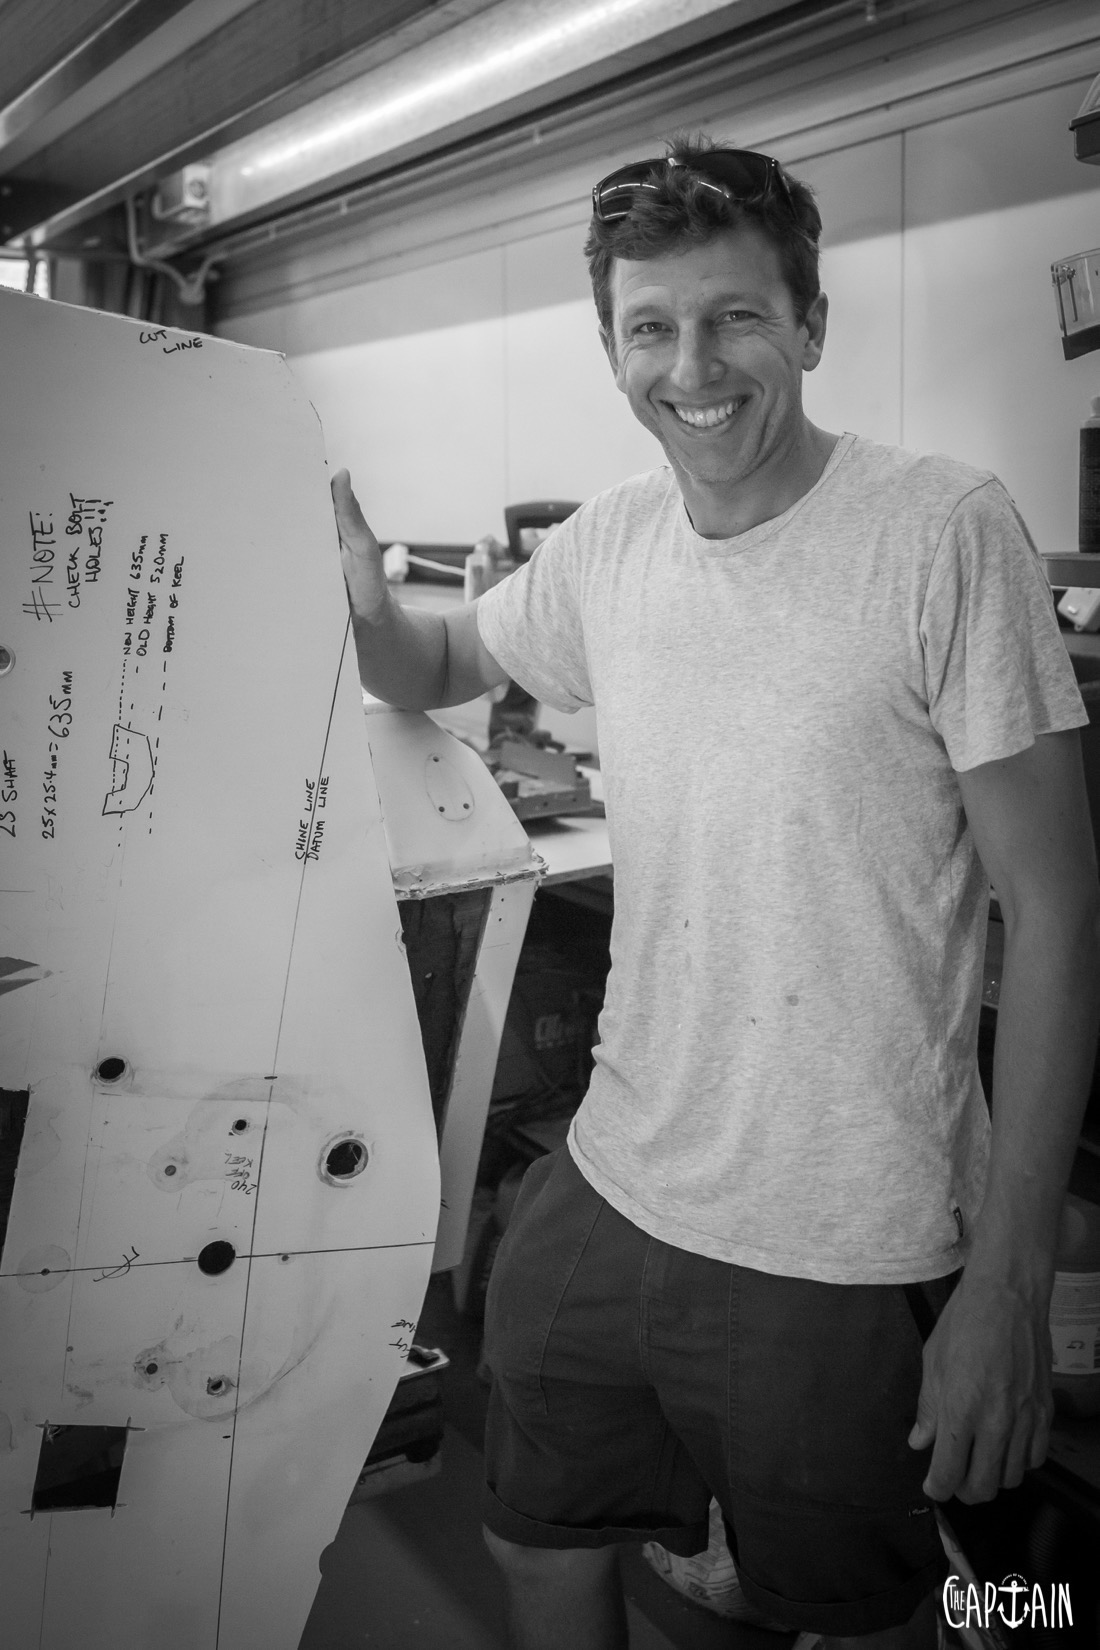
When The Captain made the big decision to saw off the transom of Nub Tub, he couldn’t bear to cut up his baby. So he called in Josh Hammond from Ocean Custom Marine to do his dirty work.
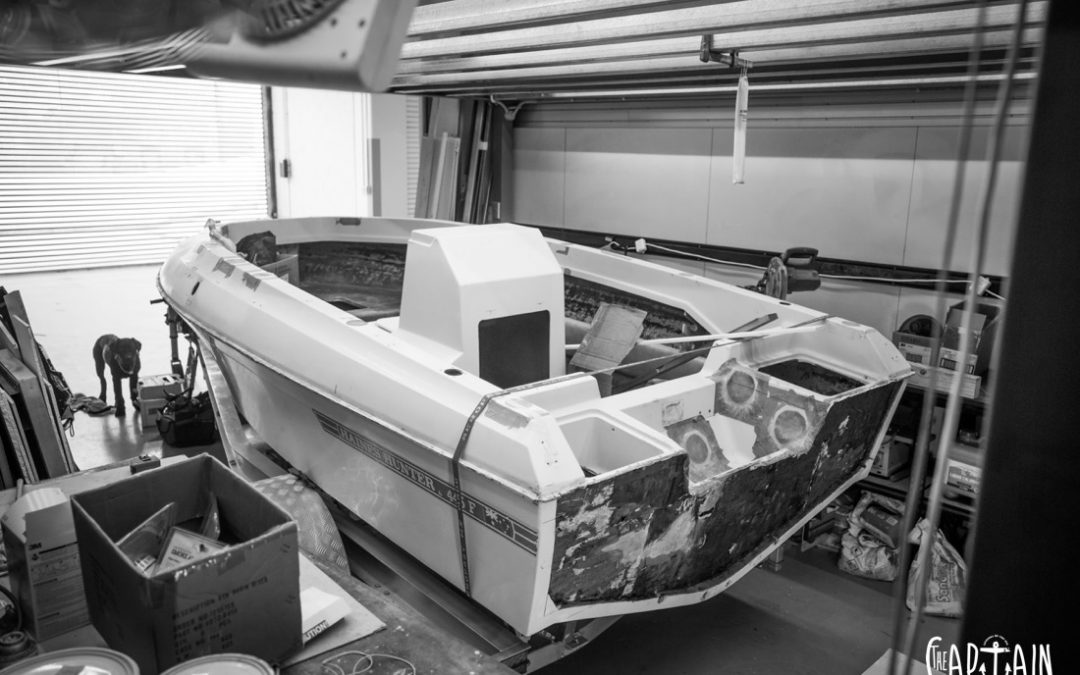
The Captain’s project boat, Nub Tub, wasn’t supposed to get a new transom. The old one hadn’t yet fully rotted out like the stringers, but it kept The Captain awake at night, contemplating the work already done. He’d invested in solid glass stringers by Erick Hyland from Whitepointer boats in Cann River. He’d forked out on a new timber-free Thermo-Lite floor and casting deck, as well as a new console from Boat Box in Warriewood. Why do all that hard yakka then ignore the transom? Money and time were the two obvious answers.
In the end, it was sage advice from Jonathon Wilshire of Northern Beaches Marine that tipped him over the edge. Jono had been entrusted to fit the new Suzuki 100HP out back. He owns and retails Sea Devil boats, including their 5.20 console model, and had fitted lots of donks to centre consoles on the Northern Beaches. Jono reckoned Nub Tub would be sitting pretty low in the rear, especially with a heavier donk.
“You don’t want that shiny new Suzuki sitting in the salt water,” he said. “And you don’t want the sea to be rolling into the well when you’re trolling or anchored on the reef”.
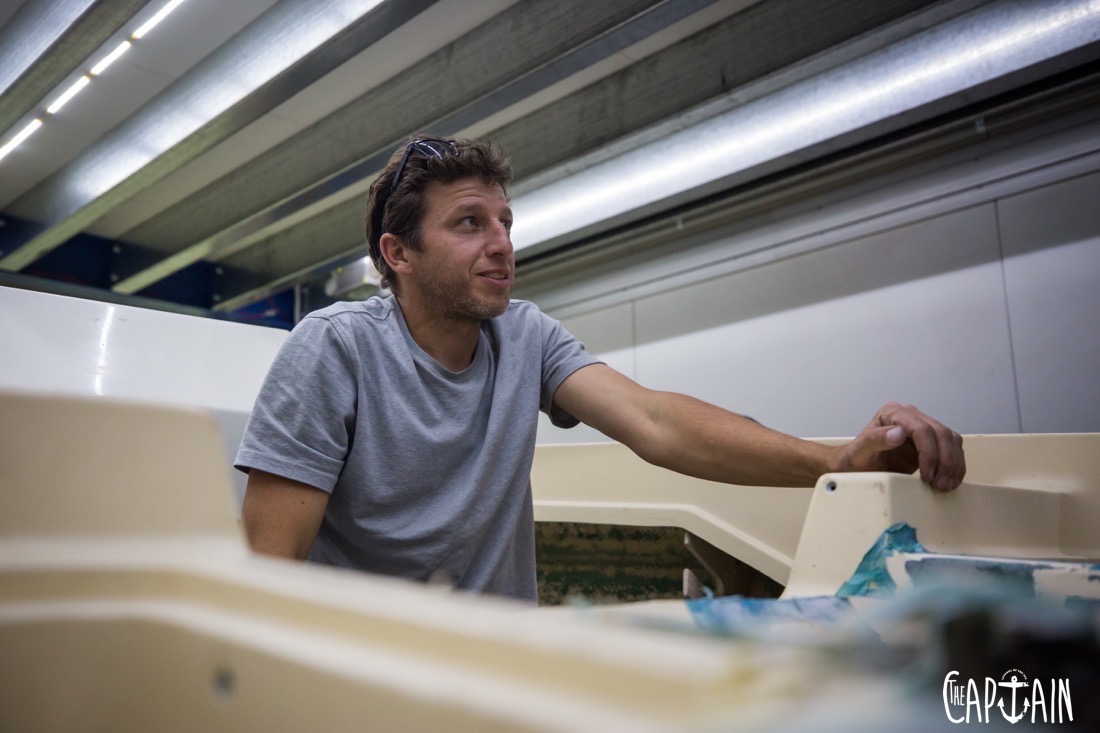
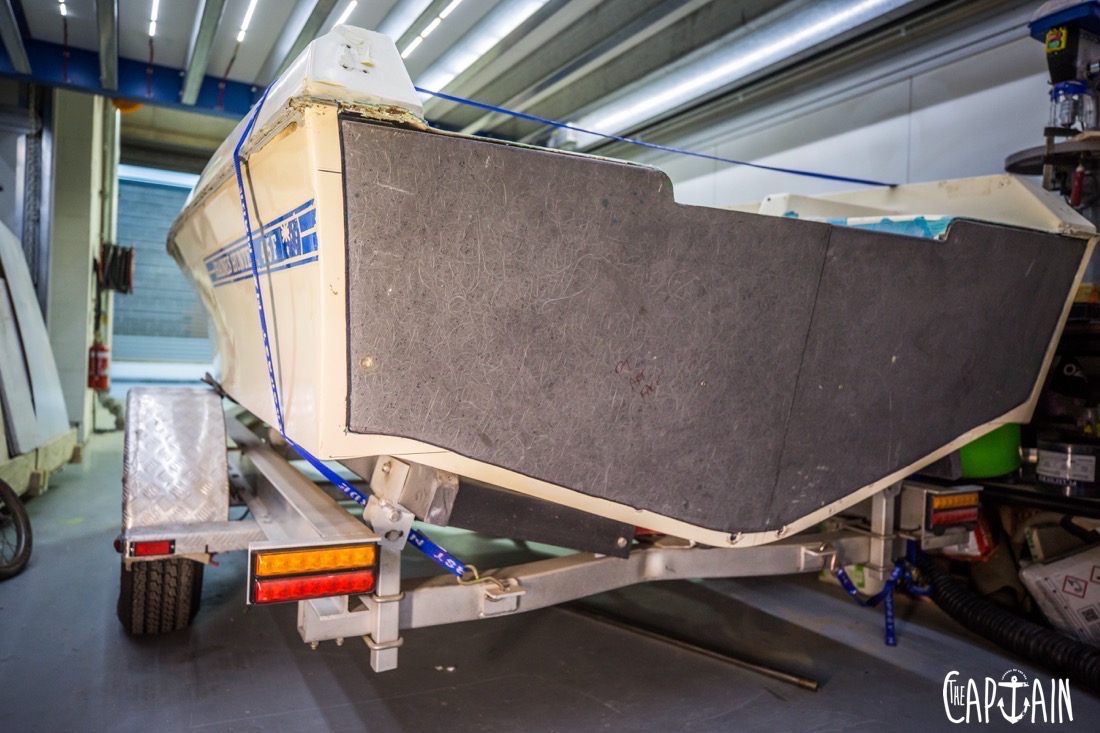
So, The Captain decided to go with a brand-new 25” Thermo-Lite transom. It was time to call Josh Hammond from Ocean Custom Marine. He was the bloke that helped gut the Nub Tub and does quality repairs/restorations to all kinds of boats. He’s pedantic, does his work with pride and gives a lifetime warranty. Oh, and he’s not cheap. Yep, this was going to cost The Captain a few free advertising pages.
Here are Josh’s steps for the Nub Tub transom transformation.
WHAT’S THE PLAN, MAN?
Before the diamond-blade grinder came out, Josh asked us to consider our rear-end options. Some of the tougher questions The Captain’s crew had to consider:
- To access the transom, should we lift the top deck for maximum access? We chose not to. Not required, Josh reckoned.
- Should we have done the transom first, then the floor as others have suggested? Josh suggested there was more than way to skin a fish. (We think he meant “cat” — thankfully, he knows his boats better than his animals.)
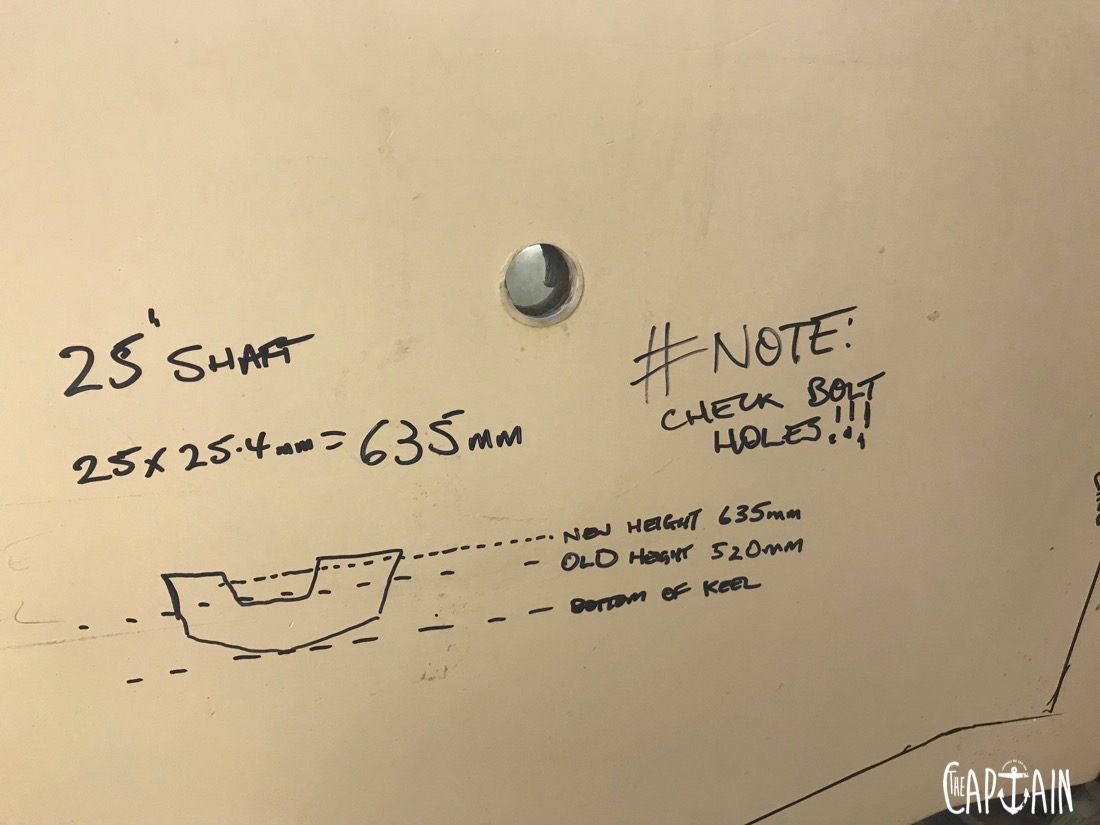
- What was the perfect transom height for the boat’s application?
- Where would the new engine bolts go through (if raising the well)?
- What horsepower (and associated weight) were we carrying?
- What kind of treasure chest did we have to play with?
- What materials should we use — cheaper marine ply or the duck’s guts of core products, Thermo-Lite?
- How long would it take — and could we occupy the family garage for that long?
- What jobs could we do ourselves and what should we outsource?
Even with The Captain’s network of marine mates, the timeline had blown out. It’d been more than two years since we took the first screw out. Poor old Jono had so far taken orders for three Suzuki engines. Each of them had The Captain’s name on it, but newer, lighter and flasher models with fancier sticker kits superseded them.
CHOP, CHOP
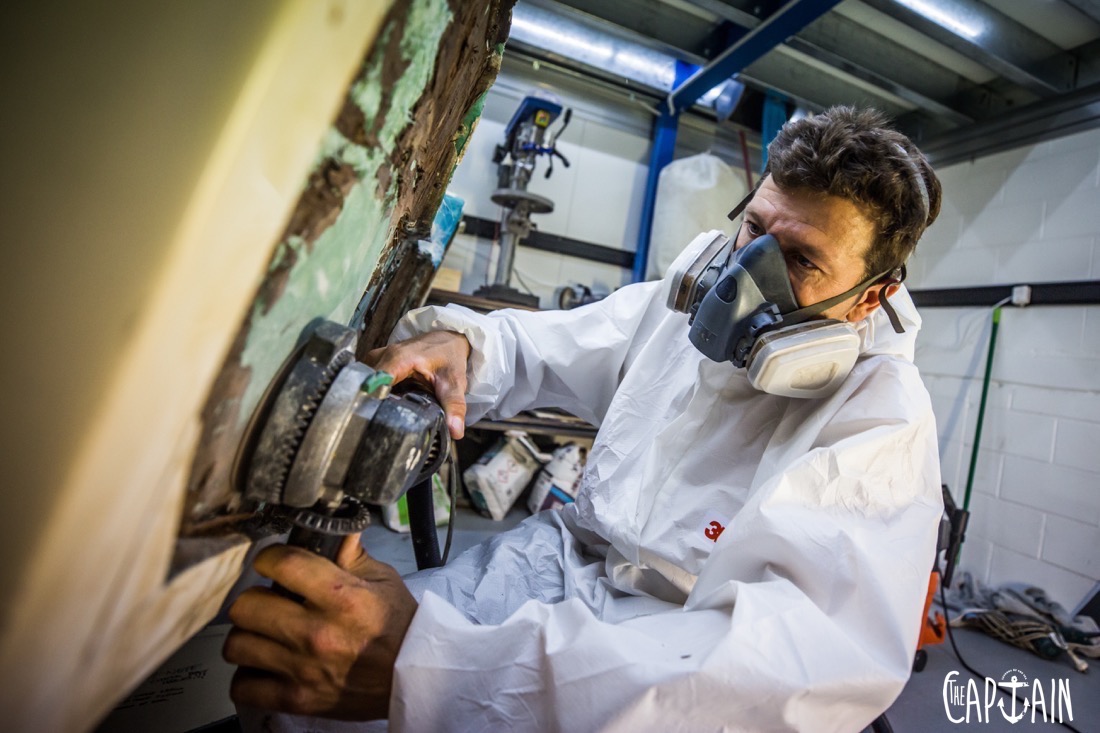
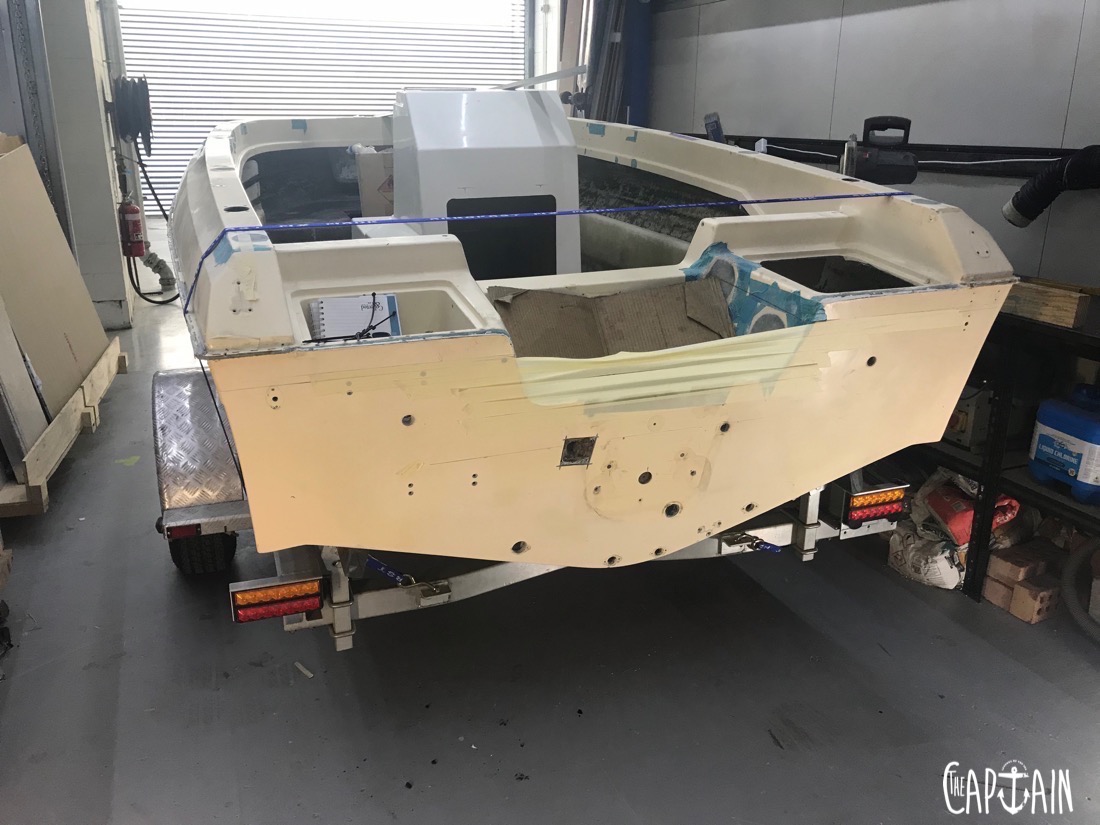
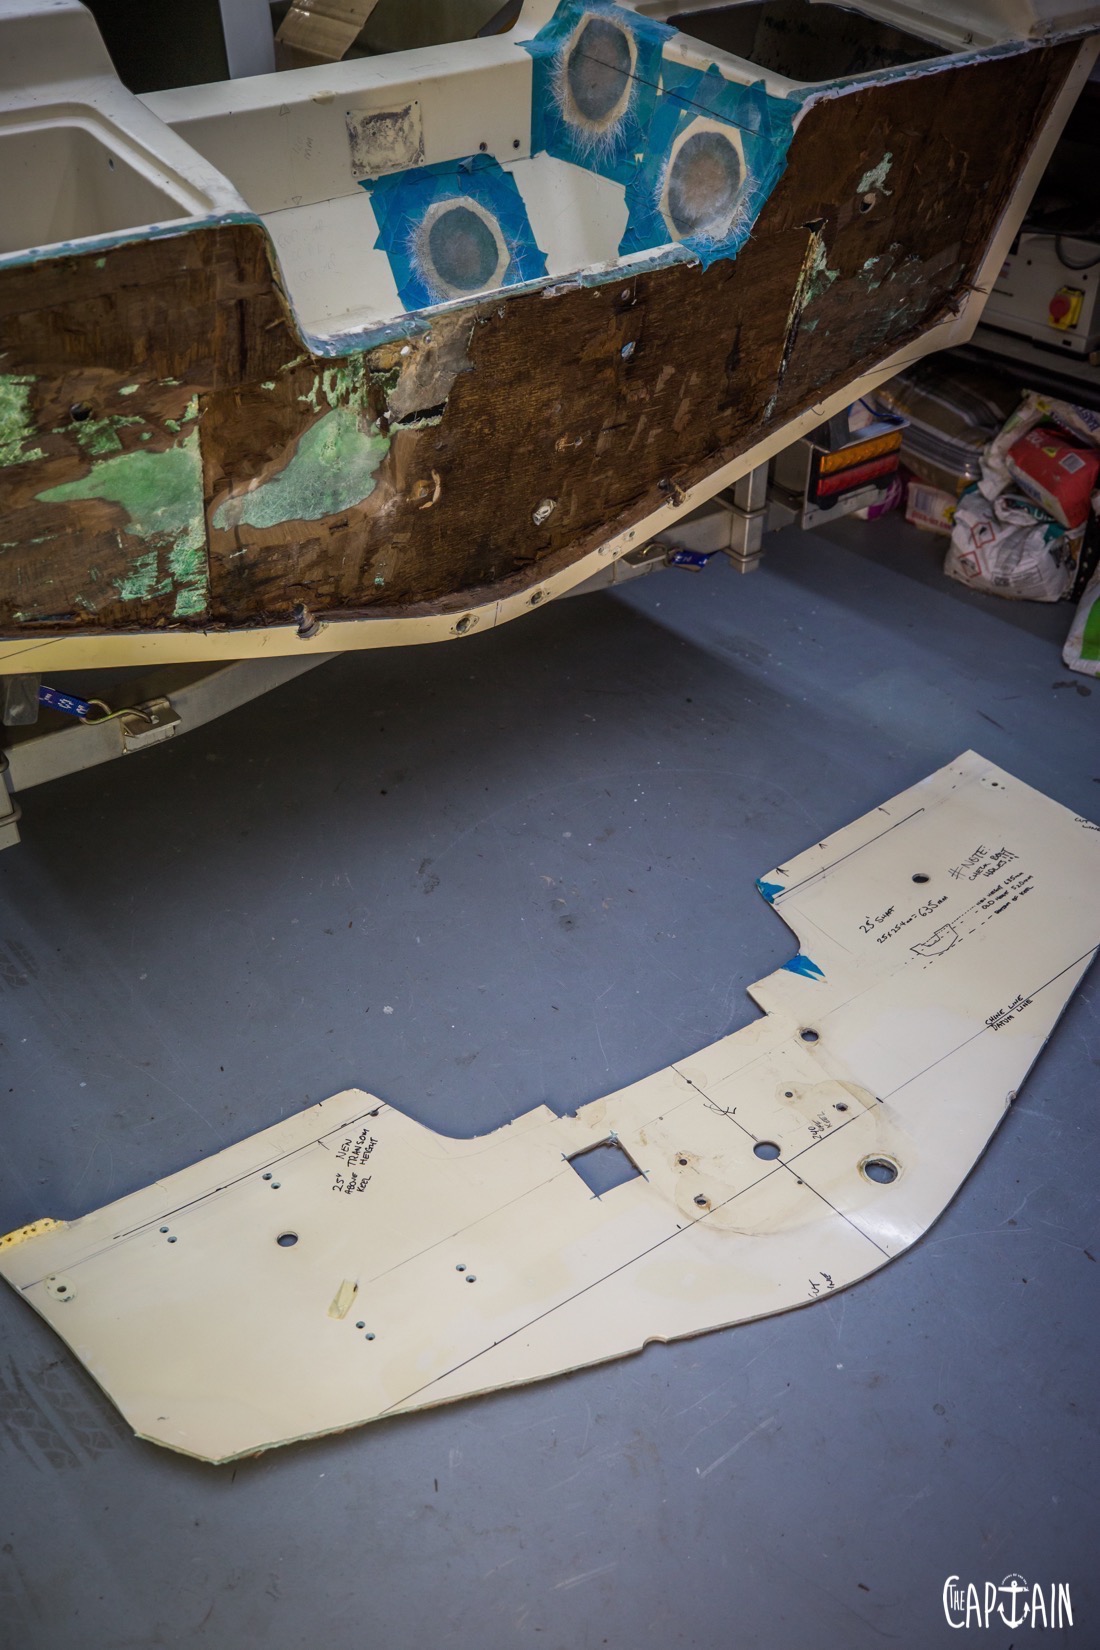
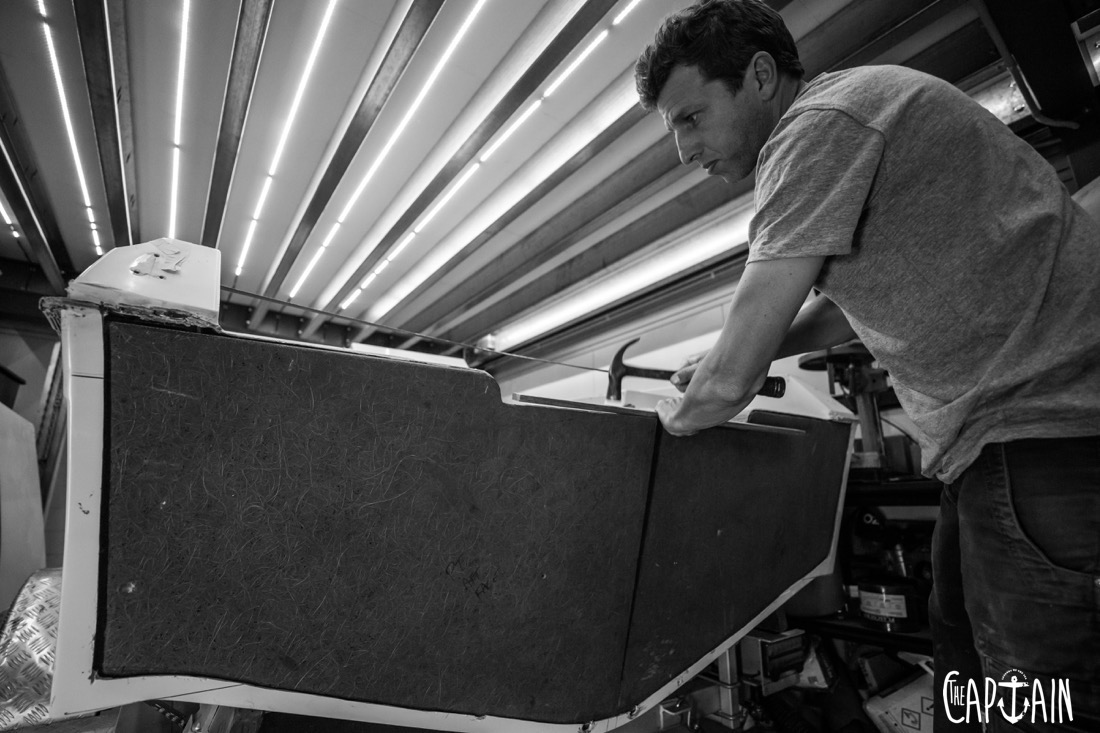
We established that the deck wasn’t coming off and we’d attack the transom from the rear. With the diamond-blade grinder, Josh cut the outer skin of the transom out, leaving a few inches of the outer layer that would snuggly fit the new core inside. We kept the cut-out section — to be repaired and refitted when the new core had gone in. It’s not the kind of thing Bunnings keeps in stock.
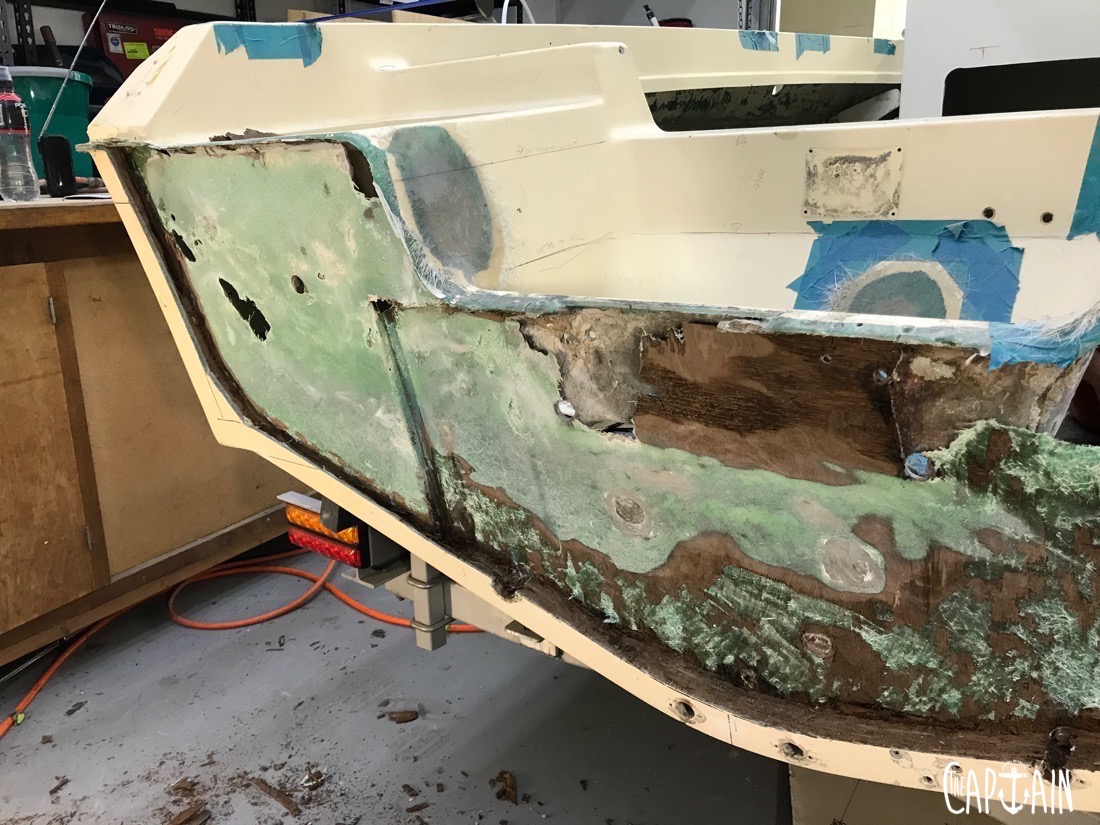
Next step was the removal of the old timber, some of it now delaminating around the transom holes used for fitting bungs and the like (note: there was no Sikaflex to be found here, just cracked resin and bare timber). Josh had a handy arsenal of sharp chisels and scrapers as well as grinders and sanders. It’s a process that involves patience, persistence, good-quality tools and plenty of beer — not used in conjunction with one another. It takes brute force and finesse in equal measure. Josh didn’t want to break through the inner layer of glass that would be retained.
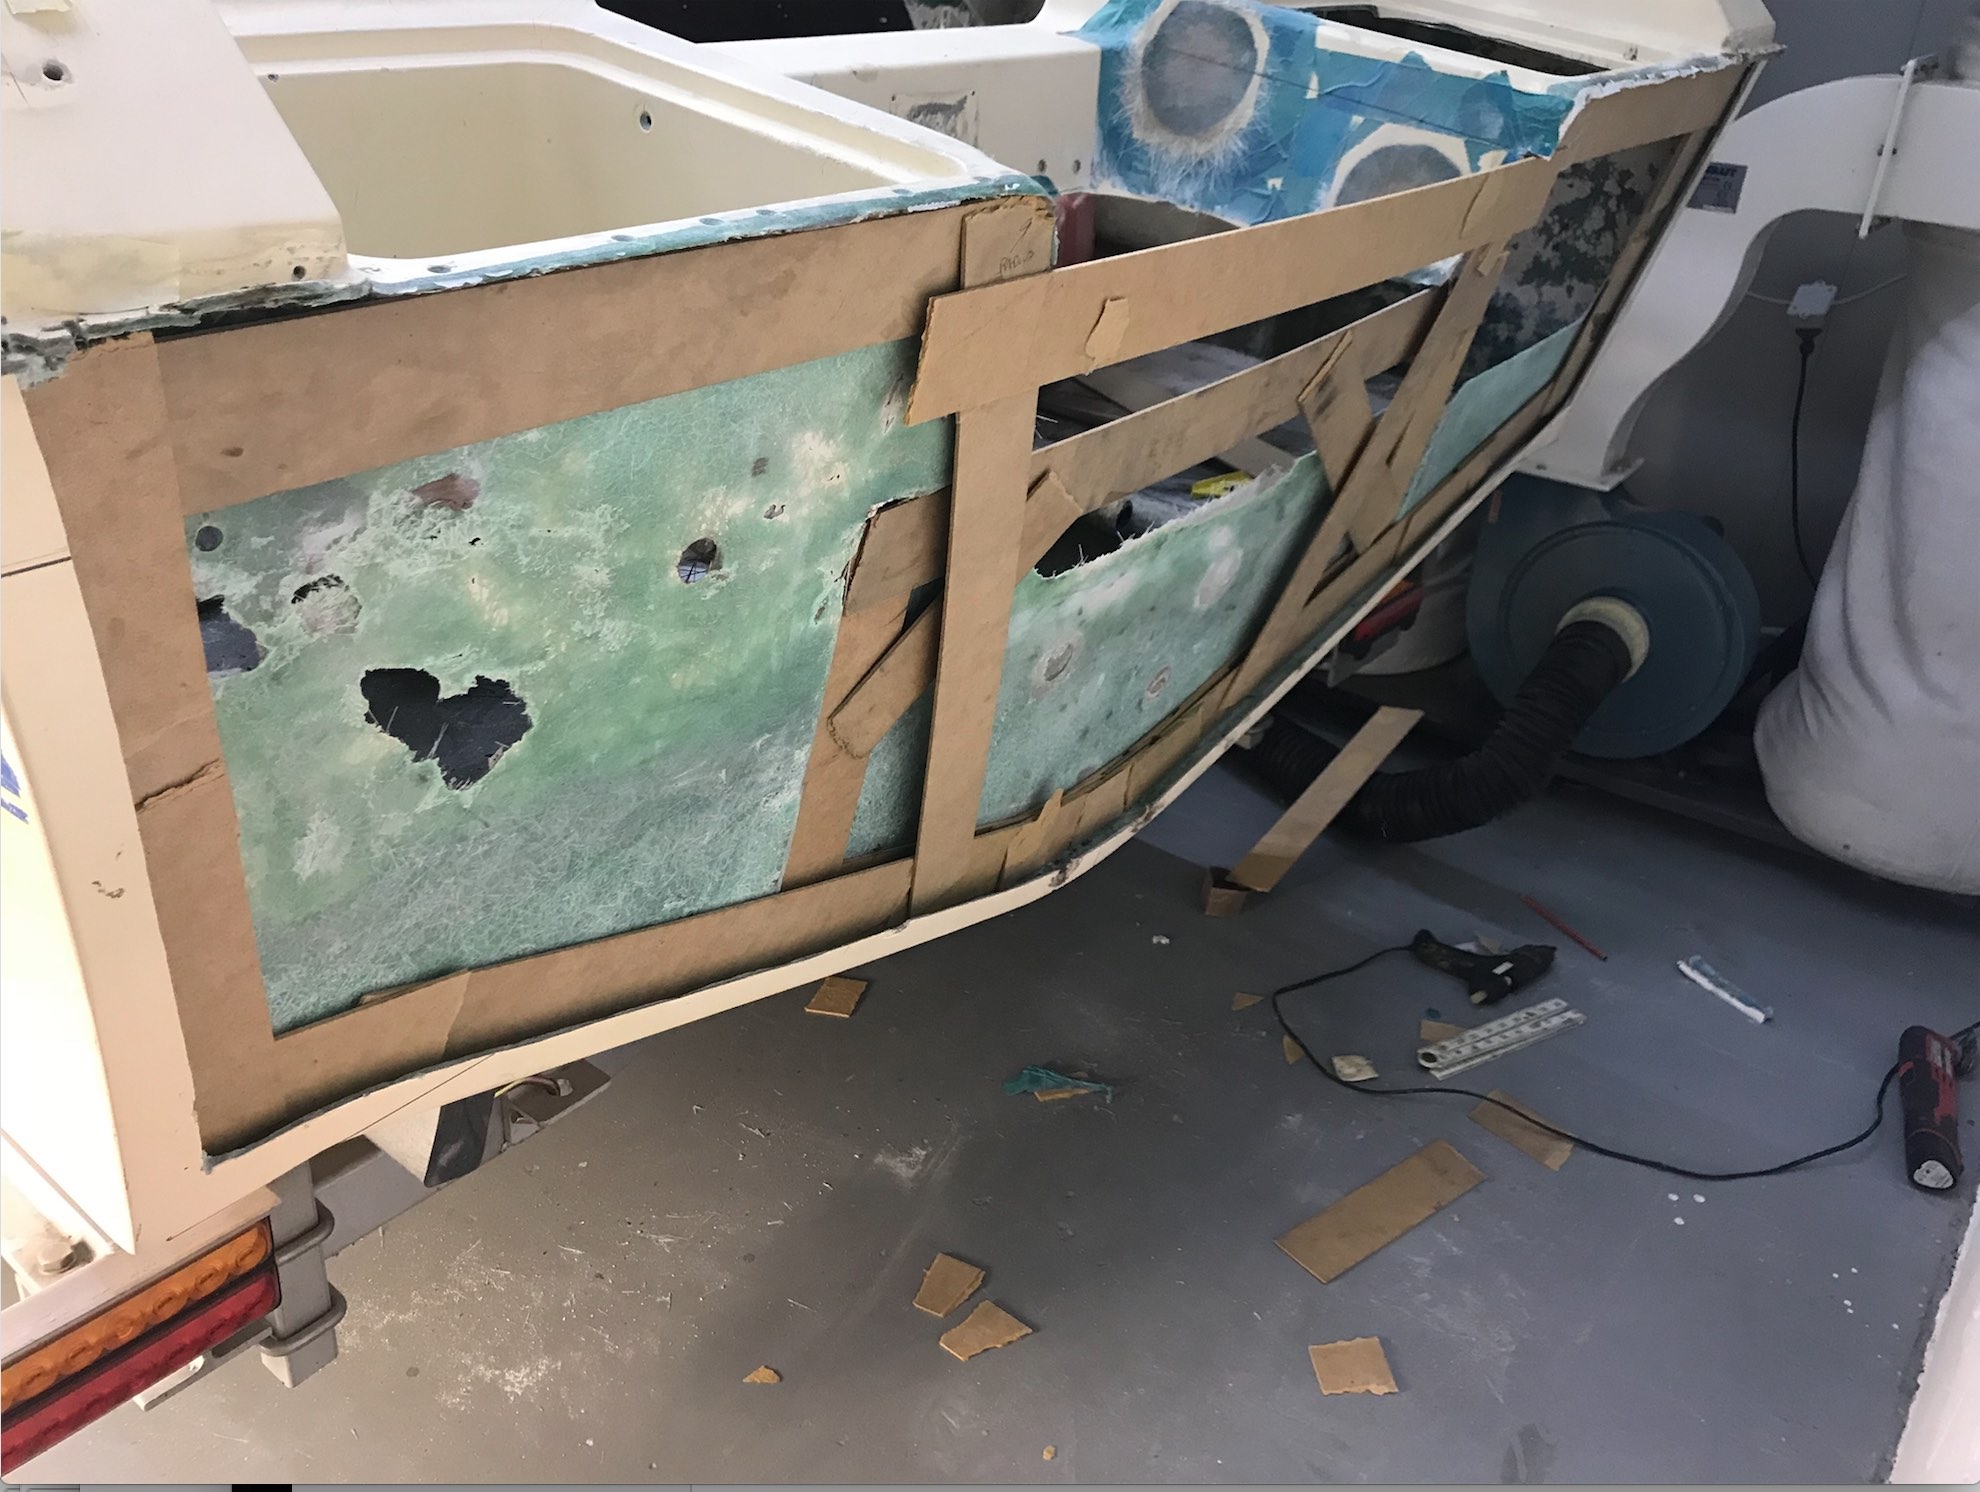
TEMPLATING THE NEW TRANSOM
Next step was measuring up the new transom. The key was to get the dimensions right by building a template (or pattern) first. It should fit nice and snug into the cavity, but loose enough that it can be adjusted. The template is then used to cut out the final transom core. It’s expensive stuff and you don’t want to get it wrong.
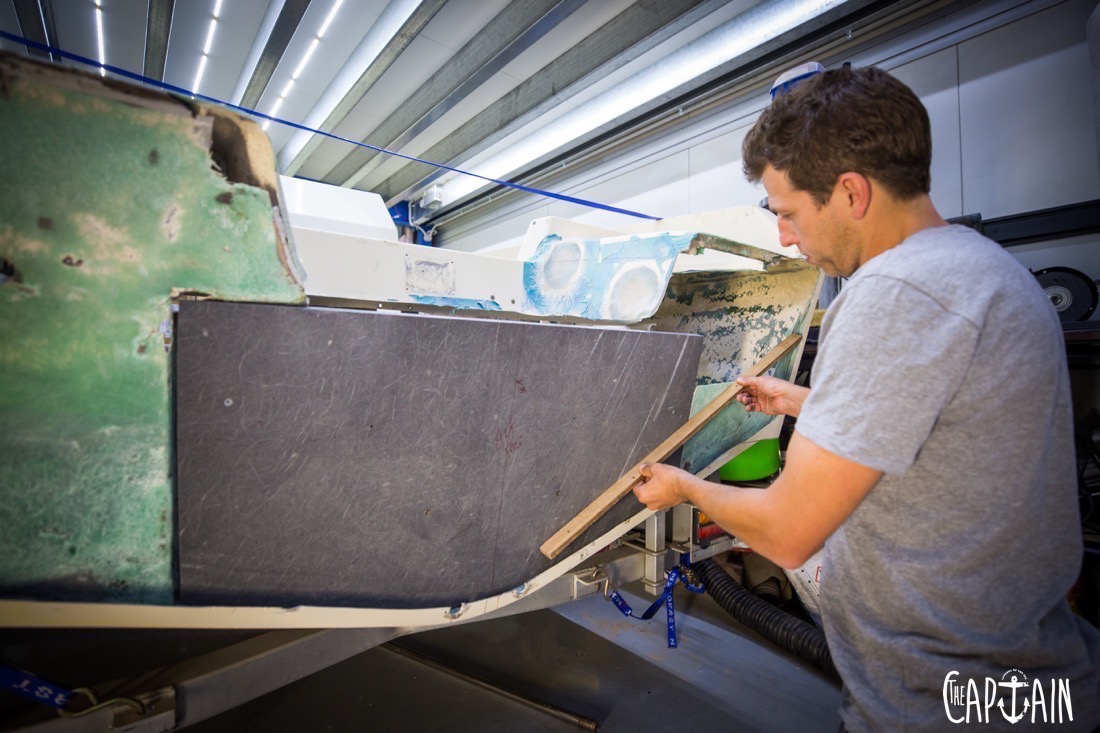
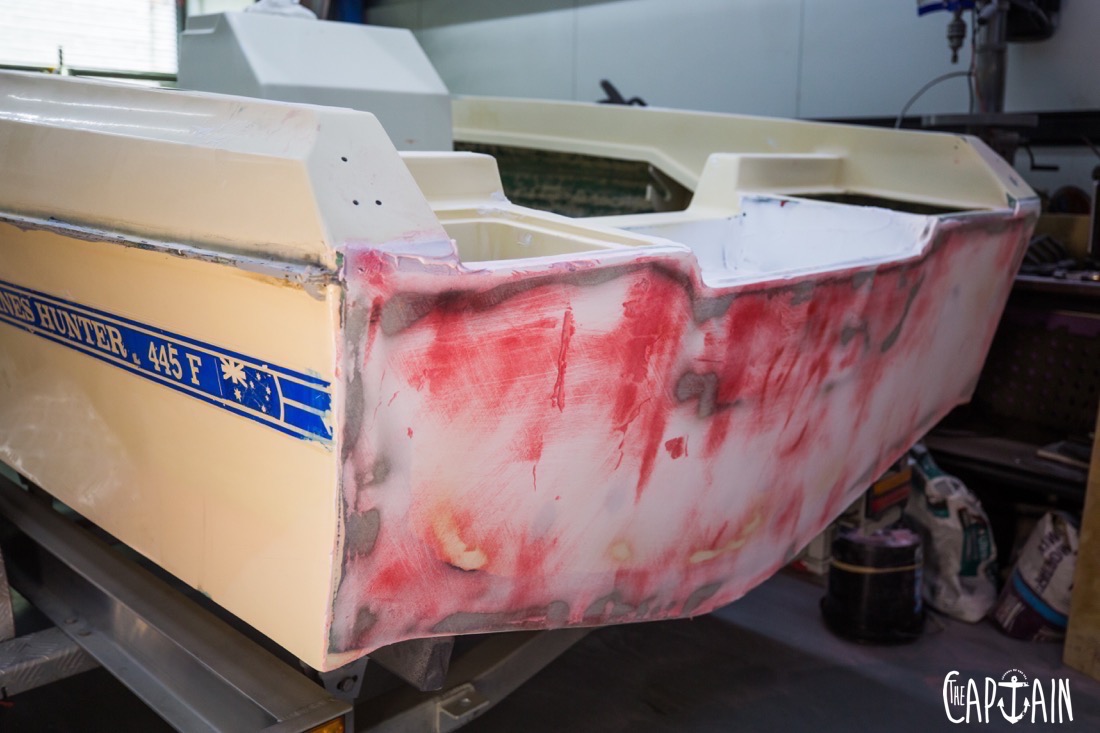
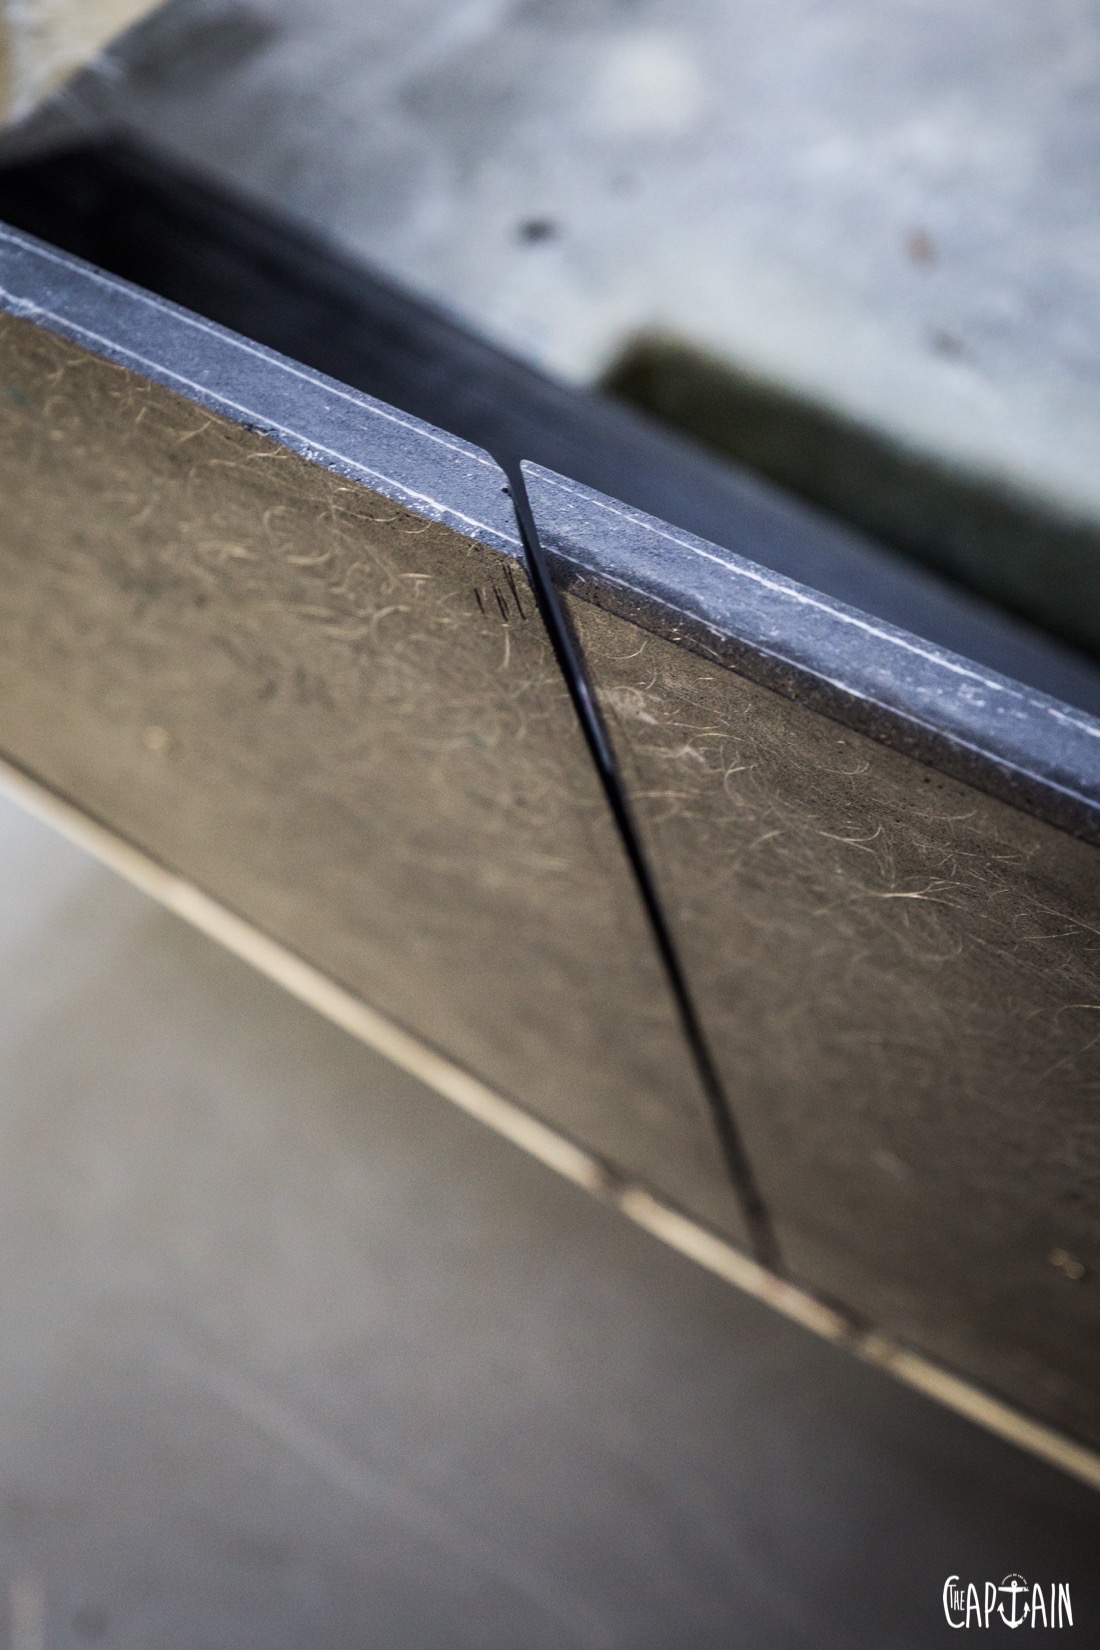
For the core of the Nub Tub’s transom, we went with 19mm heavy-duty Thermo-Lite board doubled up in thickness in some sections. One piece sat in the middle area, from the hull bottom to the well section. Behind (or aft) sat two sections, scarfed together in the middle with the seam running top to bottom. The reason it wasn’t one piece was that you’d never get it in the cavity. Once the scarf join was ground back and re-glassed, it’d be stronger than one piece, Josh reckoned.
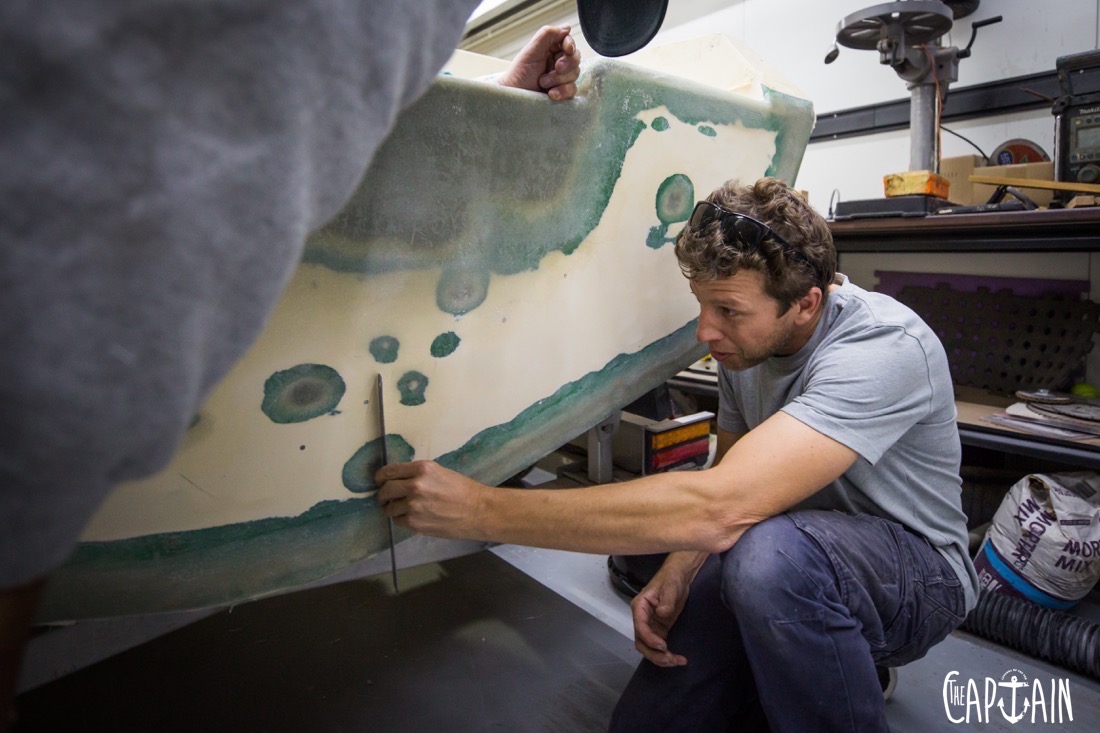
GROUND ZERO
Every new section of the boat, including the three transom sections, new knees and well sections, were ground back and prepared for the glass matting stage. This process was also applied to the old inner and outer skins that had been retained.
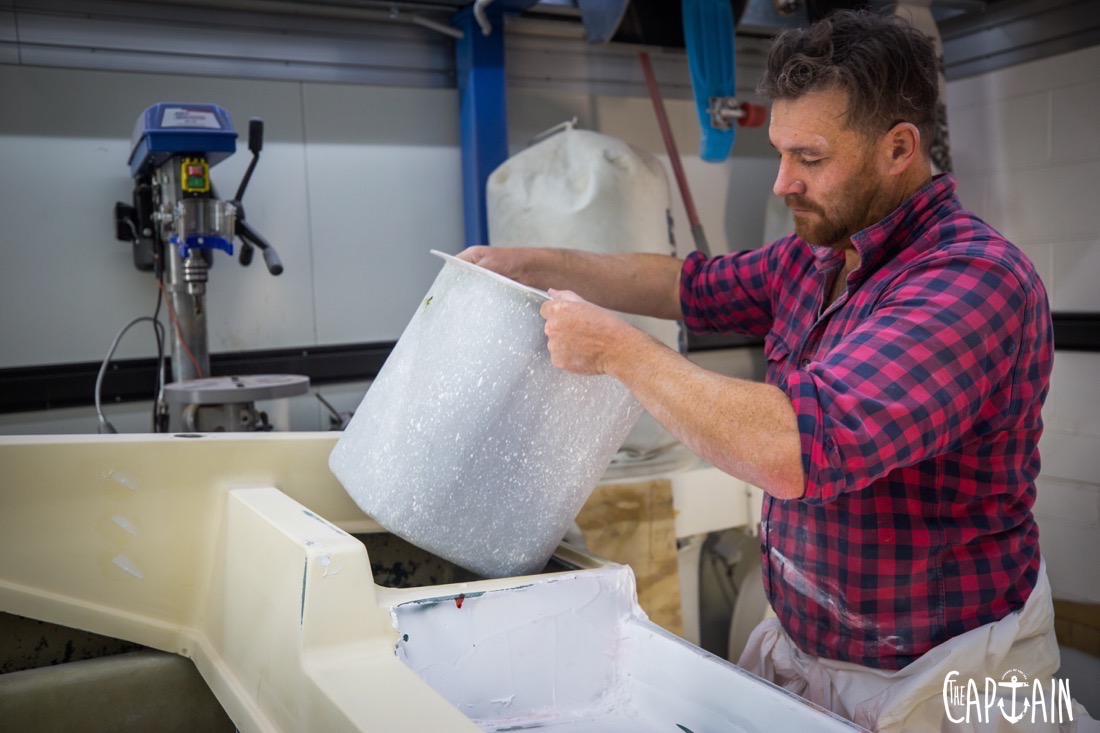
BOG O’CLOCK
Bog was then applied to all the cavities in the transom. Any cavities left unfilled would become air pockets that could retain water, compromising the transom. The excess bog was squeezed out with clamps where they could be used. In hard-to-reach places, Josh used screws and a block of ply to create spread the pressure. When it went off the clamps, screws and blocks were moved. Then it was more grinding and preparation for the outer skin.
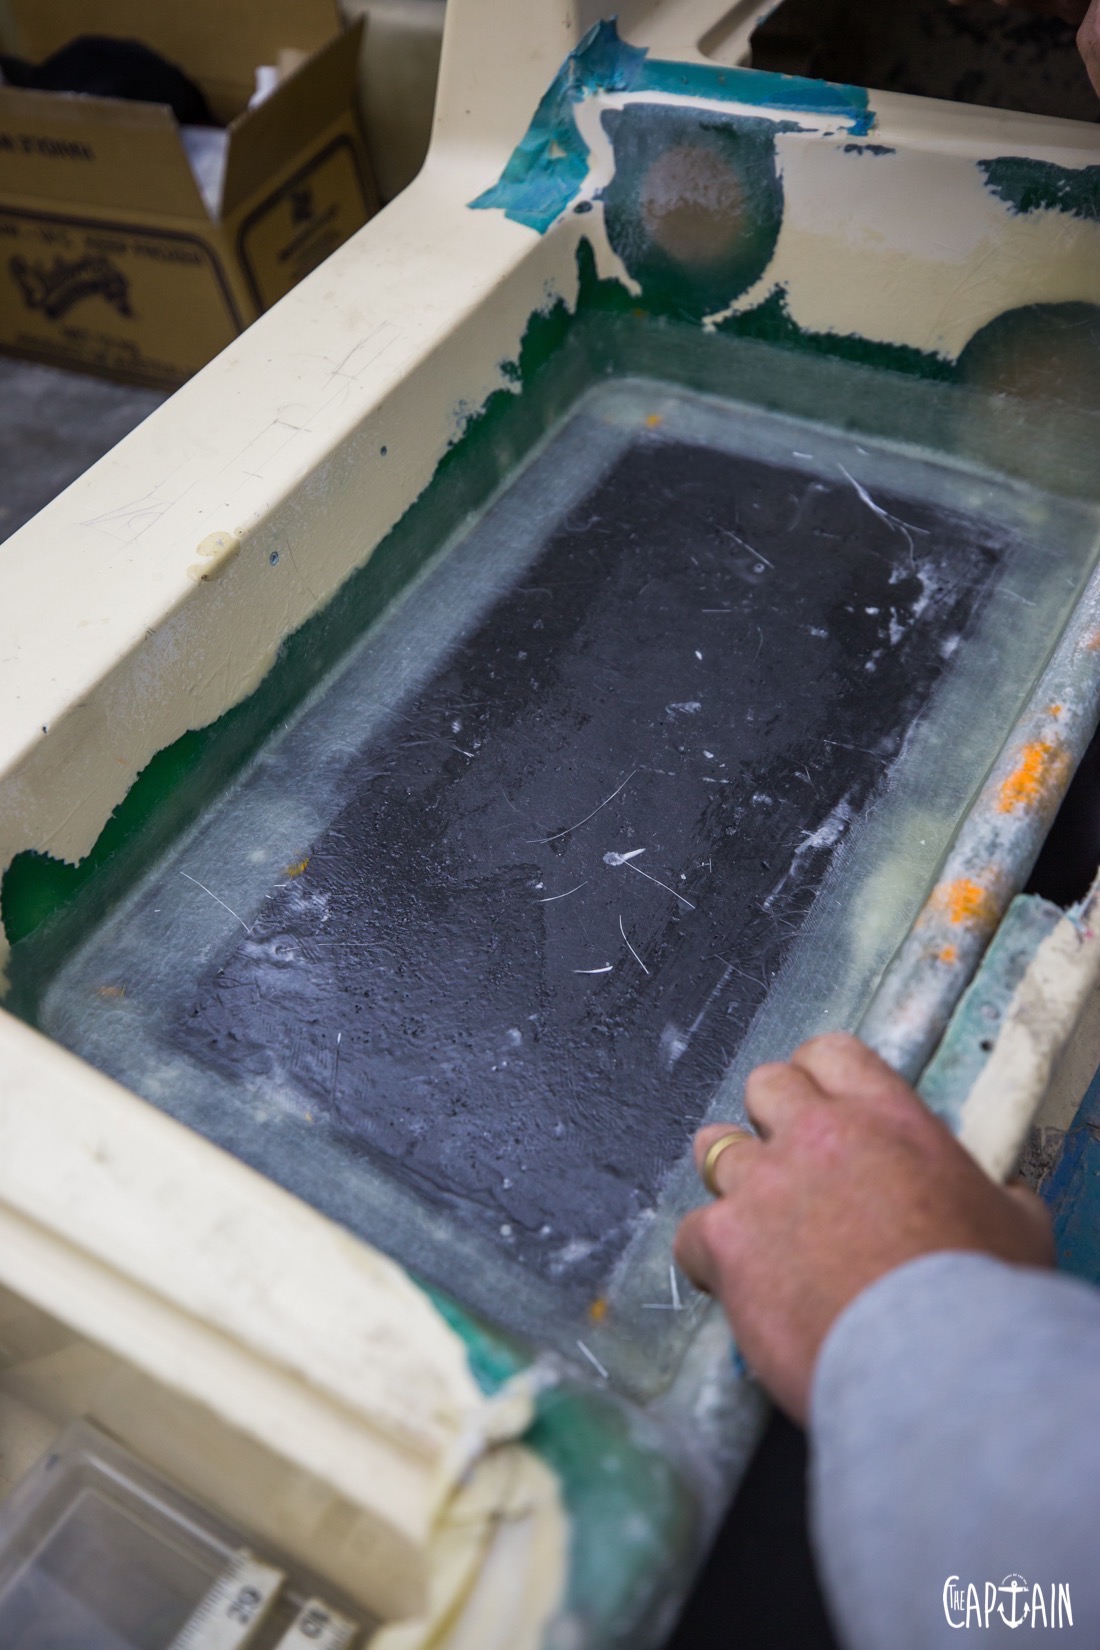
SKINNED ALIVE
The outer skin was then refitted and ground up with a layup of glass laid on to lock it all in. The top section was then glassed back to the top deck. This was never done on the original models, Josh said, and it’s where a lot of older-model boats failed. Then it was all filled and faired, for a smooth silky finish. We used good-quality epoxy filler rather than polyester car bog. It’s stronger and doesn’t crack. Applied with spatulas and trowels, during each stage a straight edge was employed. The straighter the edge, the less filling and fairing later on.

TORTURE TIME
Once the transom was nice and flat, Josh hit it with a torture board (long sanding board). This was done by hand as a machine tends to dig holes when sanding over a large area. One handy hint was to use guide coats, essentially hitting the transom with a light dust of spray paint. When sanded back, it revealed the high and low sections that could be then hit again or filled with epoxy filler.
Next up was a layer of epoxy primer — which soaked into the filler — followed by epoxy high-build paint. Now it was ready for the final layers of paint.
OH, WELL
In his wisdom, Josh had built a pattern of the new engine bolt configuration, and now held it up against the transom — thankfully, before the new transom was glassed in. He noted that the lower turn of the old well butted straight into the transom where the new boltholes were to come through. So the old well was cut out and replaced with new Thermo-Lite sections. Two knees (or gussets) locked the well into the transom and the floor, further stiffening the whole rear end. Josh actually said it would be bulletproof, but then, seeing the excited look on The Captain’s face, urged us not to test this particular theory.
ABOUT OCEAN CUSTOM MARINE
Josh Hammond is boss man and head shipwright at Ocean Custom Marine. He looks after all sorts of boat-luvin’ customers — from casino owners to shit kickers like The Captain. He’s done timber boats, yachts, cruiser and runabouts — and he understands the passion levels, no matter how big the project. He also brings plenty of practical boating sensibilities to the job, as he’s always lived on the water and rebuilt several of his own boats.
Ocean Custom Marine is located on the Northern Beaches of Sydney and can be contacted on 0410 506 779 or joshocmarine@gmail.com
Recent Comments