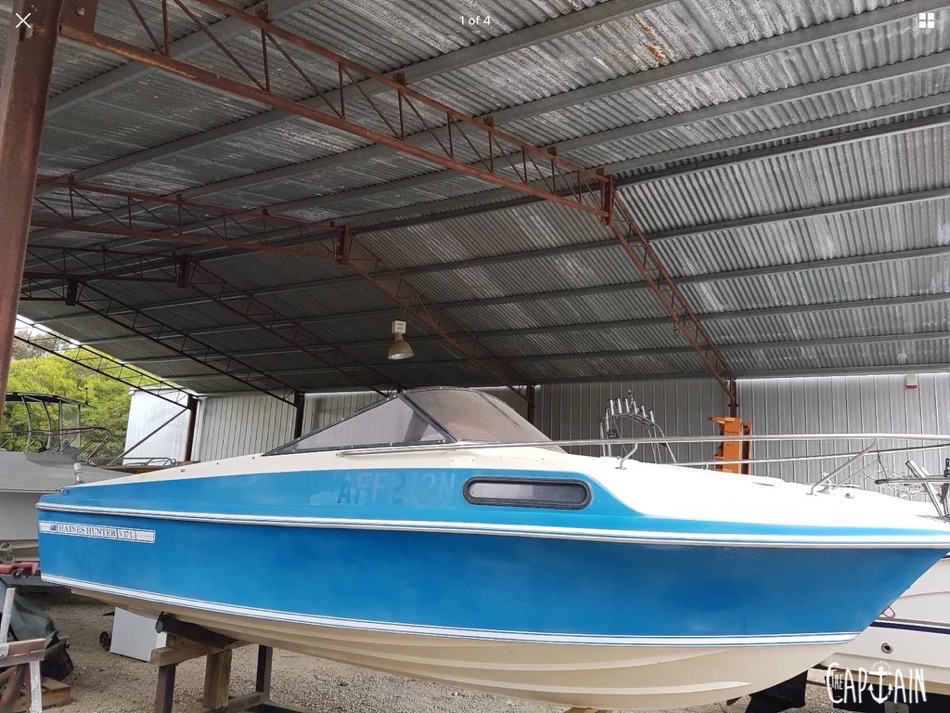
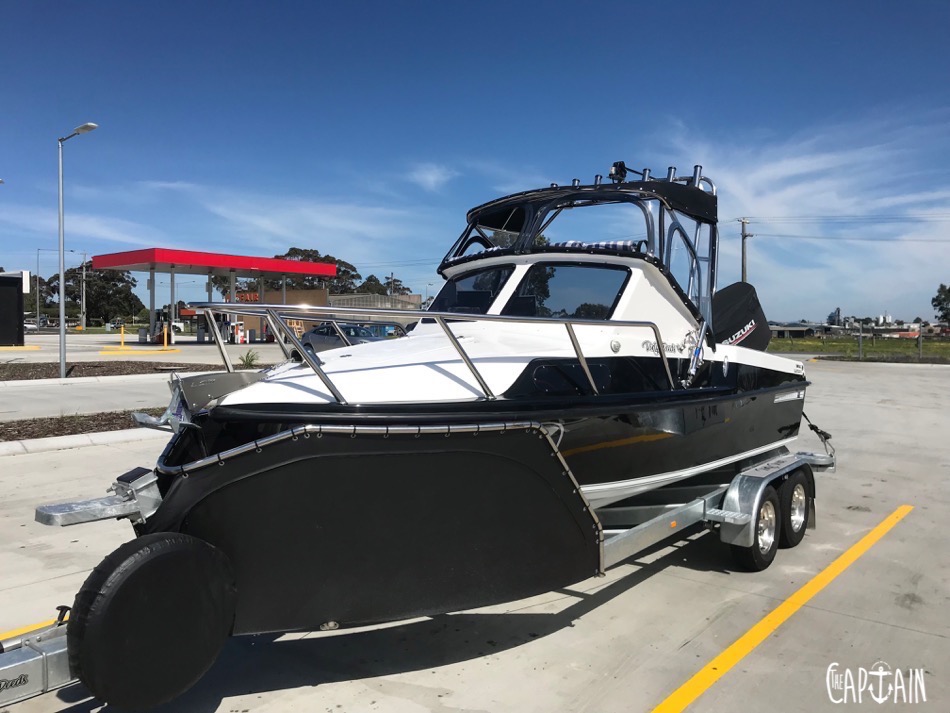
Kyle Dicecco crafted almost every part of this tough-as-fug Haines Hunter V17L, including the glasswork, fuel tank, stainless, paintwork and even the trailer!
Words by The Captain and Kyle Dicecco, images by Kyle Dicecco
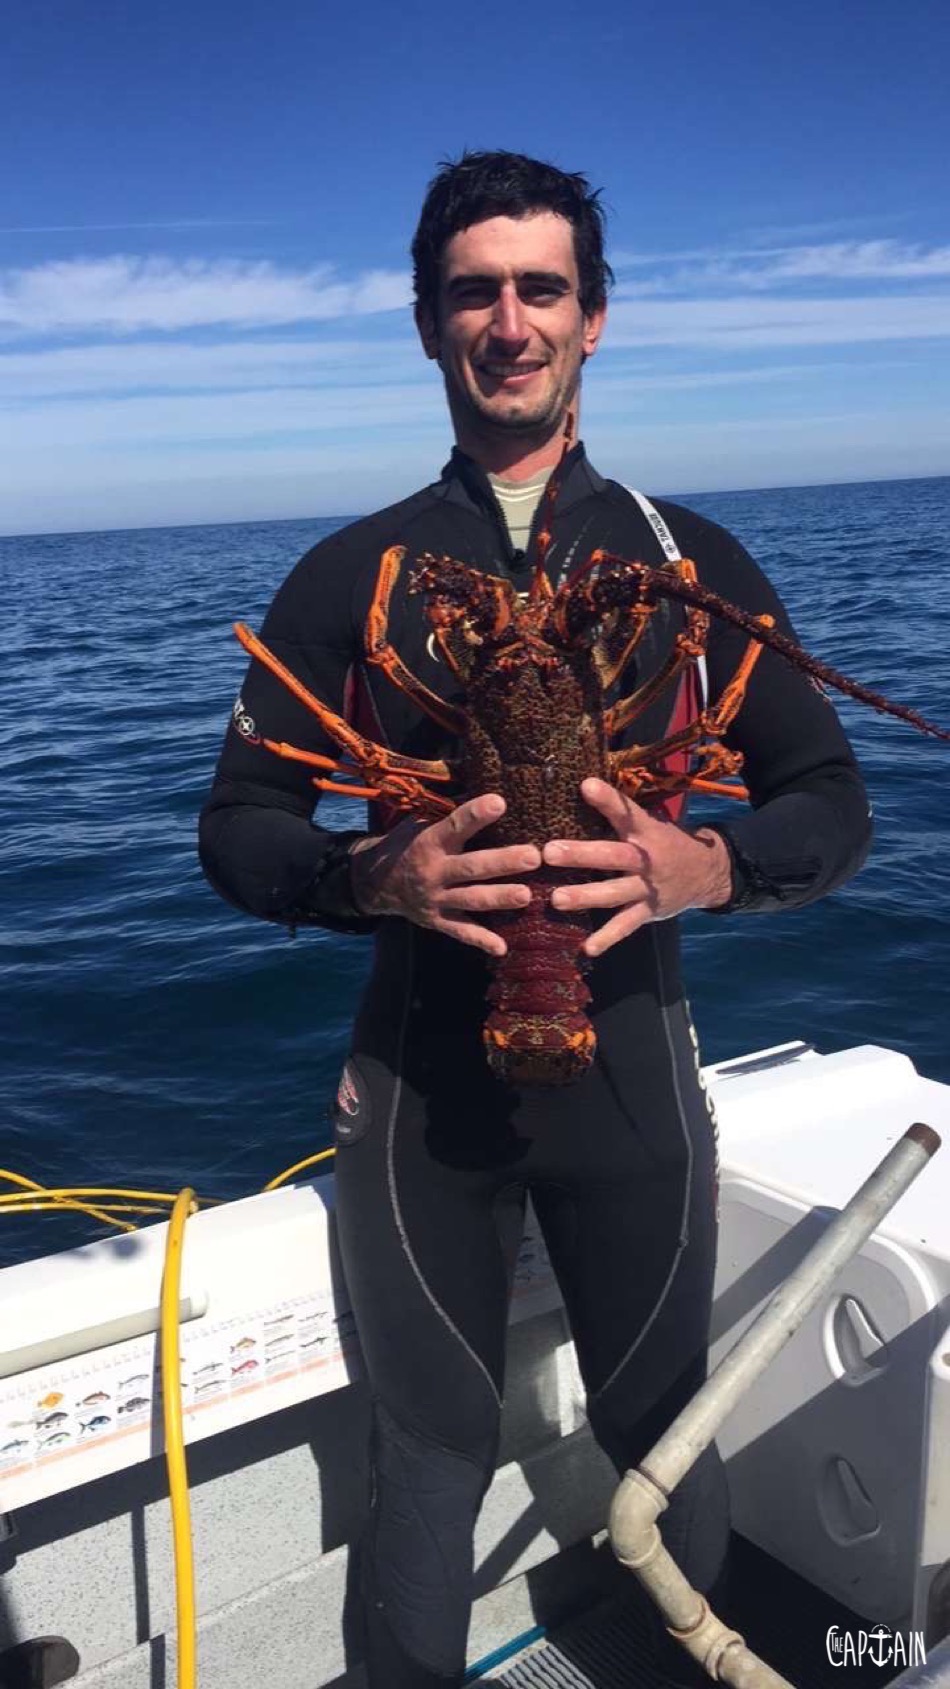
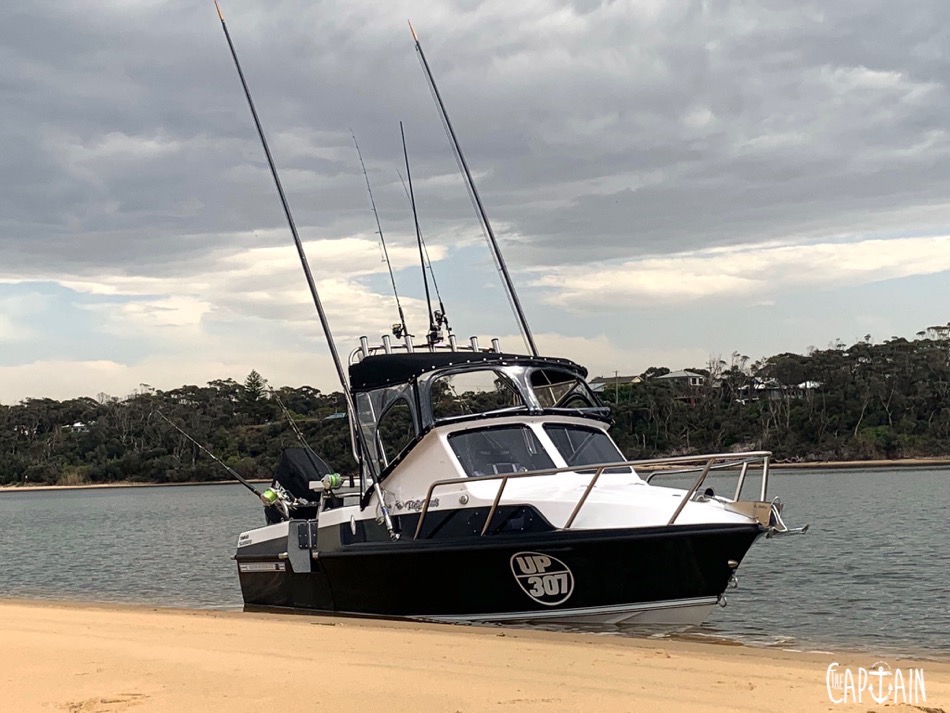
The fishing is brilliant off the remote coastal region off Marlo in Victoria, with solid kingies and snapper off the reefs, marlin baitballs offshore, and Everard and Bass canyons with their swordfish inhabitants not much further away. The diving is bliss, too. Kyle Dicecco often hits up the shallow reefs and rocky points with his rear-mounted hookah diving unit.
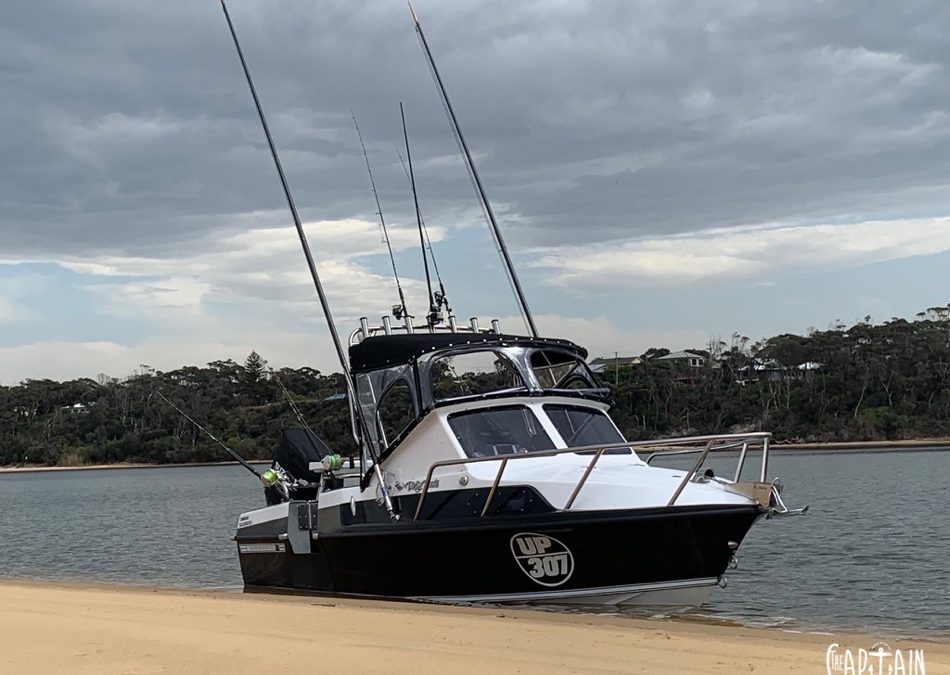
On the downside, Marlo has bugger-all ocean access and there aren’t too many boat services. Round here you need to be a fixer-upper kind of guy. Fortunately, Kyle is — and has a tough-as-nails Haines Hunter V17 that he rebuilt himself to prove it. “It’s not professional, but it’s strong and practical, and everything is in the right place for me,” he says.
Sounds like a good bloke for The Captain to catch up with.
What made you choose this old classic, mate?
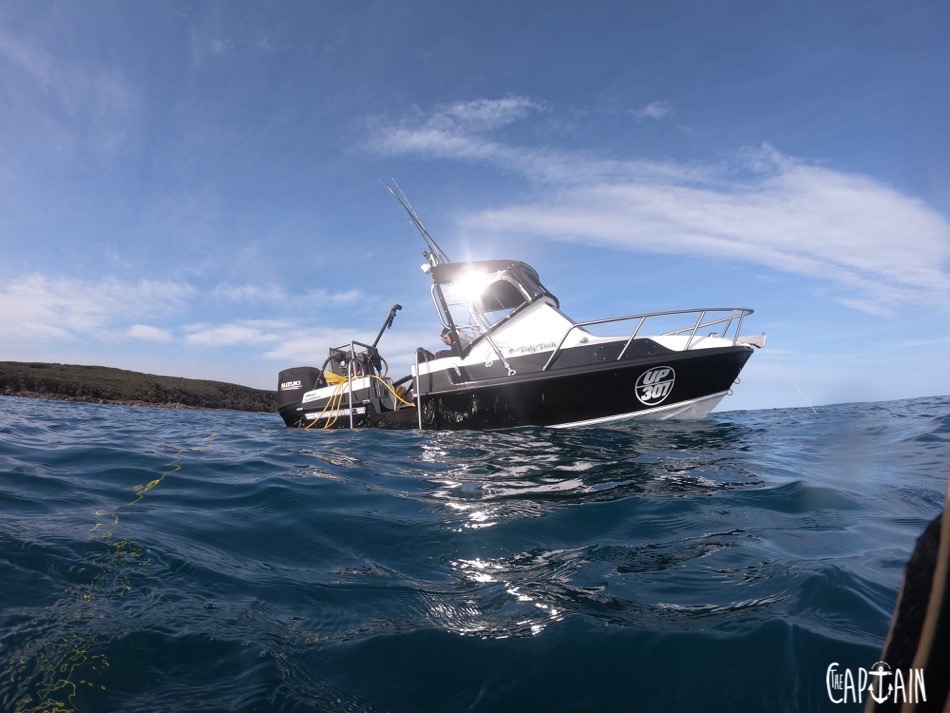
The V17 is a great running hull for its size. It can do long offshore runs at 30 knots and manage a bar crossing, no worries. At around the two tonne mark, it’s easy to launch and tow, and it’s not too thirsty on fuel — except when I’m doing 45 knots on the back lake.
She’s living up to the big reputation of the V17, then. What condition was she in when you got her?
The hull was in great original condition, the transom and stringers felt solid — nobody had stuffed with it. I dropped a mate’s 115HP Mercury OptiMax straight on and she flew with no weight in her. I reckon they bang a bit because there are no braced bulkheads above the waterline. And the flimsy windscreen had to go.

OK, so apart from the windscreen, what changed?
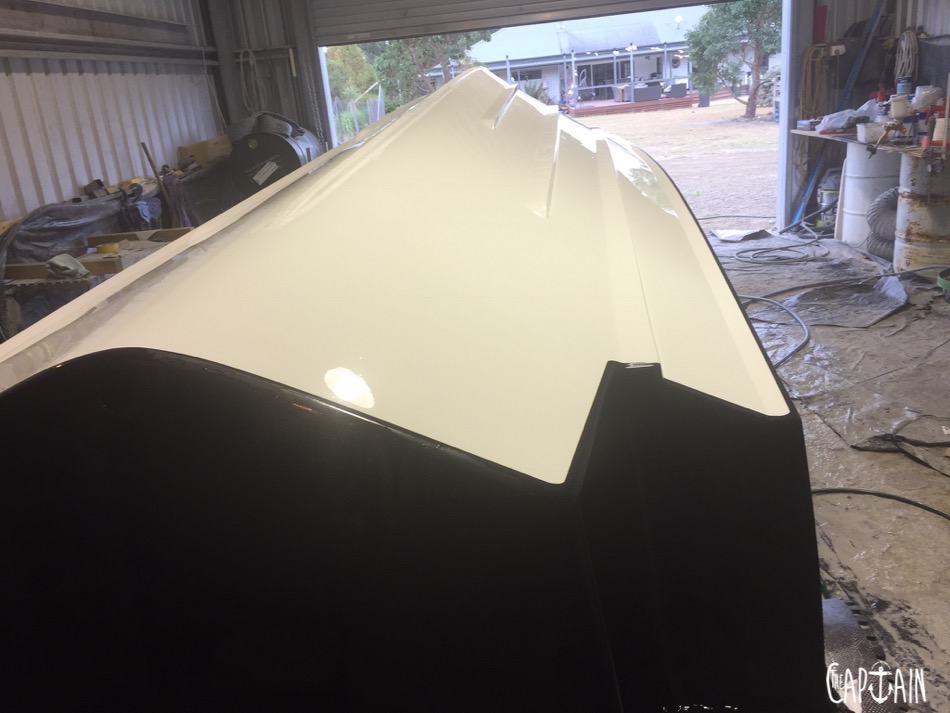
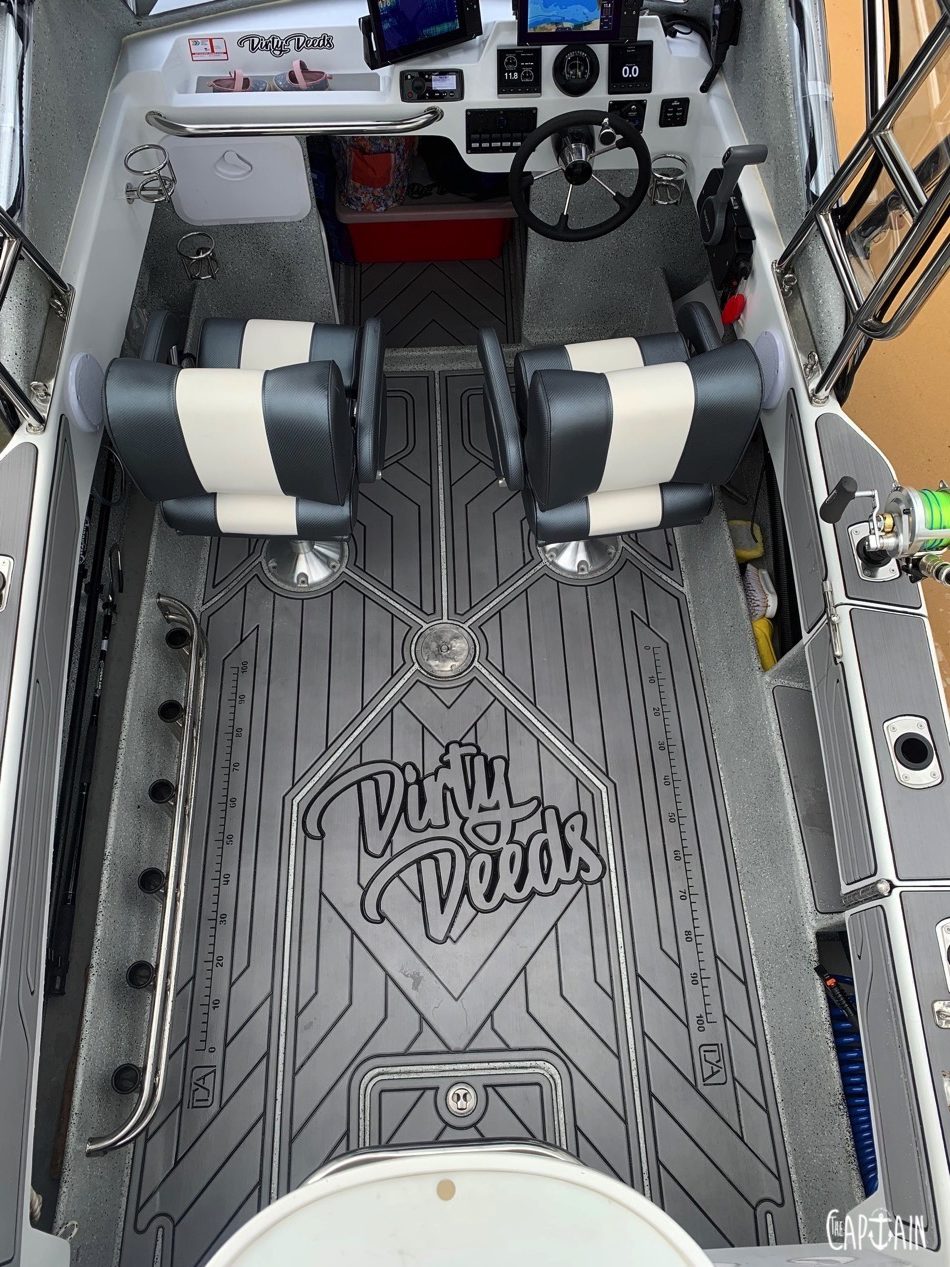
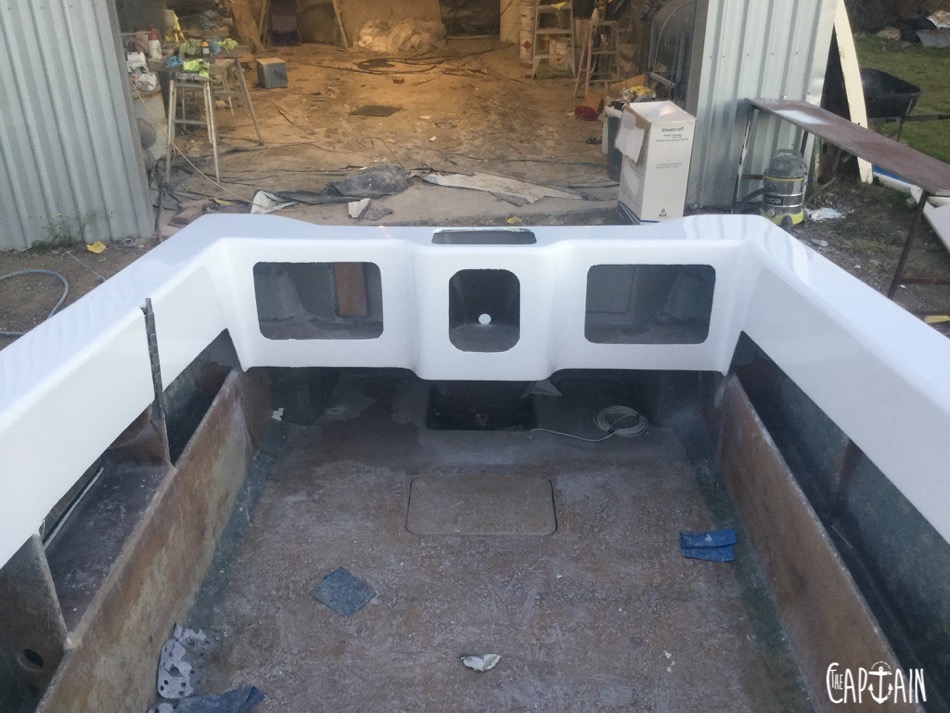
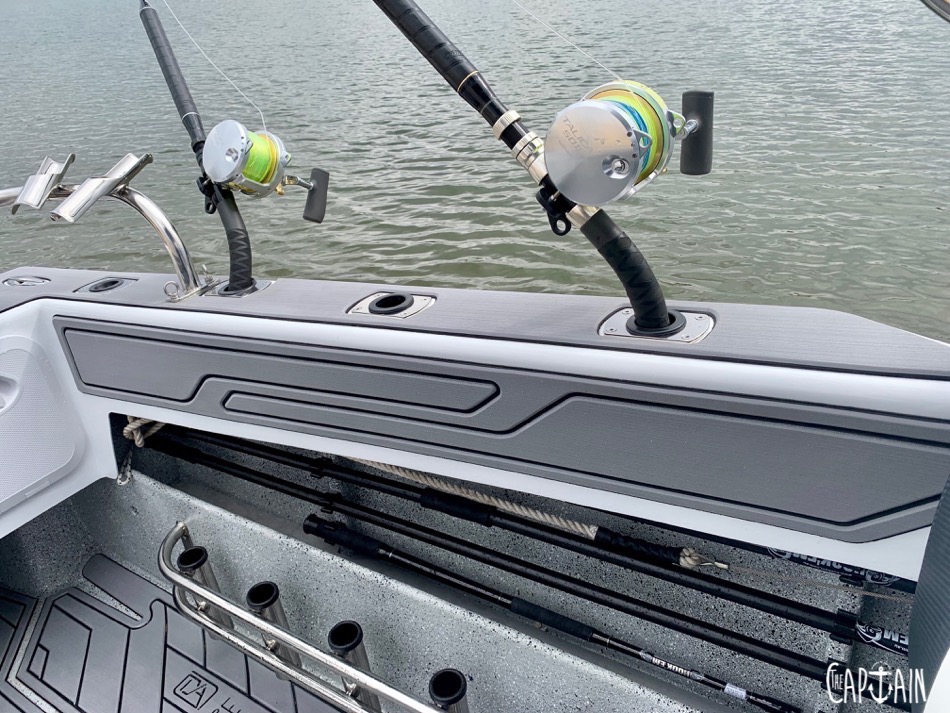
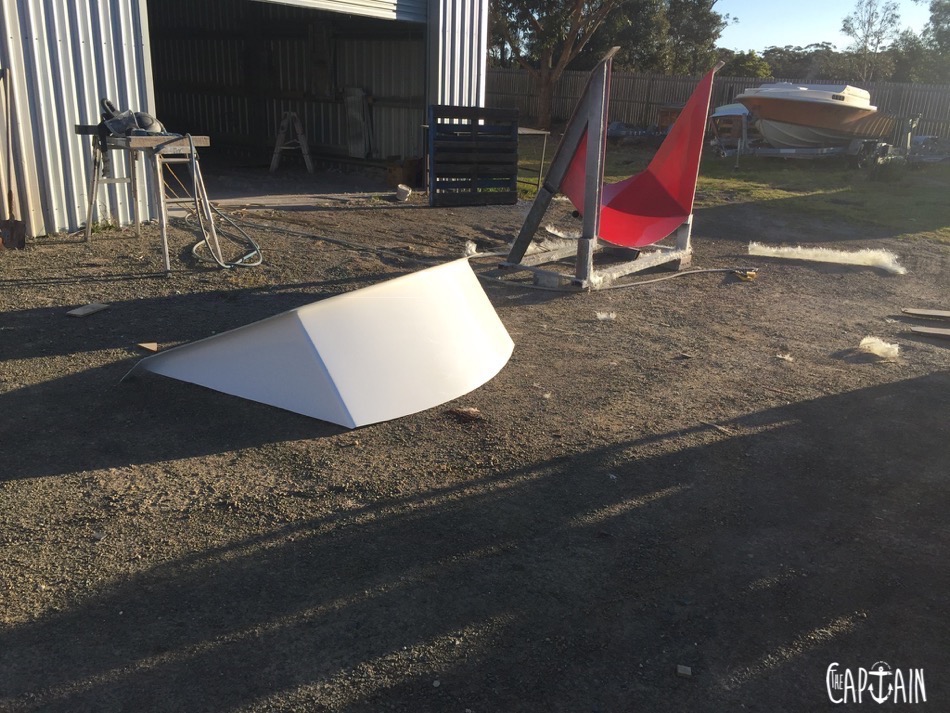
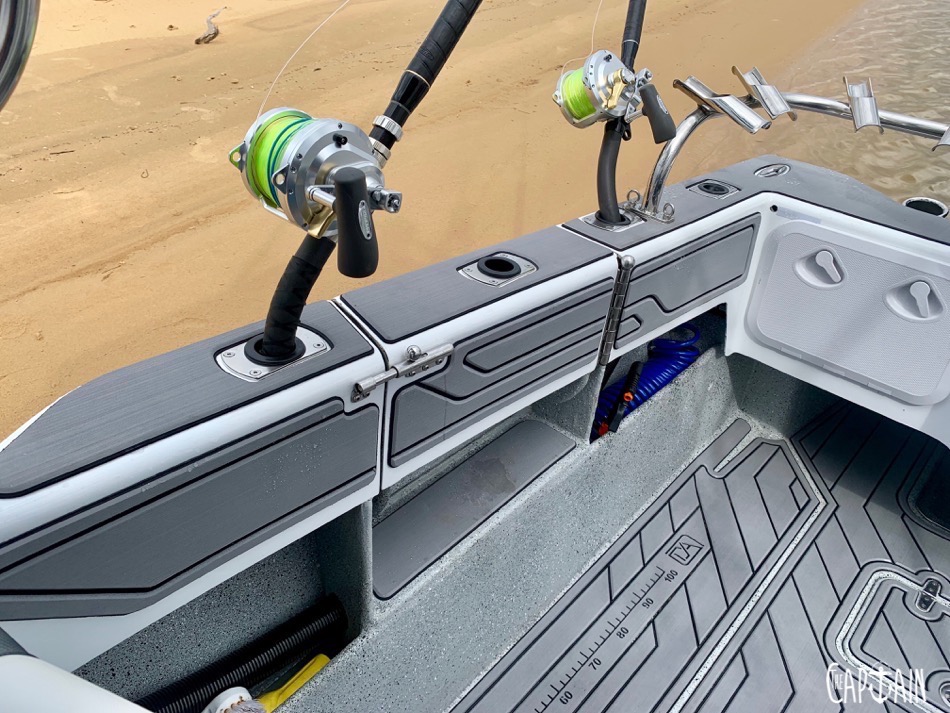
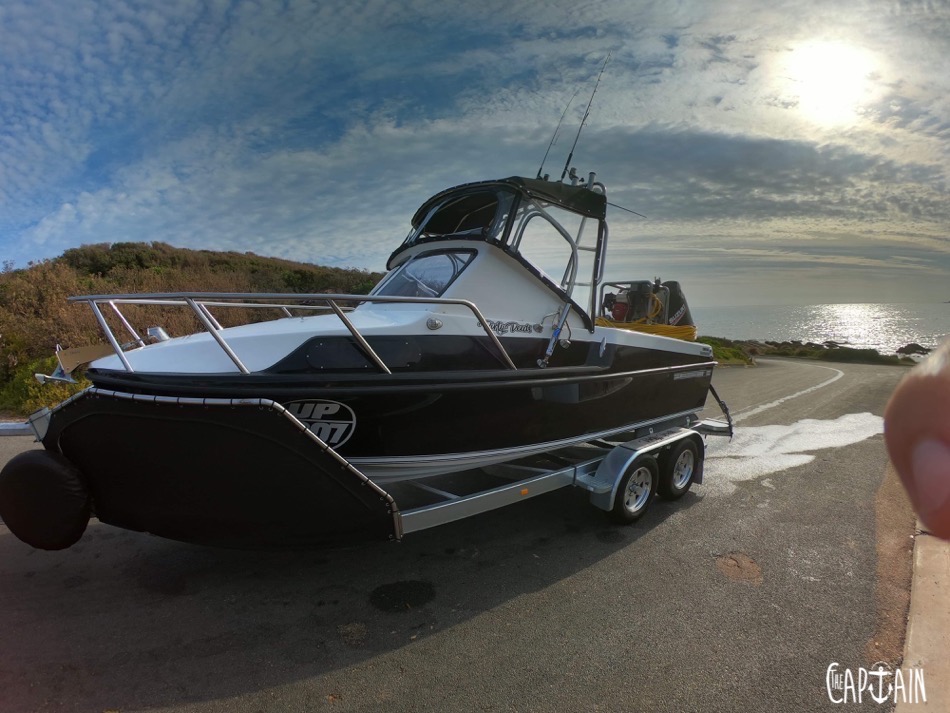
The hull was extended 400mm, the gunwales were remoulded with a flatback transom and I strengthened the top deck with bulkheads. I built a fibreglass wave-breaker and added a hinged dive door. Below decks, there’s a new 120L 4mm aluminium tank and all the cavities are foam-filled. We bolted on a 32mm rocket launcher, 32mm bow rail, snapper racks and a McQuarries fibreglass bait board. I did all the stainless work myself.
![]()
Who did the glasswork? Any tips?
I’ve got my own chopper gun, so the large lay-ups and moulding part was sorted. I only used plywood — I reckon there’s nothing wrong if you seal it properly, but I’d maybe spend the extra coin and go composite in future. As far as tips, always wear your PPE sperm suit, mask and gloves. I’ve got a 3m air-feed helmet for grinding. It’s worth its weight in gold.
What about the finishes?
I used shitloads of high-build primer and two-pack topcoats. I’ll try gelcoat next time. When it comes to paint and finishes, don’t trust the spec sheets — talk to people who use the product. Don’t rush, wet the area down to minimise dust and make sure your chopper gun has clean, dry air.
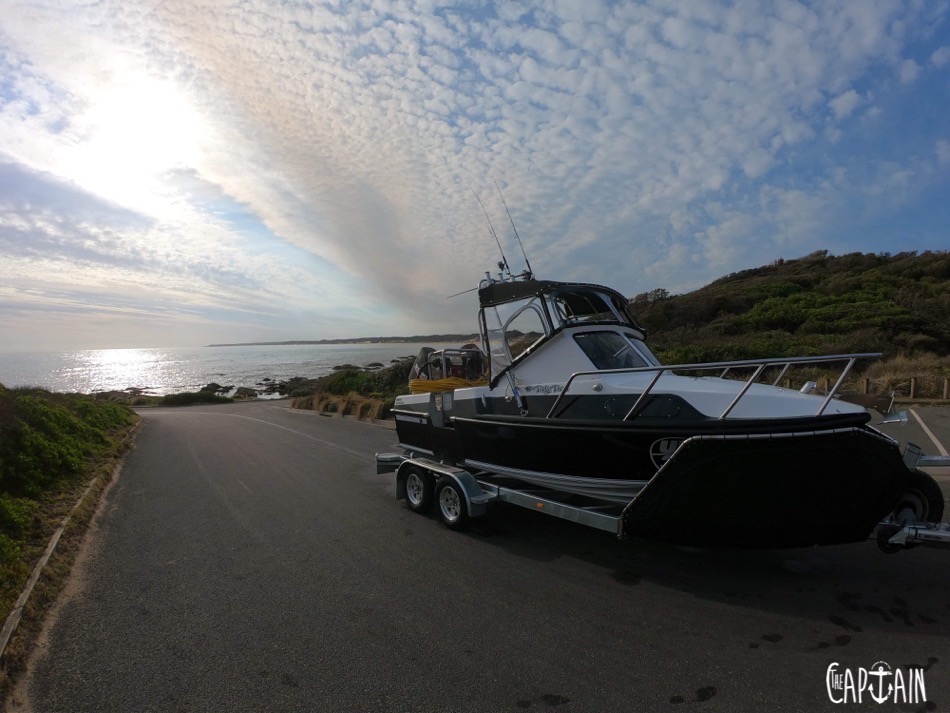
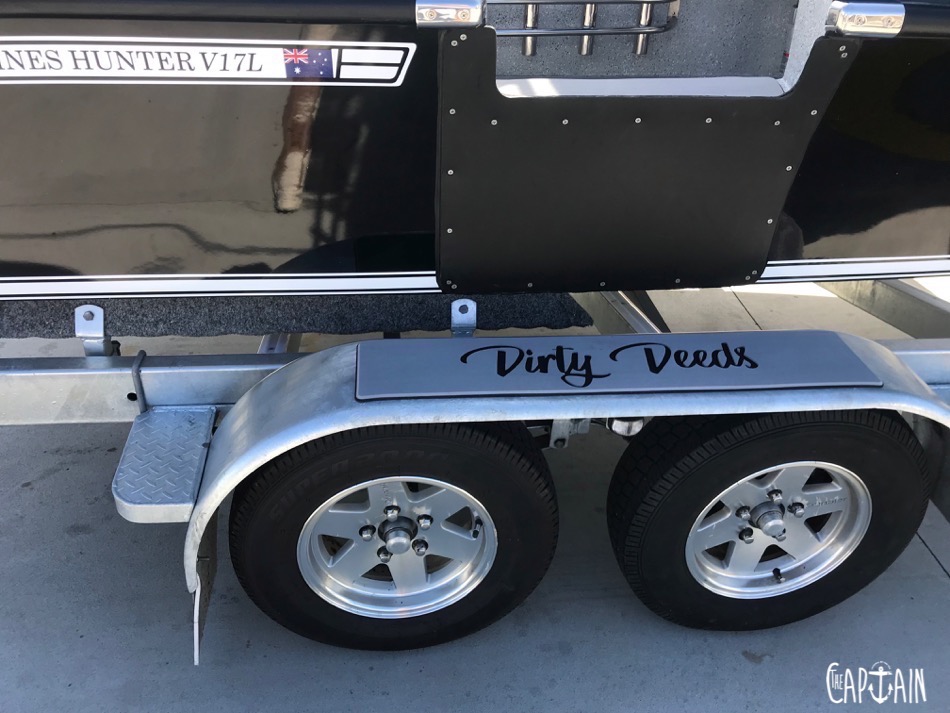
I suppose you built the trailer, as well?
Yeah, I did. It was an old Dunbier and I cut the rollers off, welded new skids on and changed the mudguards so they’d be strong enough for me to gain access to the boat. Finally, I hot-dip galvanised her and she looks brand-new. The boat slips on and off effortlessly and sits in the same spot every time.
Sounds a bit like The Captain, but what about the donk?
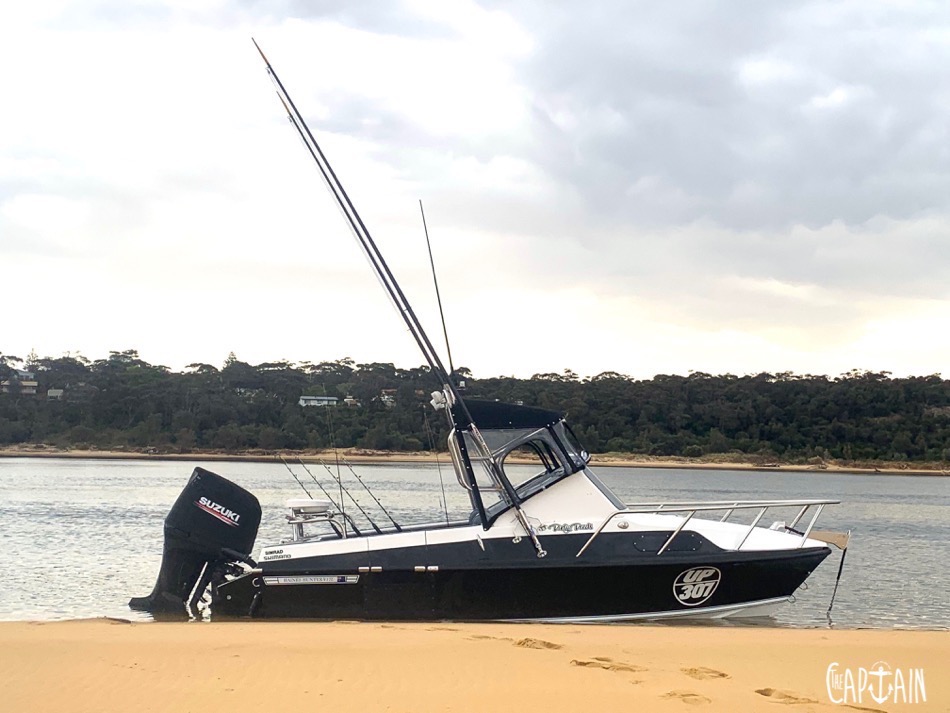
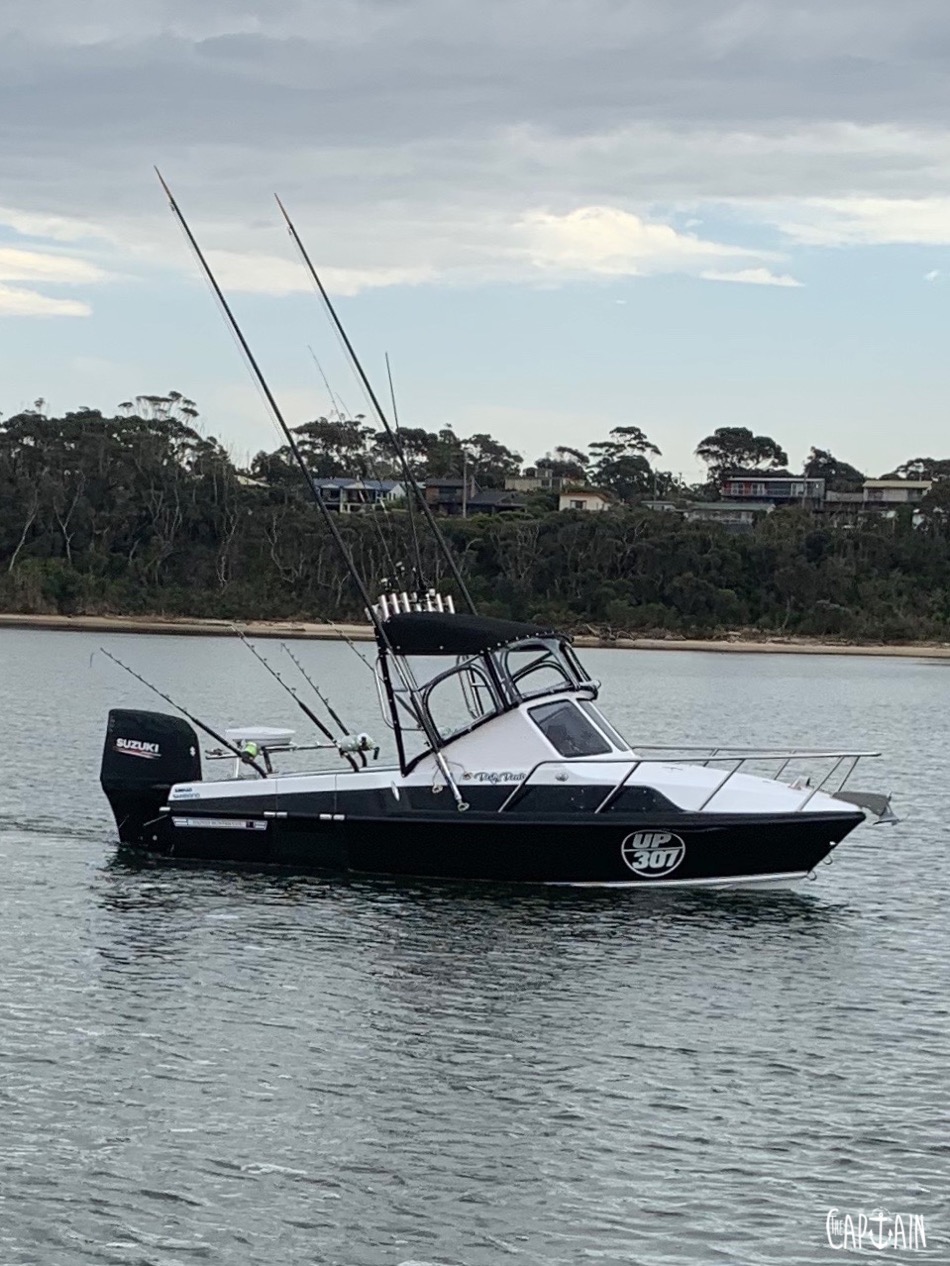
It’s a 2012 model Suzuki DF175. They’re on most of the abalone boats around here, getting pushed hard and doing long hours. Mine’s never missed a beat — I’ve done 550 hours and it’s still going strong. I’m running a three-blade 15/21 propeller, but I’d like to try a 16-inch.

Describe the V17 in five words.
Fishing and diving pocket rocket.
Good call. What have you fitted up?
Twin Simrad S2009s, S5100 CHIRP module, 3D Structure scan, SS175HW and SS175L transducers, Lone Star GX1 winch, Lenco trim tab rams with custom 5mm laser-cut tabs, Jabsco Deckwash, twin Rule 1500 bilge pumps and an 800GPH bait tank pump, twin slimy tubes, a Travel Buddy pie warmer, Narva marine lighting, Fusion stereo and a boat/trailer catch.
Wowsers! How long did the entire build take?
Three years in between work, working on mates’ boats, restoring my other boat (a Haines Hunter Formula 233) and being a dad.
How much did you spend? Given the name is Dirty Deeds was it done dirt cheap?
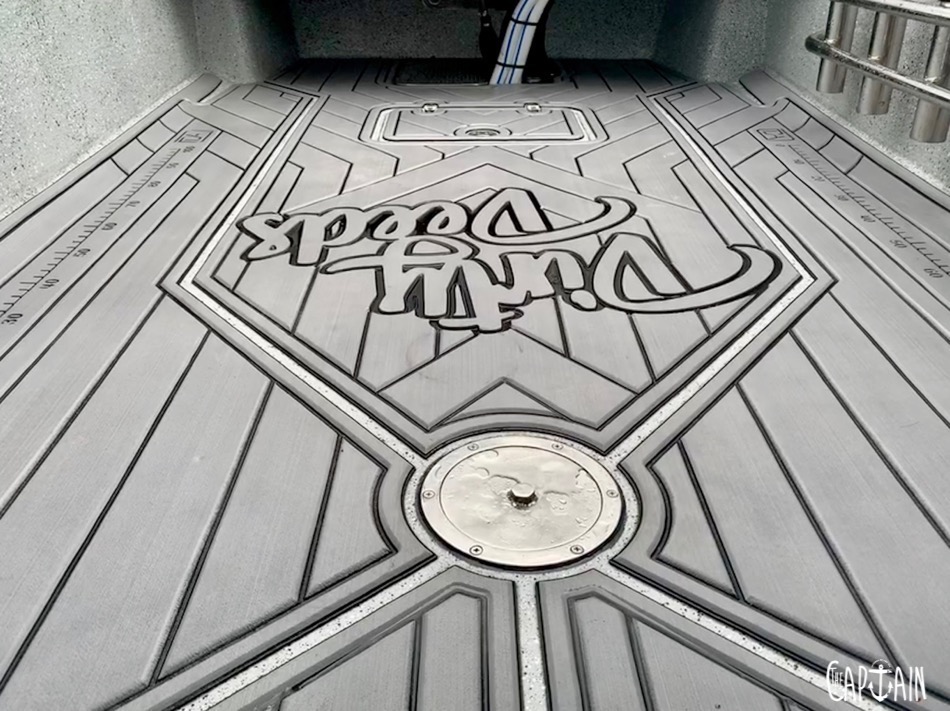
Haha. The hull was $7000. I owned the trailer, but spent about $2000 on upgrades. $15,000 went on electronics, pumps, wiring and the rest. There’s about $5000 in fibreglass, marine ply and paint; $2000 in stainless steel; $2000 on the Bimini. I spent $3000 on Deck Armour, but had it professionally installed by Shane Paton. It’s soft under foot, grippy when wet and washes up a treat.
Anything you’d change?
She sits a little arse-heavy. Maybe I could’ve moved the fuel tank further forward. Generally speaking, it’s easy to put too much weight in boats. Getting that weight distribution is key.
![]()
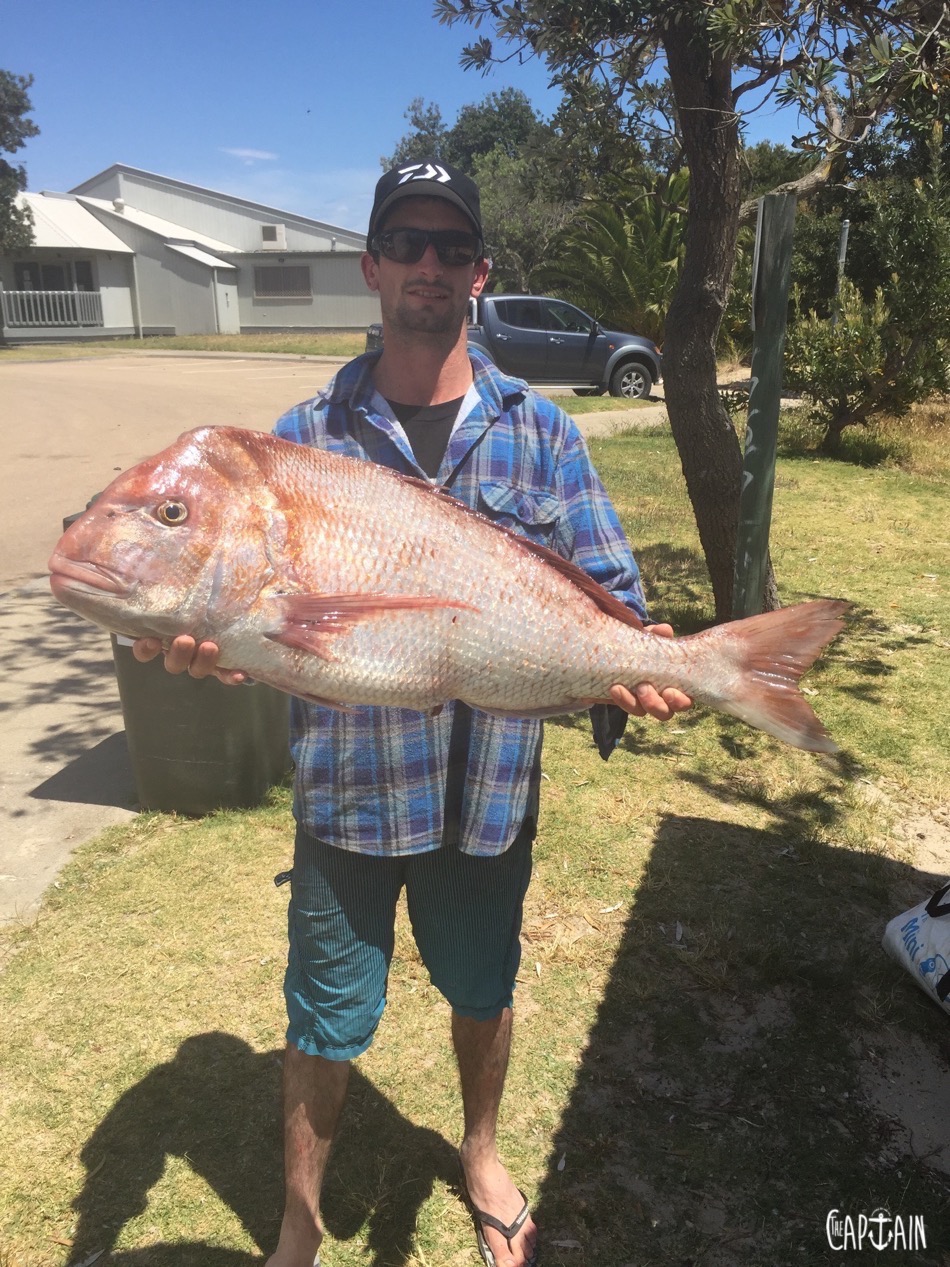
Now it’s on the water, is she a fish killer?
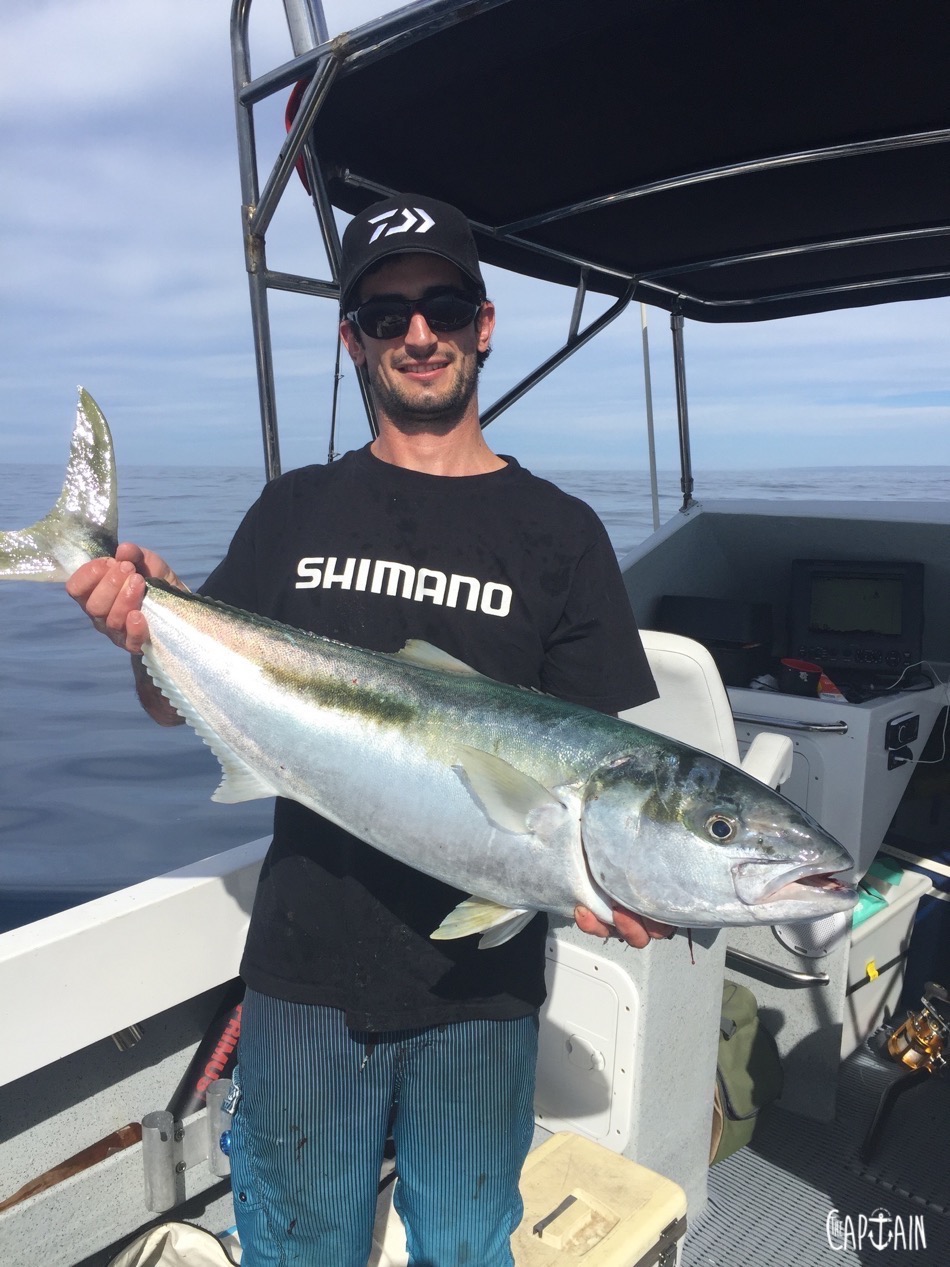
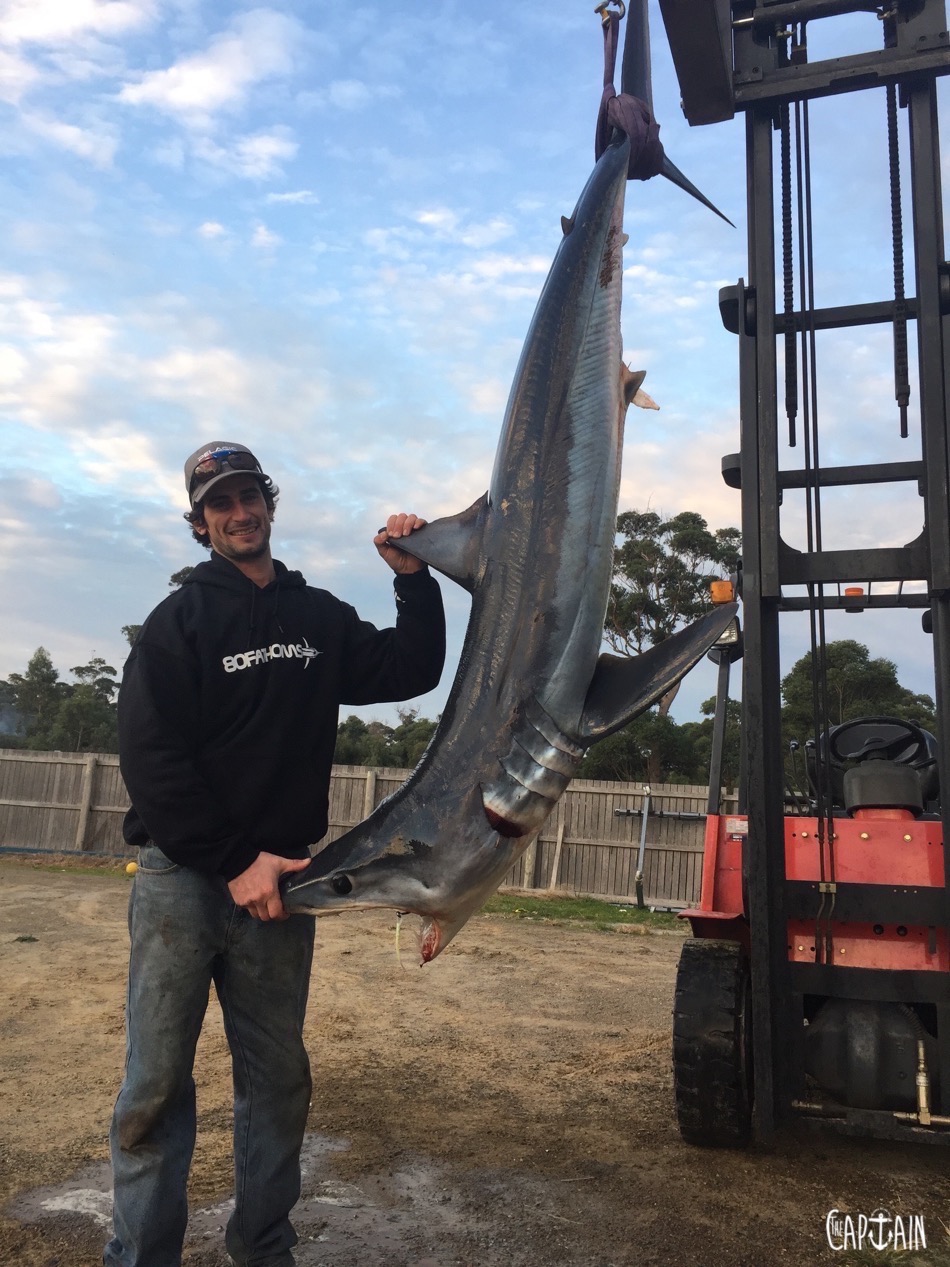
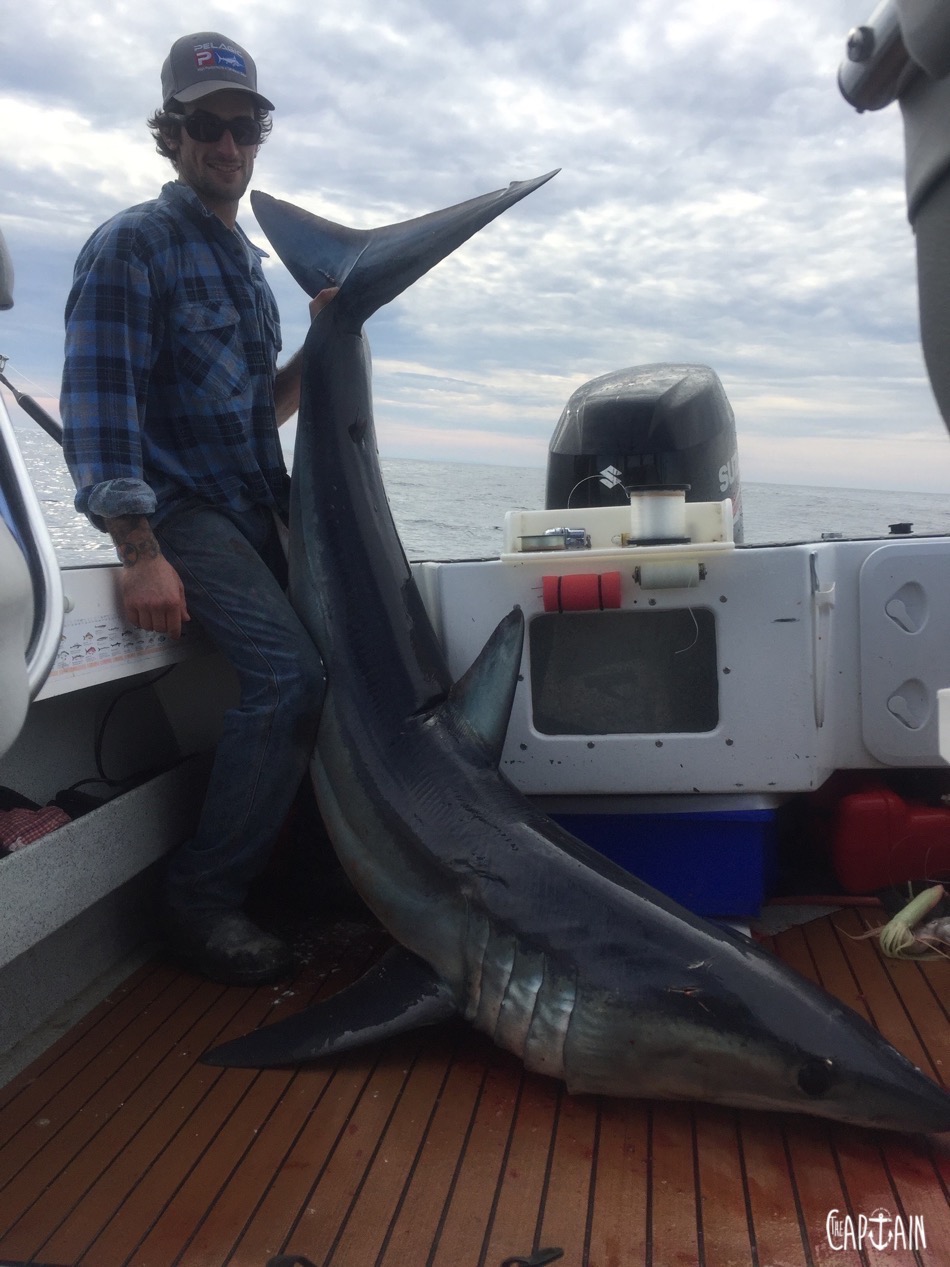
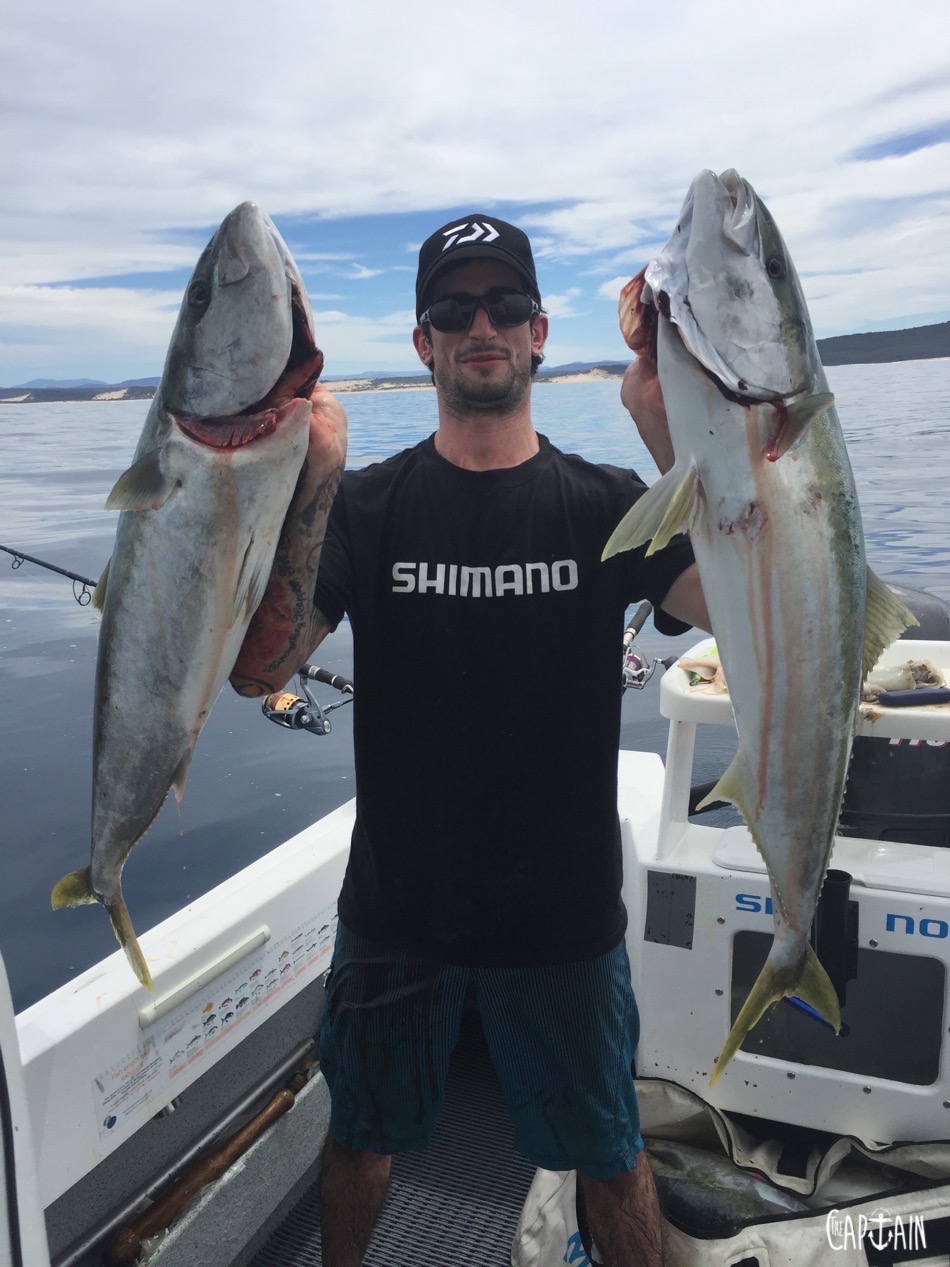
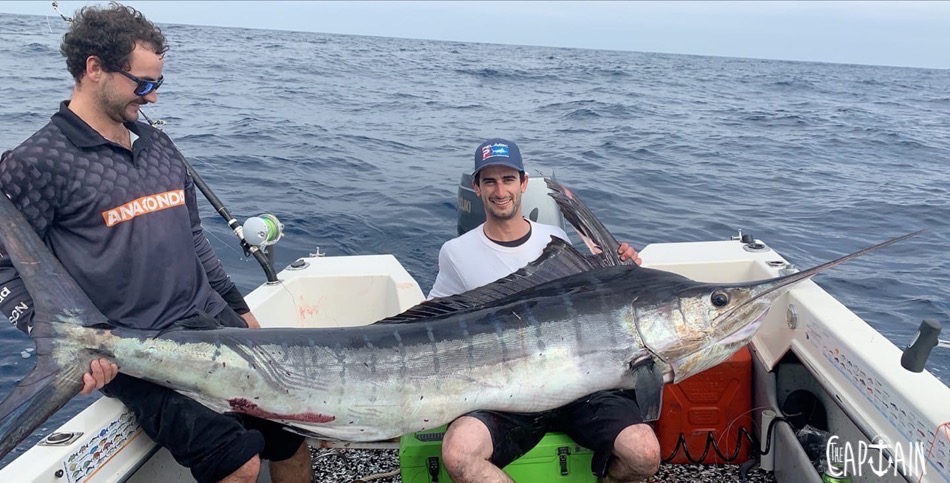
I’ve caught 100kg striped marlin. It lit up under the boat and snaffled a live bait. There was a stripe that went crazy and smashed into the side of a wheelhouse nearby. I’ve caught a 1m kingfish and a few donkeys on stick baits. I’ve also caught a 100kg mako shark, so far. My tools on the water are Shimano Talica 50s, Stella 8s and 14s, and Tiagra Ultra Bent Butts.
The Captain salutes your commitment, Kyle. Got a final tip for anyone thinking about taking on a rebuild?
Don’t try to finish on a set date. Be patient, but not so patient you lose interest. Don’t be scared, buy some tools and have a go. But my best tip is this — keep the missus happy and you’ll get away with anything.
REBUILDS AHOY!
If you’ve finished your sweet rebuild and want to see it in the rum-stained pages of The Captain, send an email to thecaptain@mobydickcontent.com. The offer is limited to vessels with older model-powered outboards. Every published yarn receives a service kit* from Stuart and Mel Buckingham at Outboard Spares. Or similar-value item — just in case you’re running quads on a Somali pirate boat. Note that using non-genuine parts on warrantied engines may affect your warranty. Be sure to check!
HOW A WATER-SEPARATING FUEL FILTER WORKS
Some choice tips from Stu Buckingham from Outboard Spares
Ever wondered what that canister thingo with a tap is at the back of the boat? That’s your water separator. I’m surprised how many owners don’t check it regularly — and some don’t even know what it does!

Bad fuel can quickly cause problems for outboard engines by clogging injectors, gumming up carburettor jets or causing running problems that can result in a shortened outboard life. And if you happen to get it going, it’ll probably come with a hefty repair bill from the mechanic.
WHAT CAN GO WRONG?
Water and impurities can enter a boat’s fuel tank in a number of ways, including incorrectly located fuel tank breathers and tank fillers, condensation forming in the fuel tank or contaminated fuel. Breathers and fillers can be easily replaced or relocated. However, there is little you can do about condensation forming inside your fuel tank or contaminated fuel. To avoid these issues, the solution is to install a water-separating fuel filter assembly.

HOW IT WORKS
A water-separating fuel filter is designed to catch the impurities or water before they reach your engine. The principle behind this filtration system is surprisingly simple — the top of the filter consists of a paper element and the bottom of the filter is a holding tank or bowl. Since water is heavier than petrol, water sinks to the bottom of the filter, where it stays until emptied. The best water separators are the clear-bowl type. They allow you to see if water is gathering in the bottom of the system and then drain it out with the integrated tap.

For routine servicing, the filter cartridge should be replaced and the existing bowl re-attached. Installation of a water-separating fuel system is simple and you don’t need a lot of mechanical knowledge to fit one. It should really take between 15–30 minutes, maybe a bit longer if the area you’re fitting it to is difficult to access or requires modification. It will set you back about $50 to $85, depending on the brand and set-up you need.
It’s good peace of mind knowing you’re protecting your outboard from water or other contaminants finding their way into your fuel. Installing a water-separating fuel filter will be one of the smartest decisions you make in caring for your outboard.
For more tips on used boats and outboards, check out www.outboardspares.com.au


Recent Comments